“Can I Change This” A Hybrid Reef Tank Build - 90/10 Part 6
How to tailer the 90/10 method to specific needs.
The number one question we get is “can I change this?” Reefers want to create their own recipe and tailor it to their unique needs. The quick answer is simple. If this is your first rodeo, do not change a thing. The 90/10 method is designed to make your tank an effortless success. Do not adjust the recipe until you have tried the baseline, because every change has real consequences that a new reefer cannot accurately predict.
However, if this is your second or third tank, your experience and skill can guide thoughtful adaptations that fit your goals. That is what this hybrid 90/10 build is all about.
Note: Paid YouTube SR Members Using A Chrome Browser can watch videos natively above on Seriousreefs.com. Sign up HERE
SR videos are a community funded member only resource. Serious Reefs buys everything we review, accepts no sponsorships, and your memberships make it possible to keep every review truly unfiltered.
SR Studio Build Guidelines
This build shows how to use the 90/10 recipe as a baseline and make smart adjustments that fit your time, budget, and environment. For this hybrid tank we are following the 90/10 principles, but bending a few of them to meet the unique needs of the studio.
This is a display tank on the SR video set, and the goals are movement, color, and dimension.
It also needs to respect that no one is in the studio for sixteen hours a day, two days a week on weekends, and there are multiple weeks each year when we travel.
It must also respect that the tank is on the third floor of an office building. It cannot leak. Ever.
This is a teaching tank. It is ok to take some risks if it means we all learn something new together.
It has to be low maintenance. Every hour of work that goes into the tank takes away from SR content production.
A final guiding question for every decision:
“If one hundred reefers did what you are about to do, how many would still be around to tell the tale?
Tank Type: Why we chose an LPS display
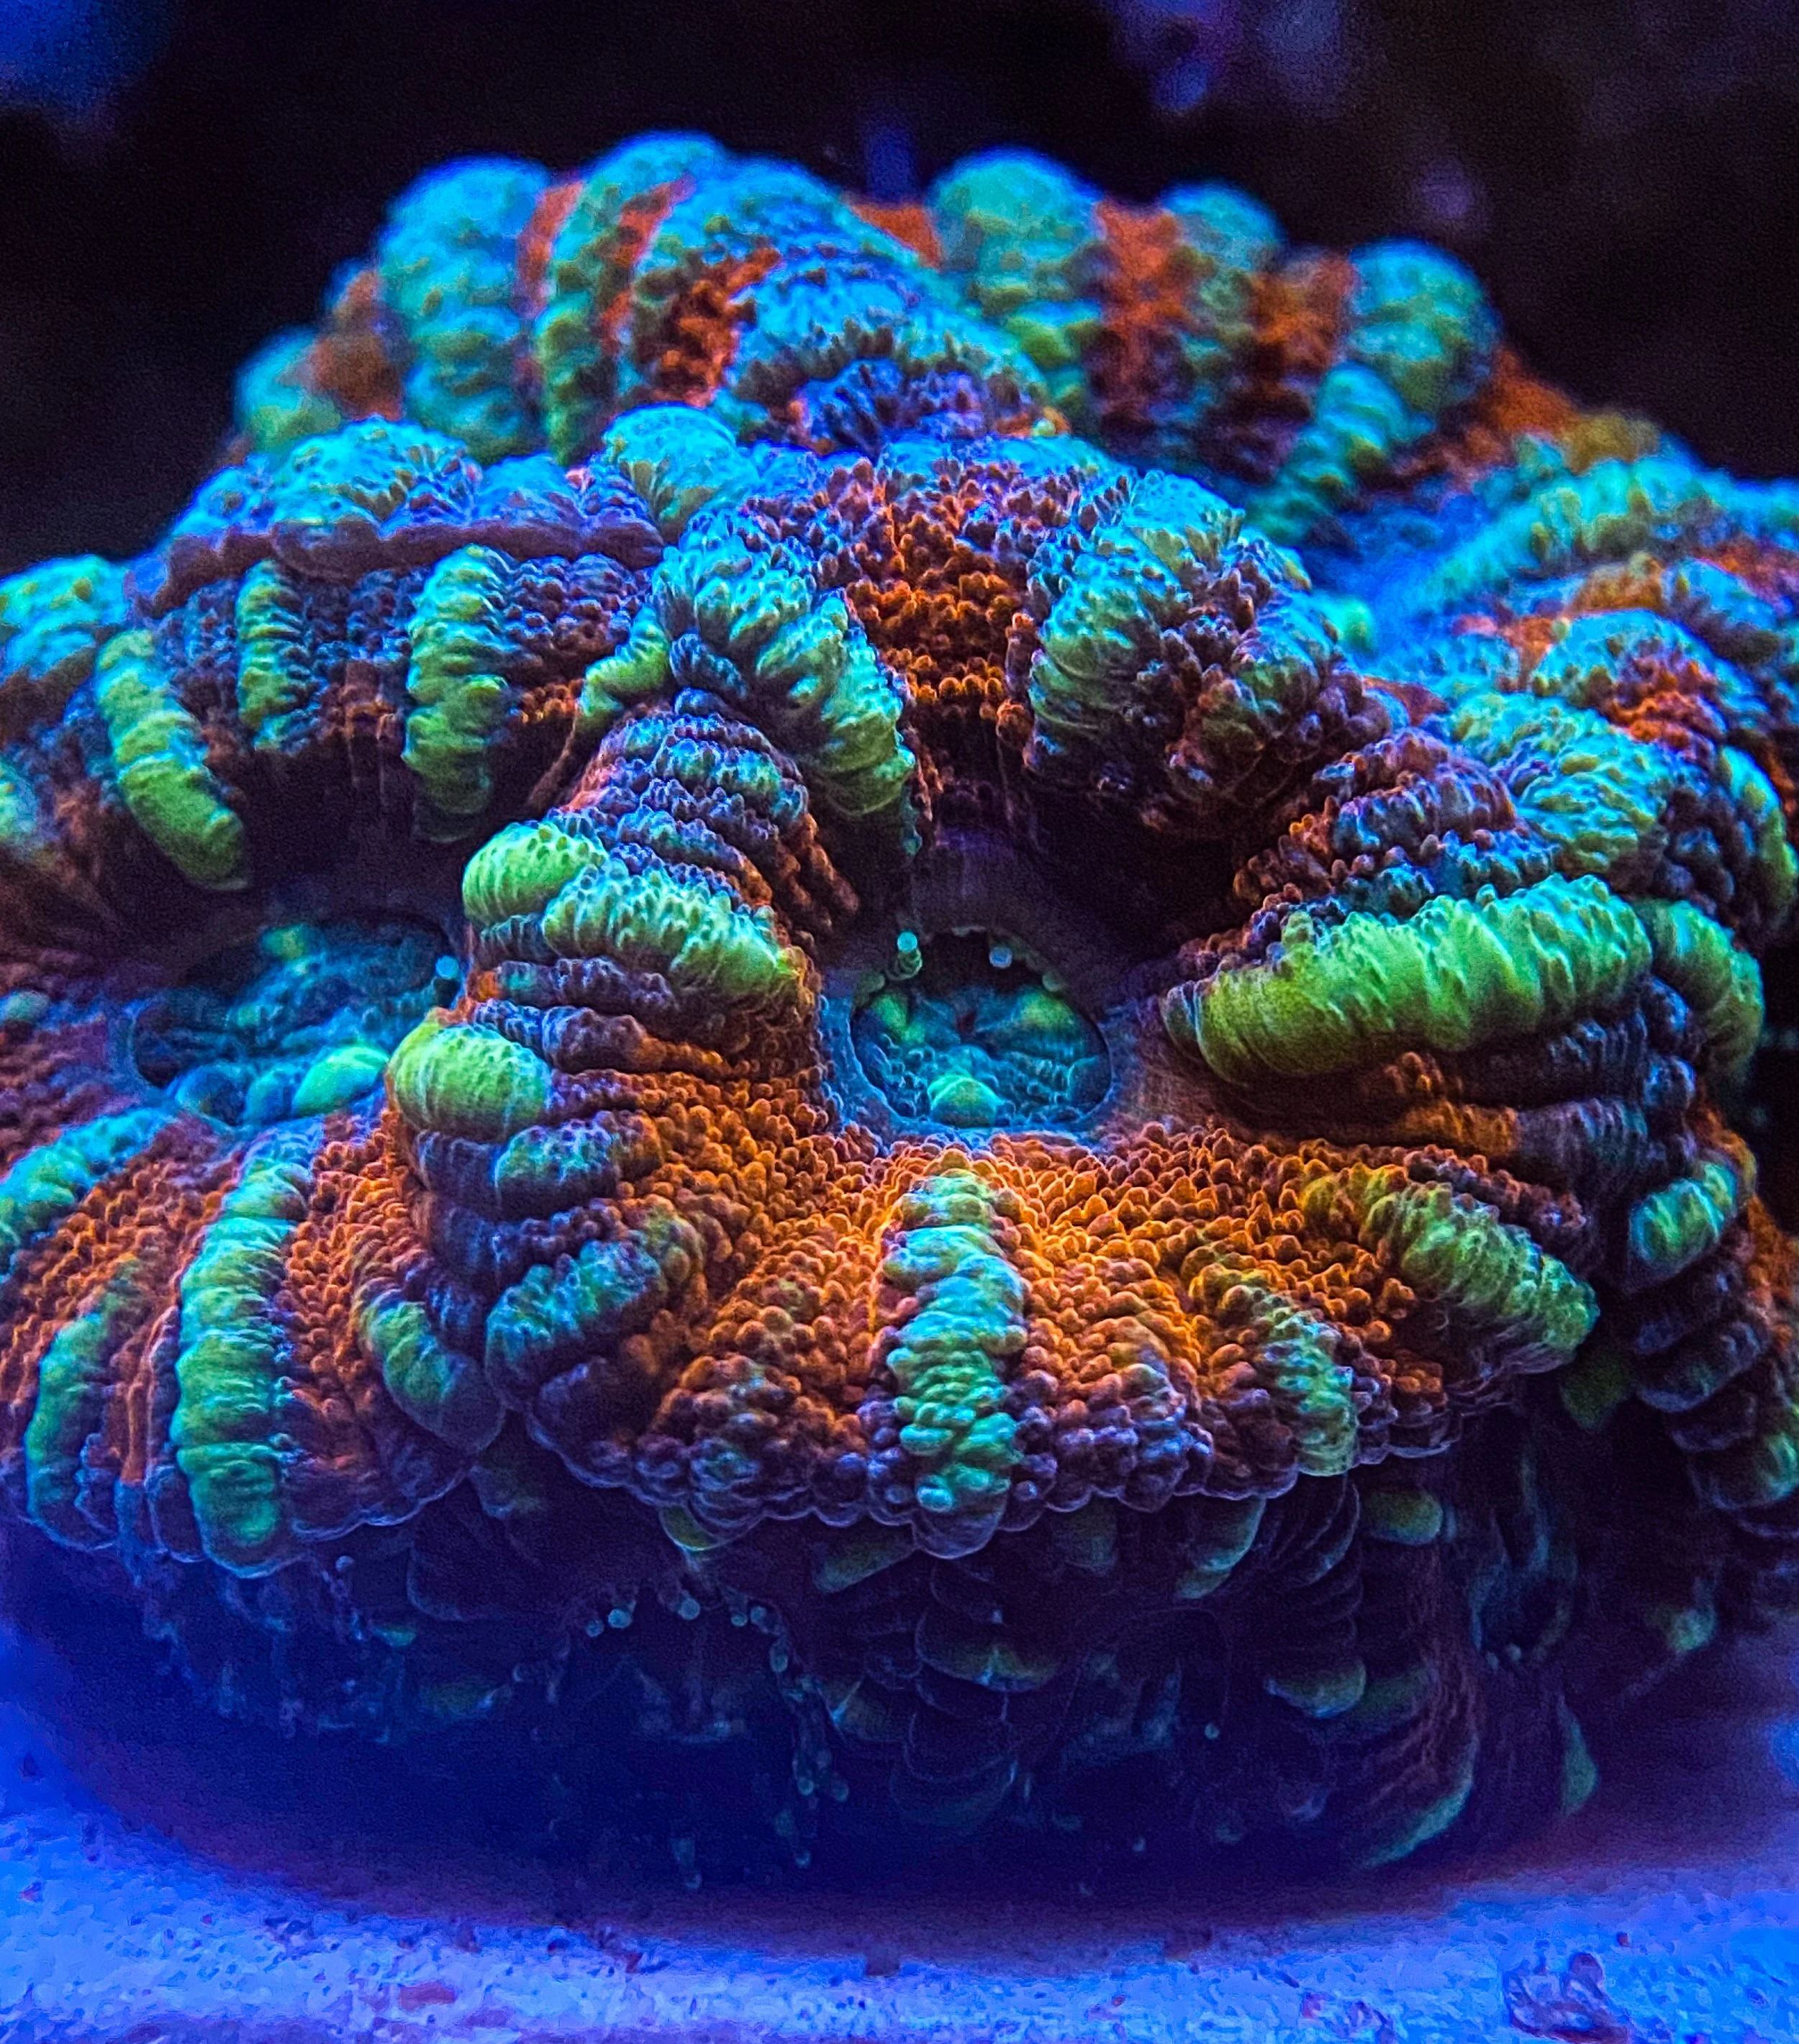
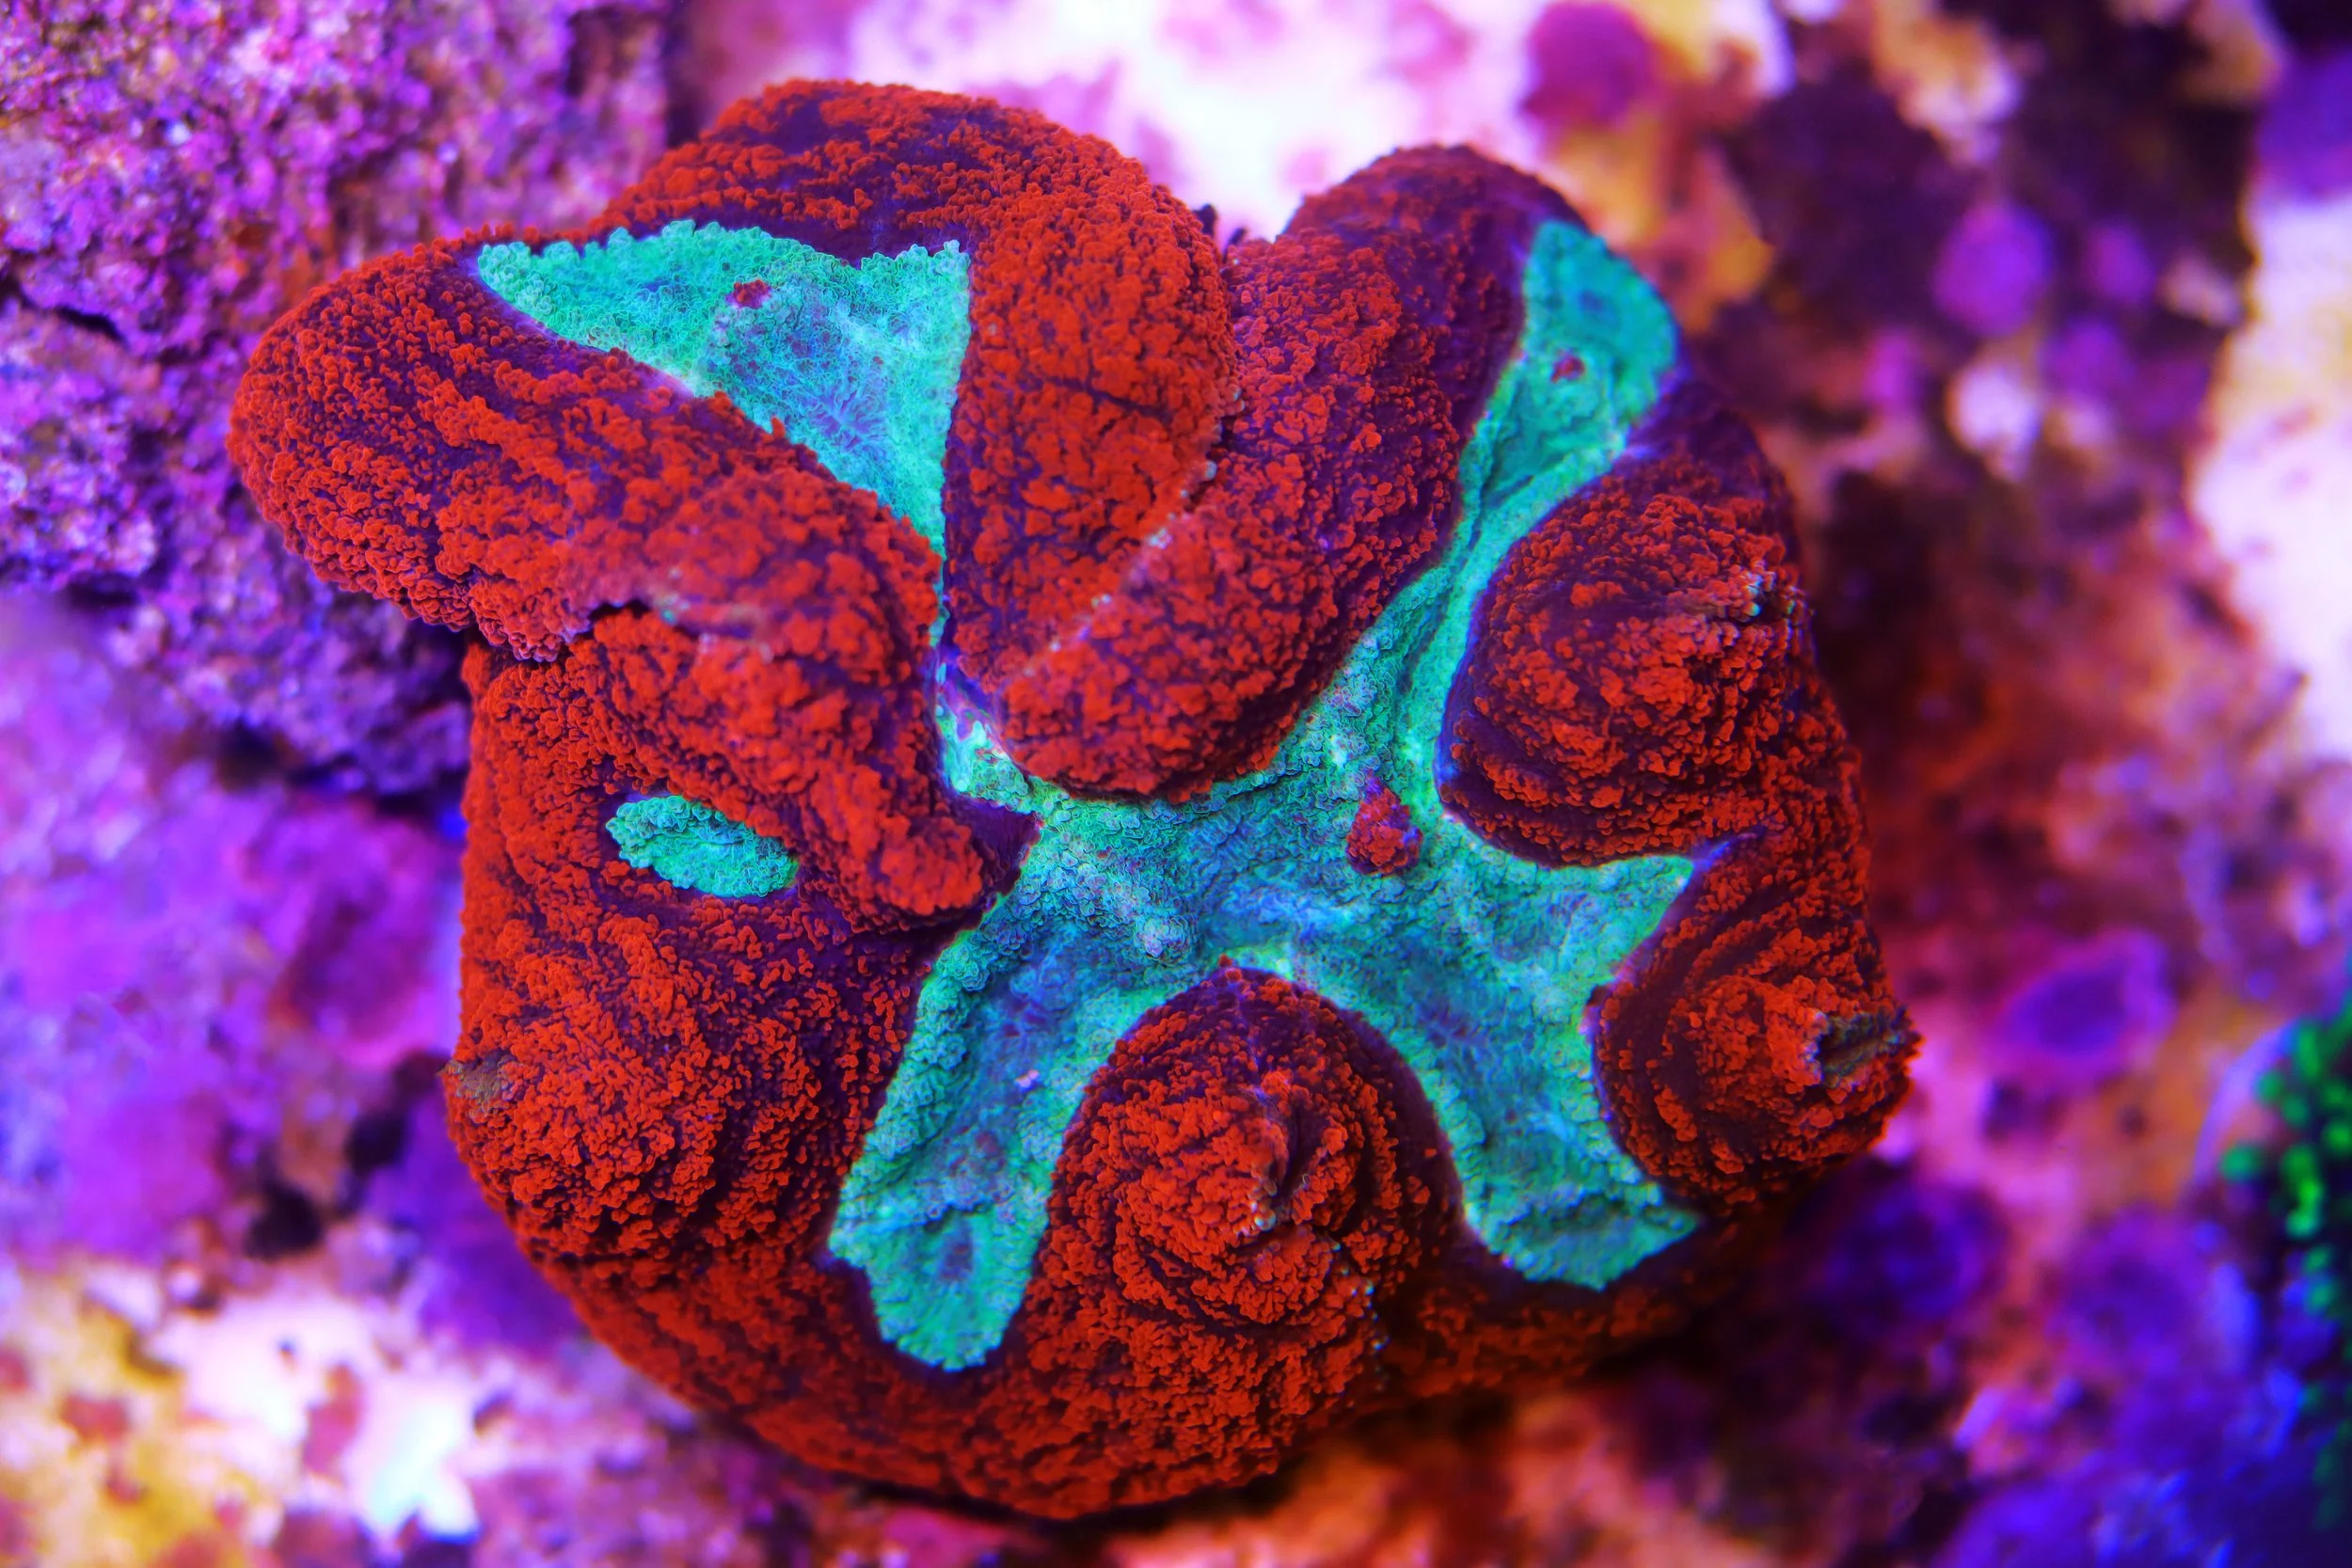
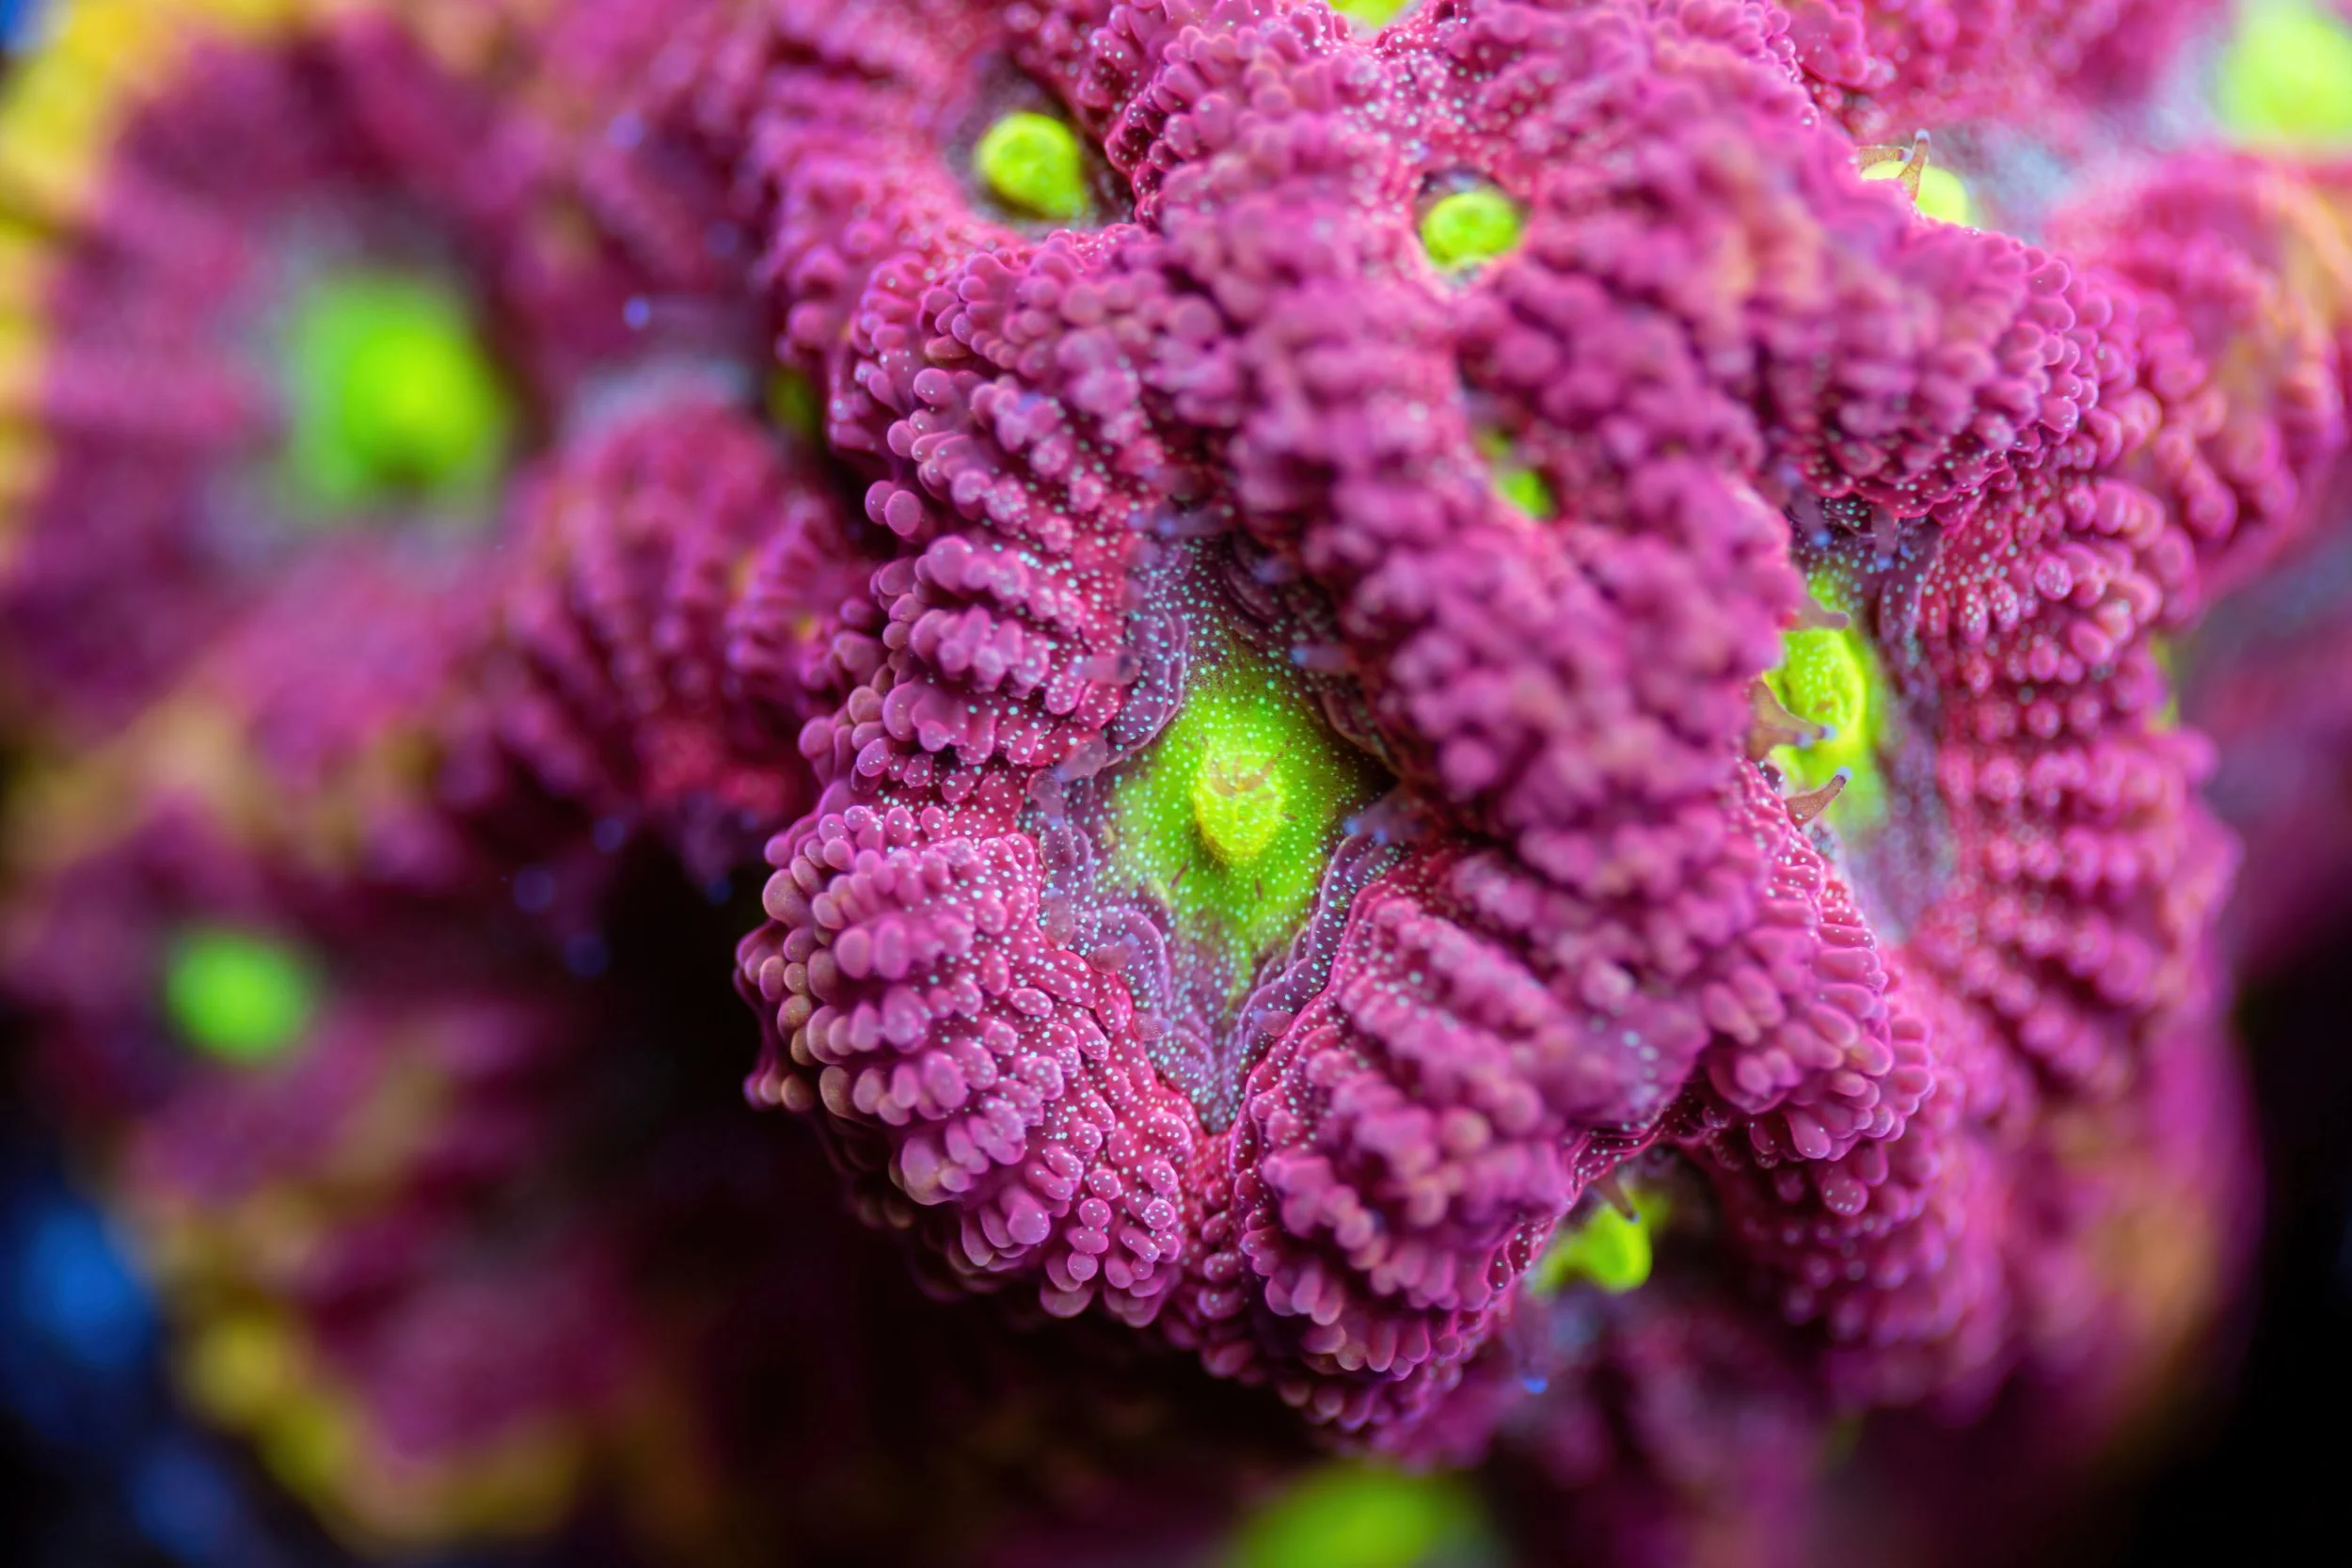
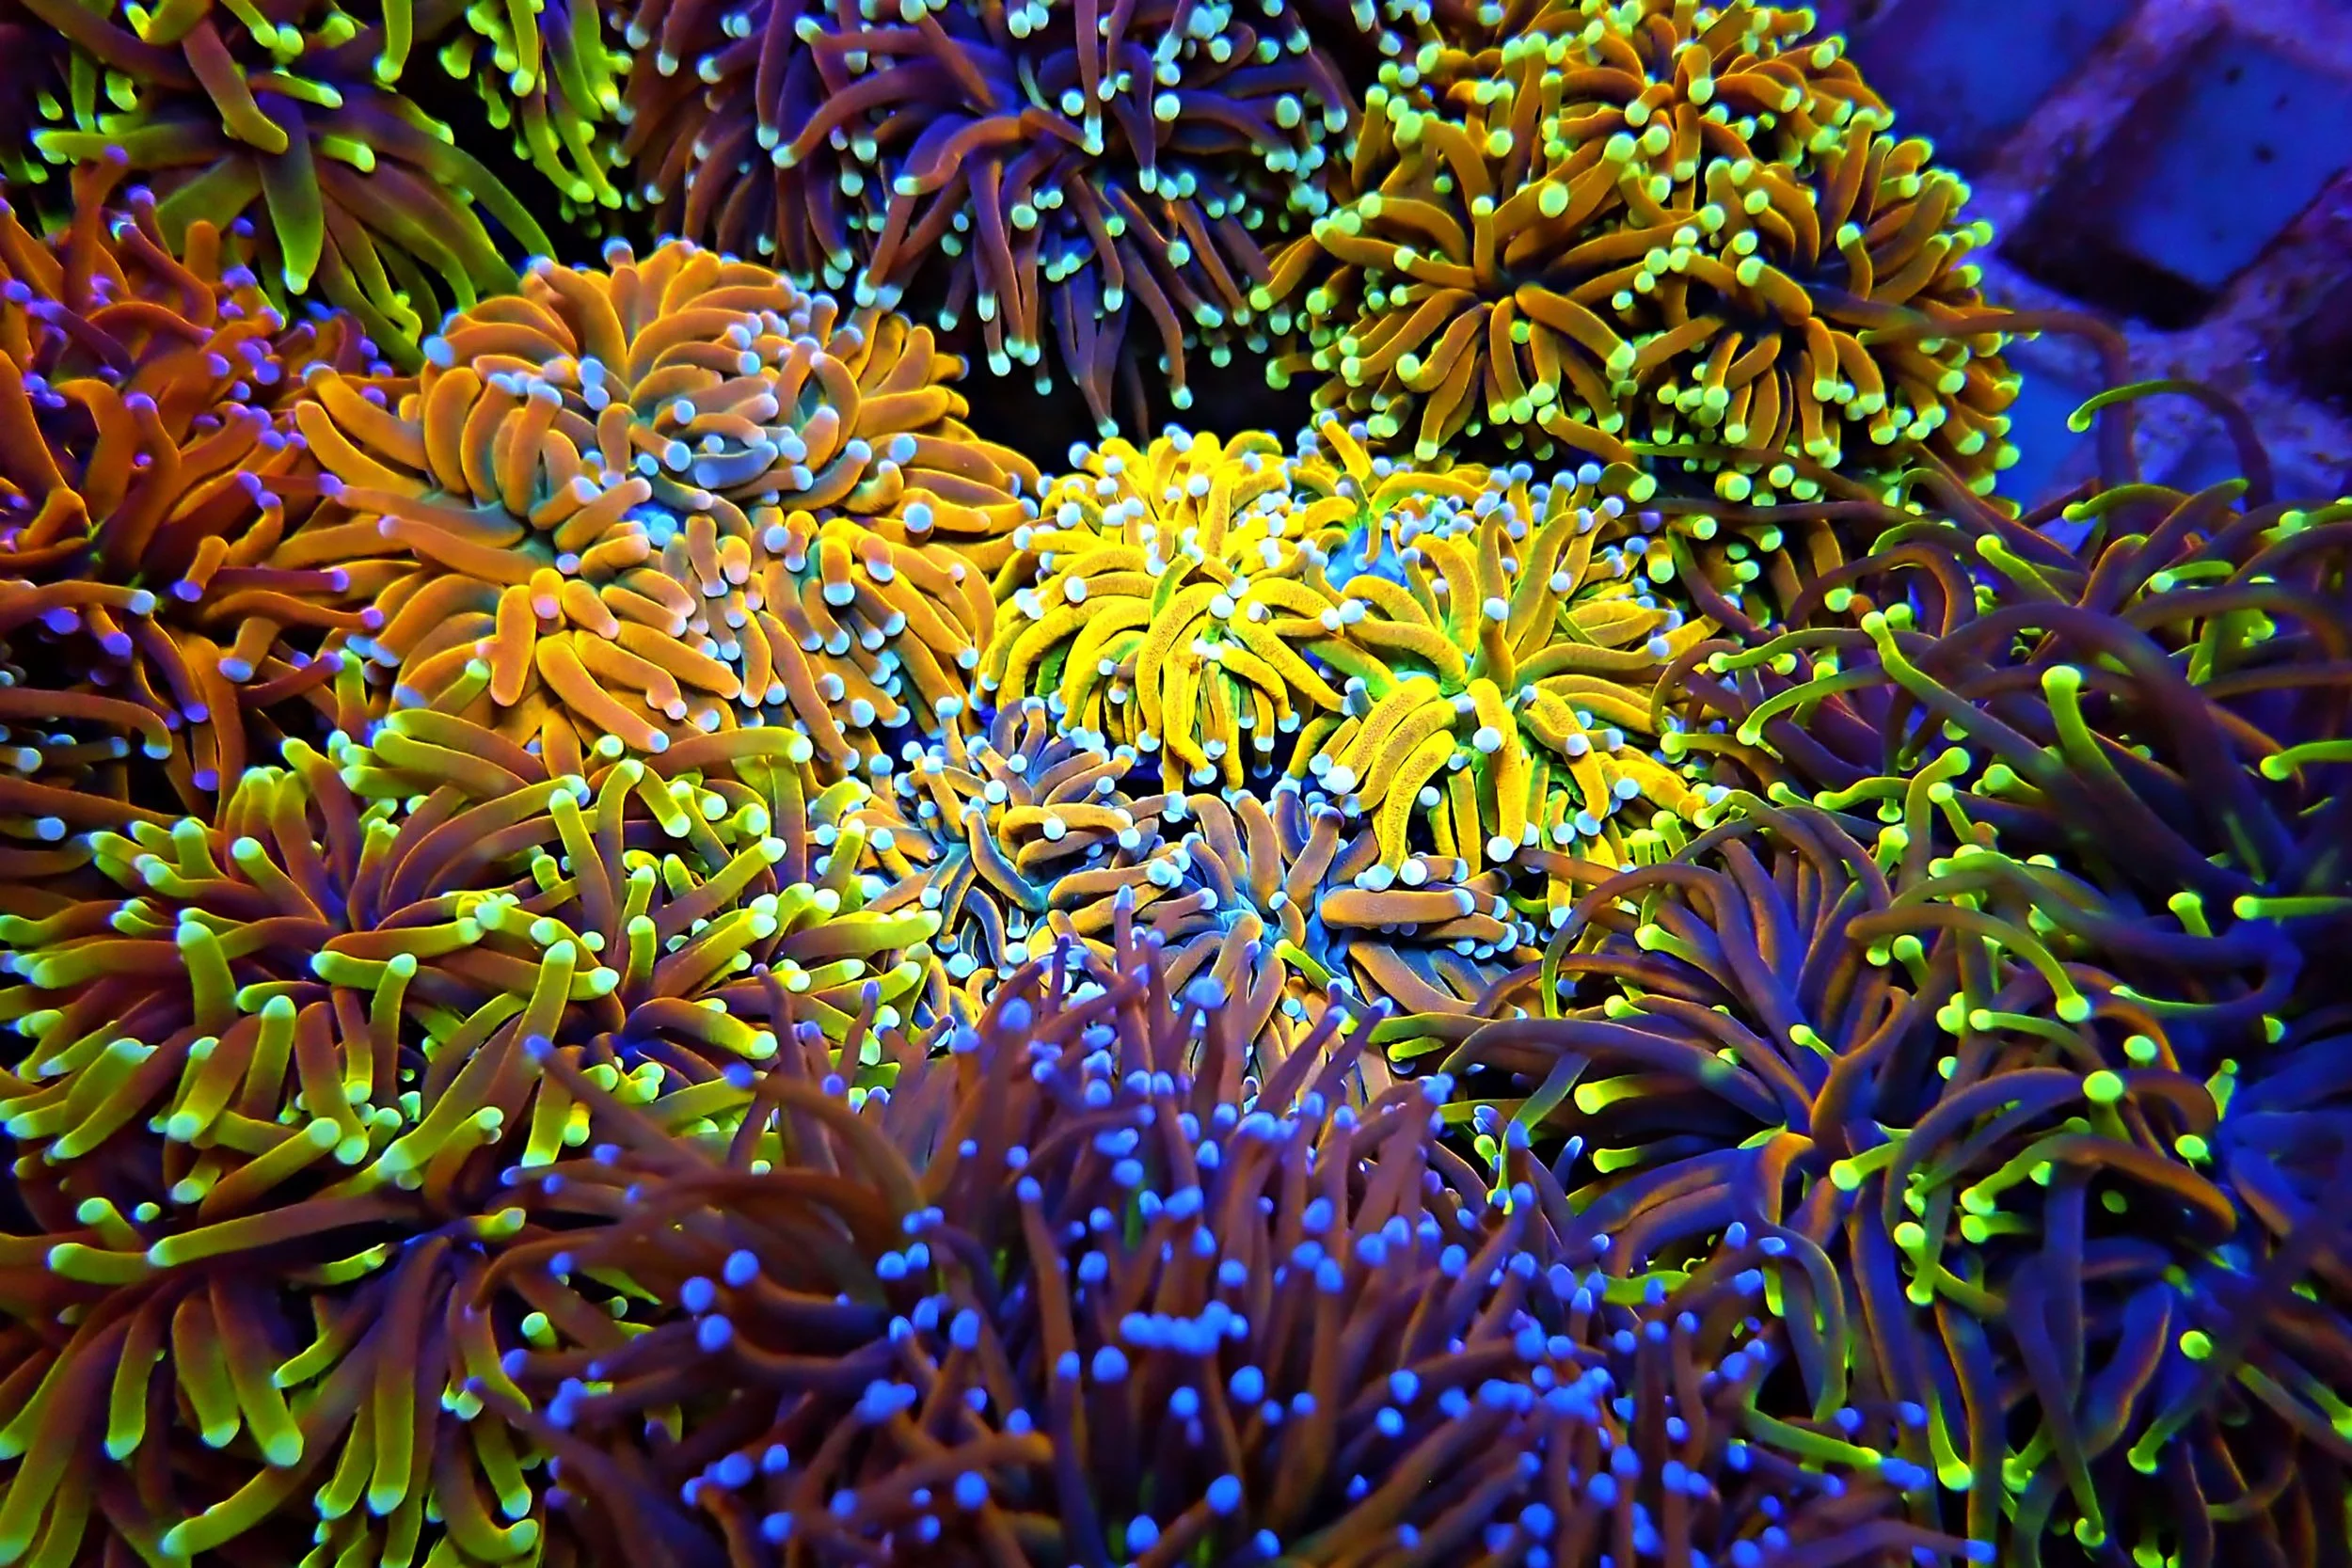
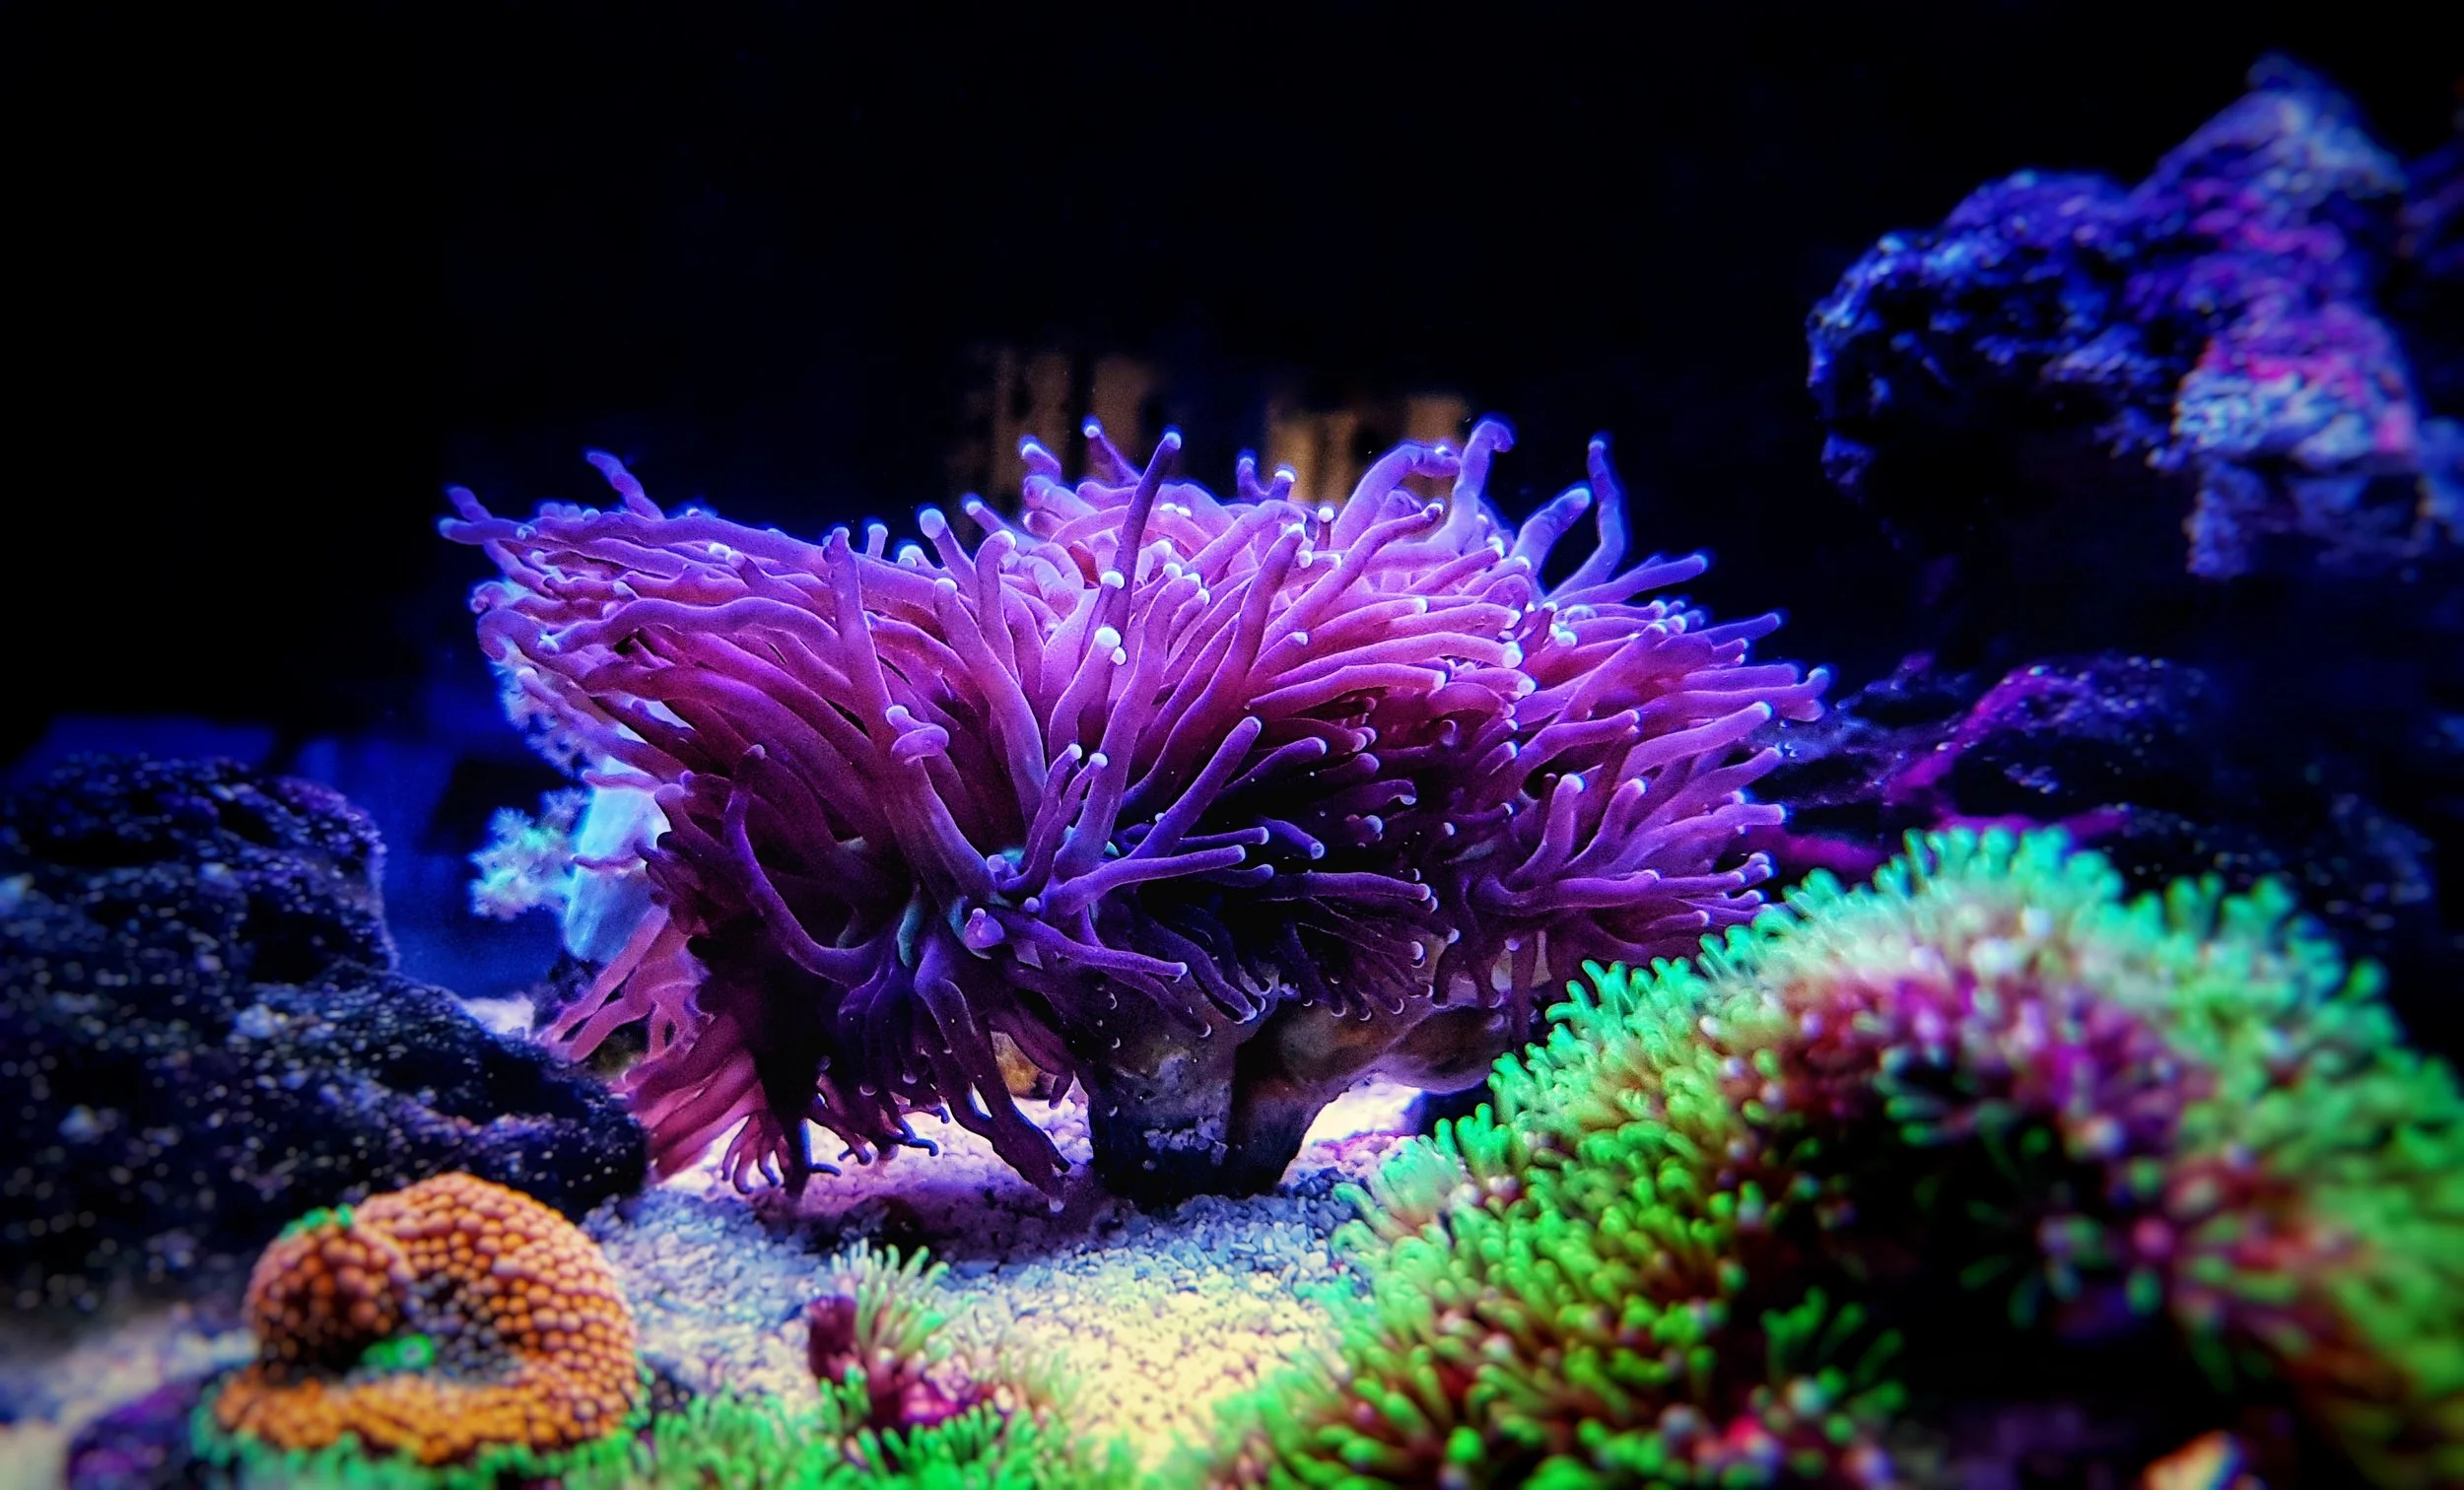
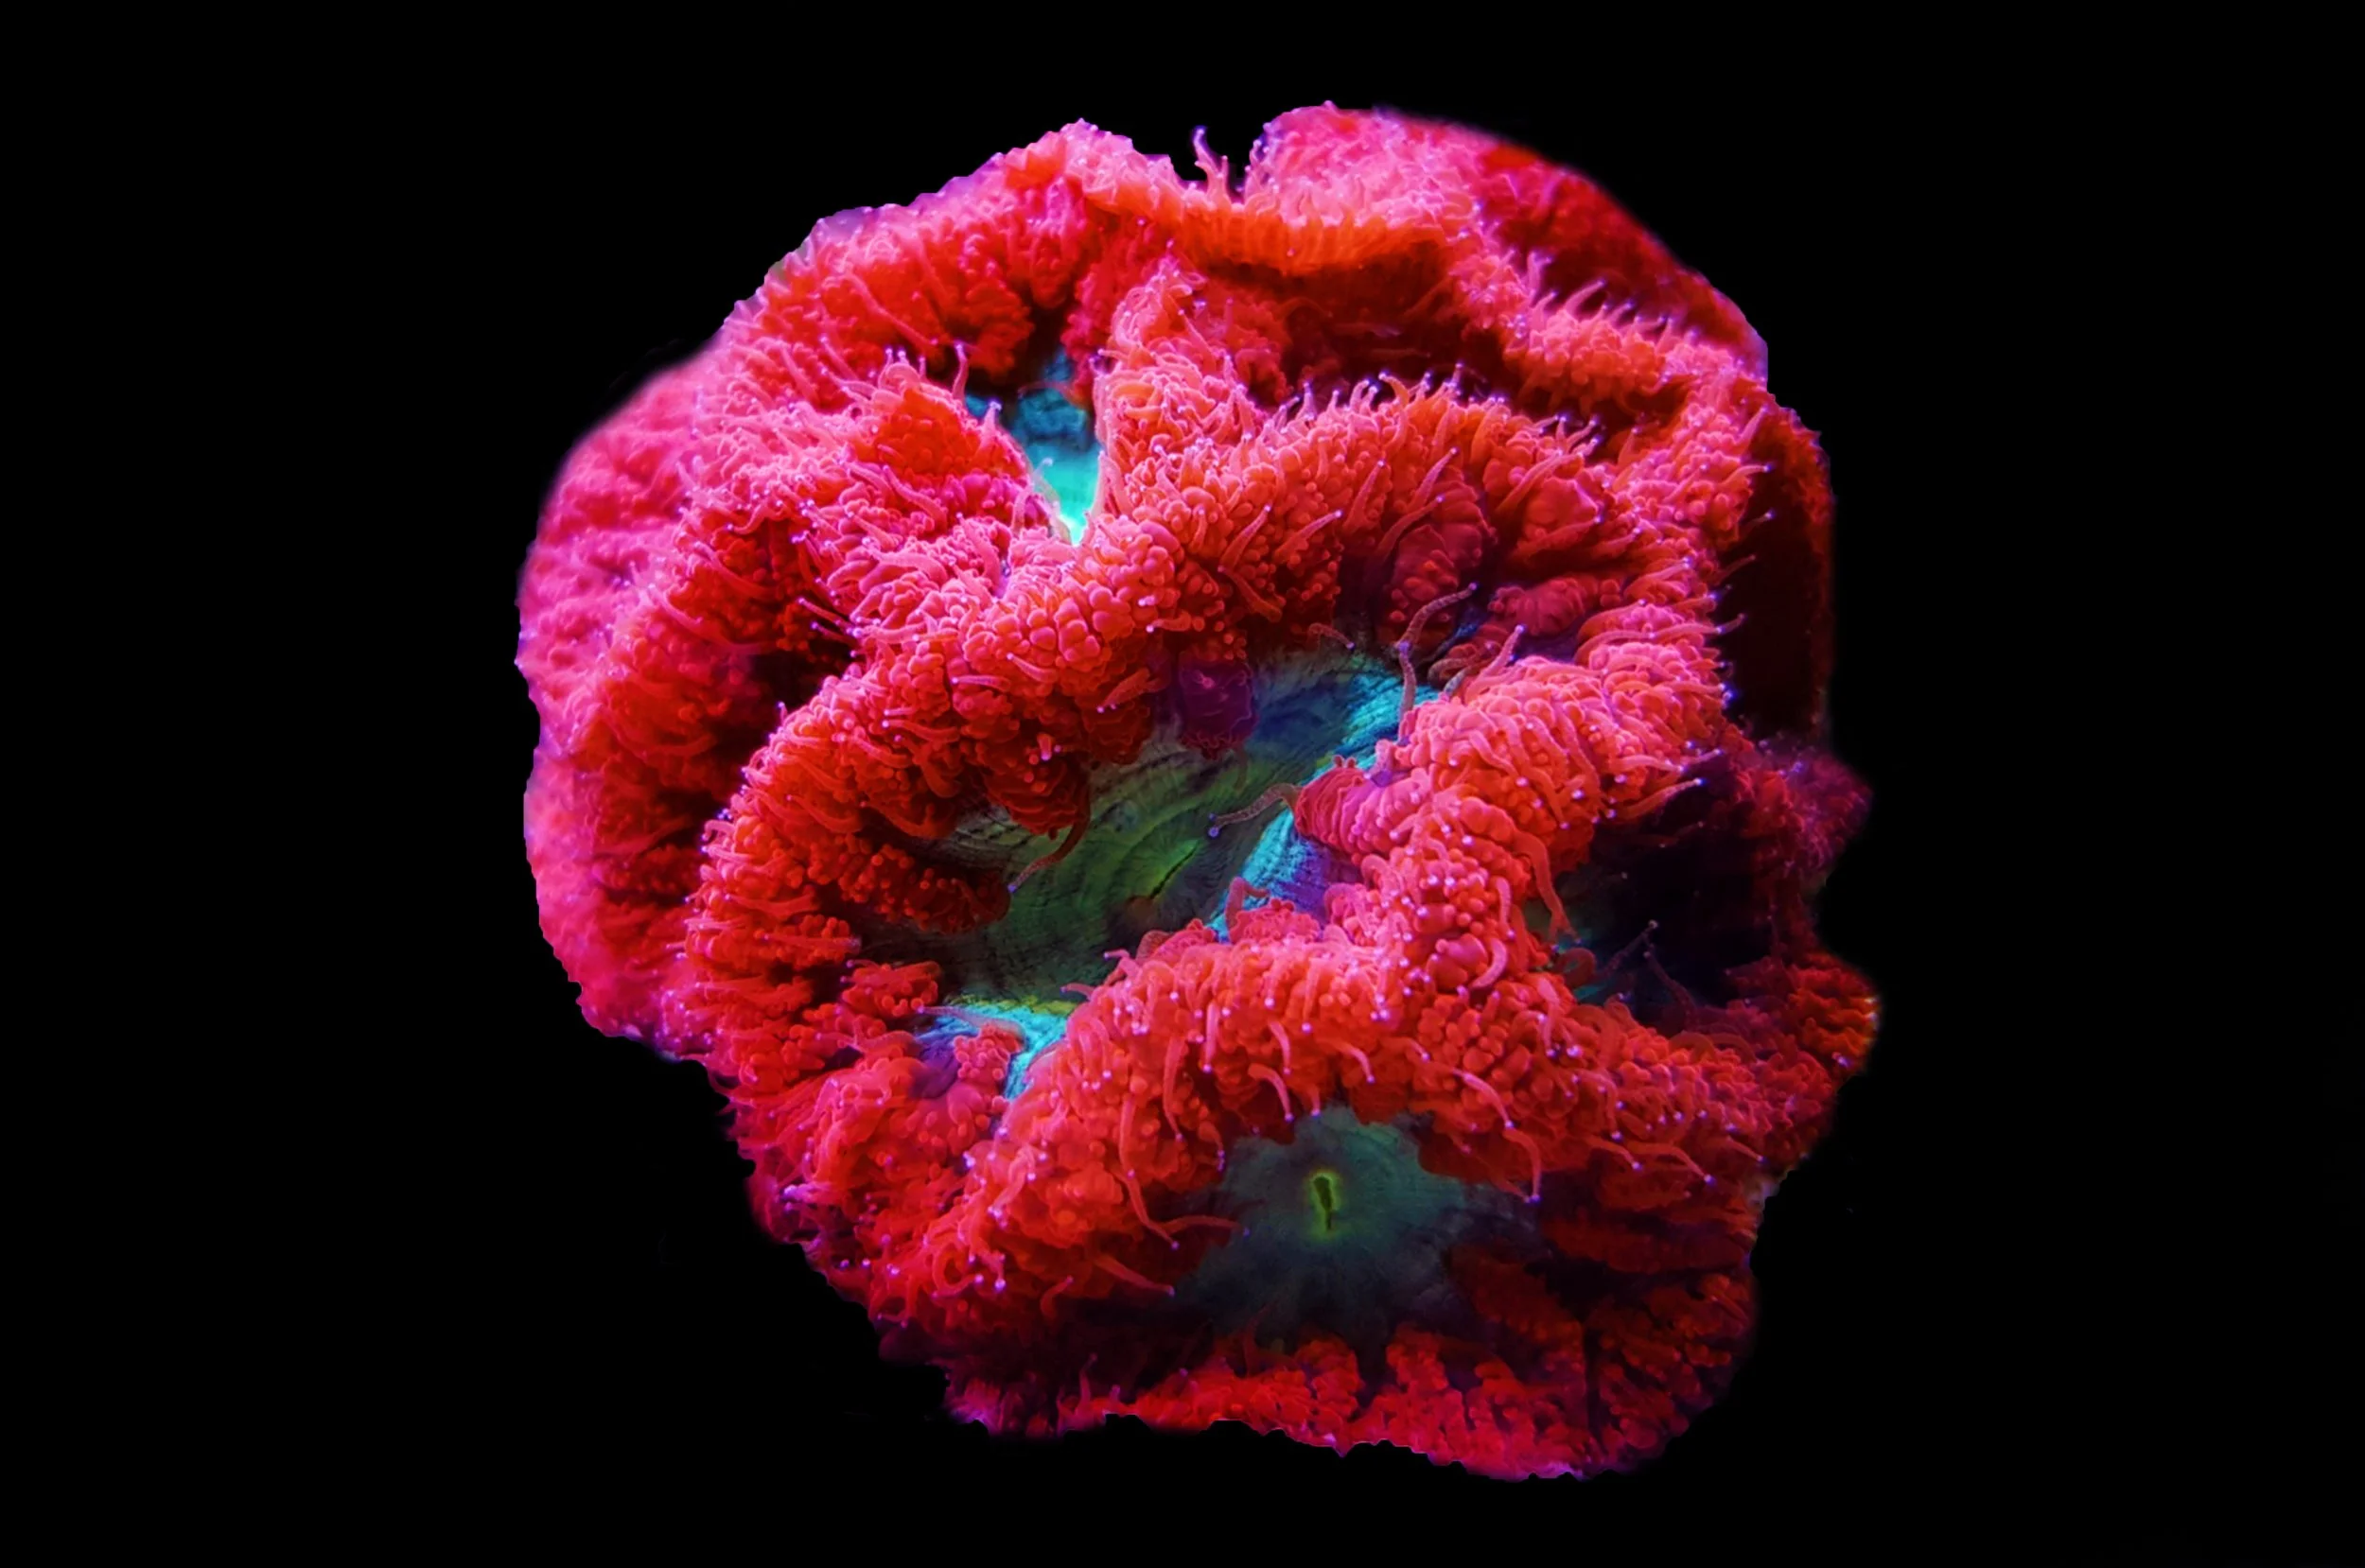
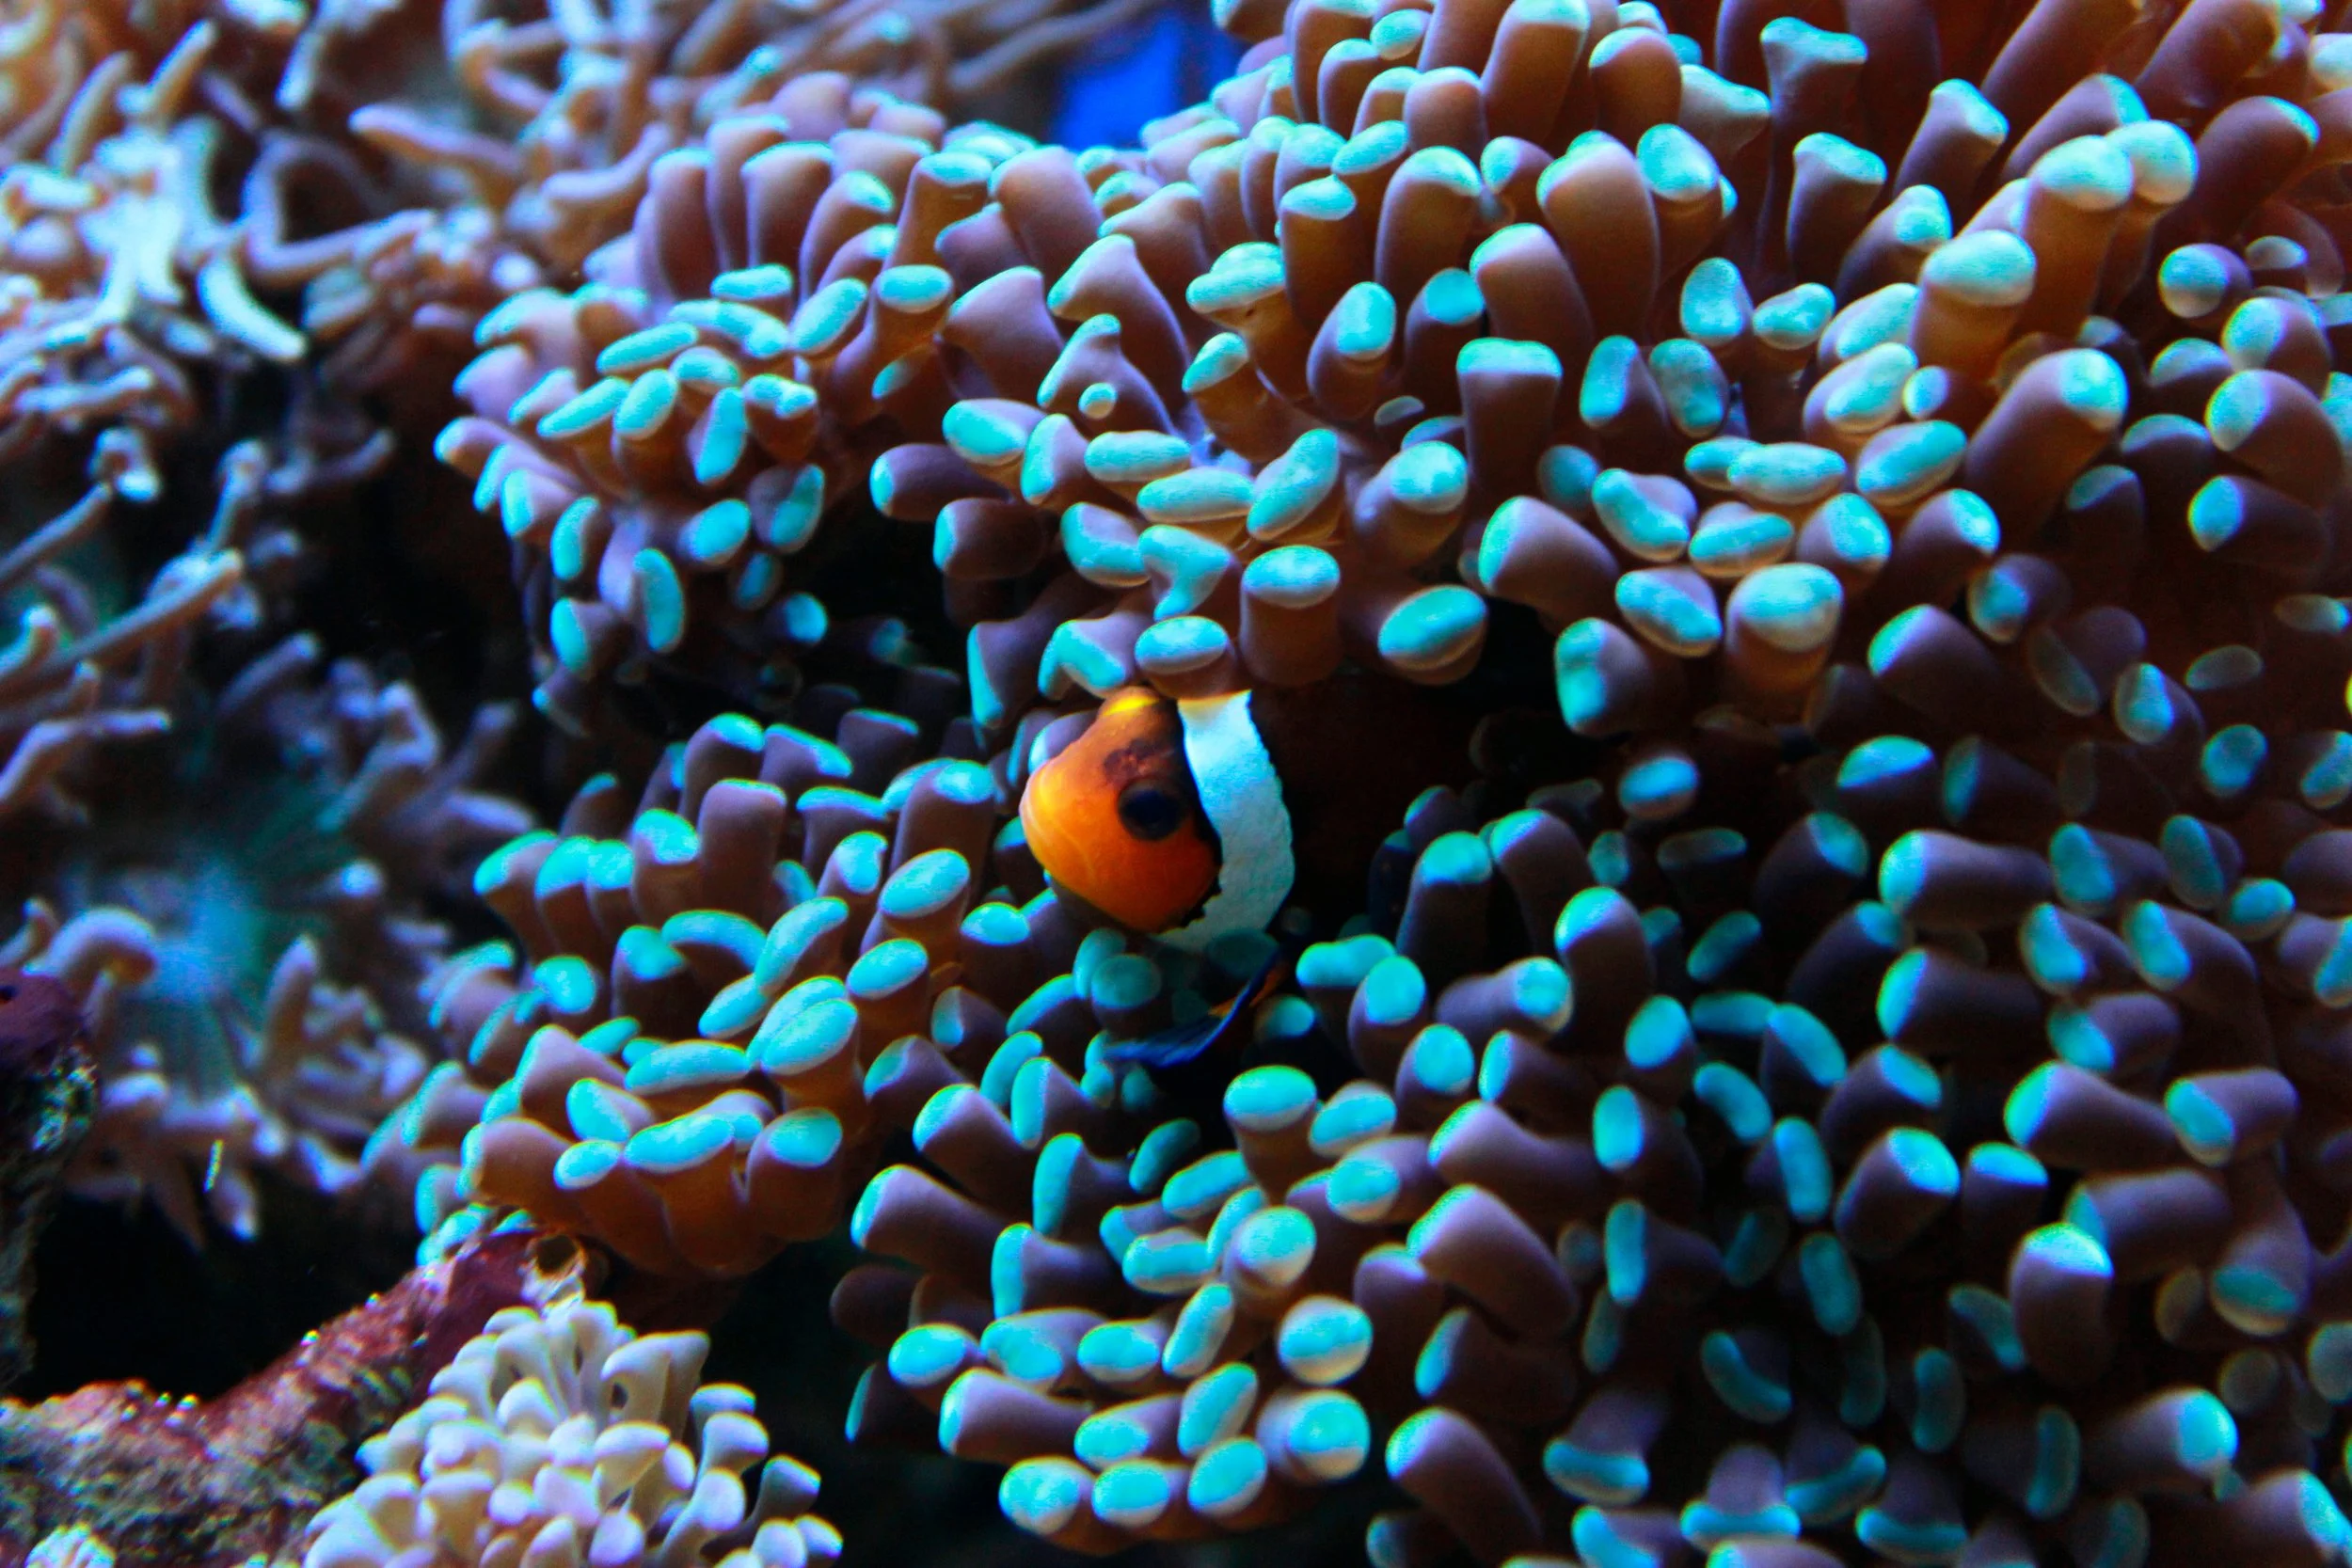
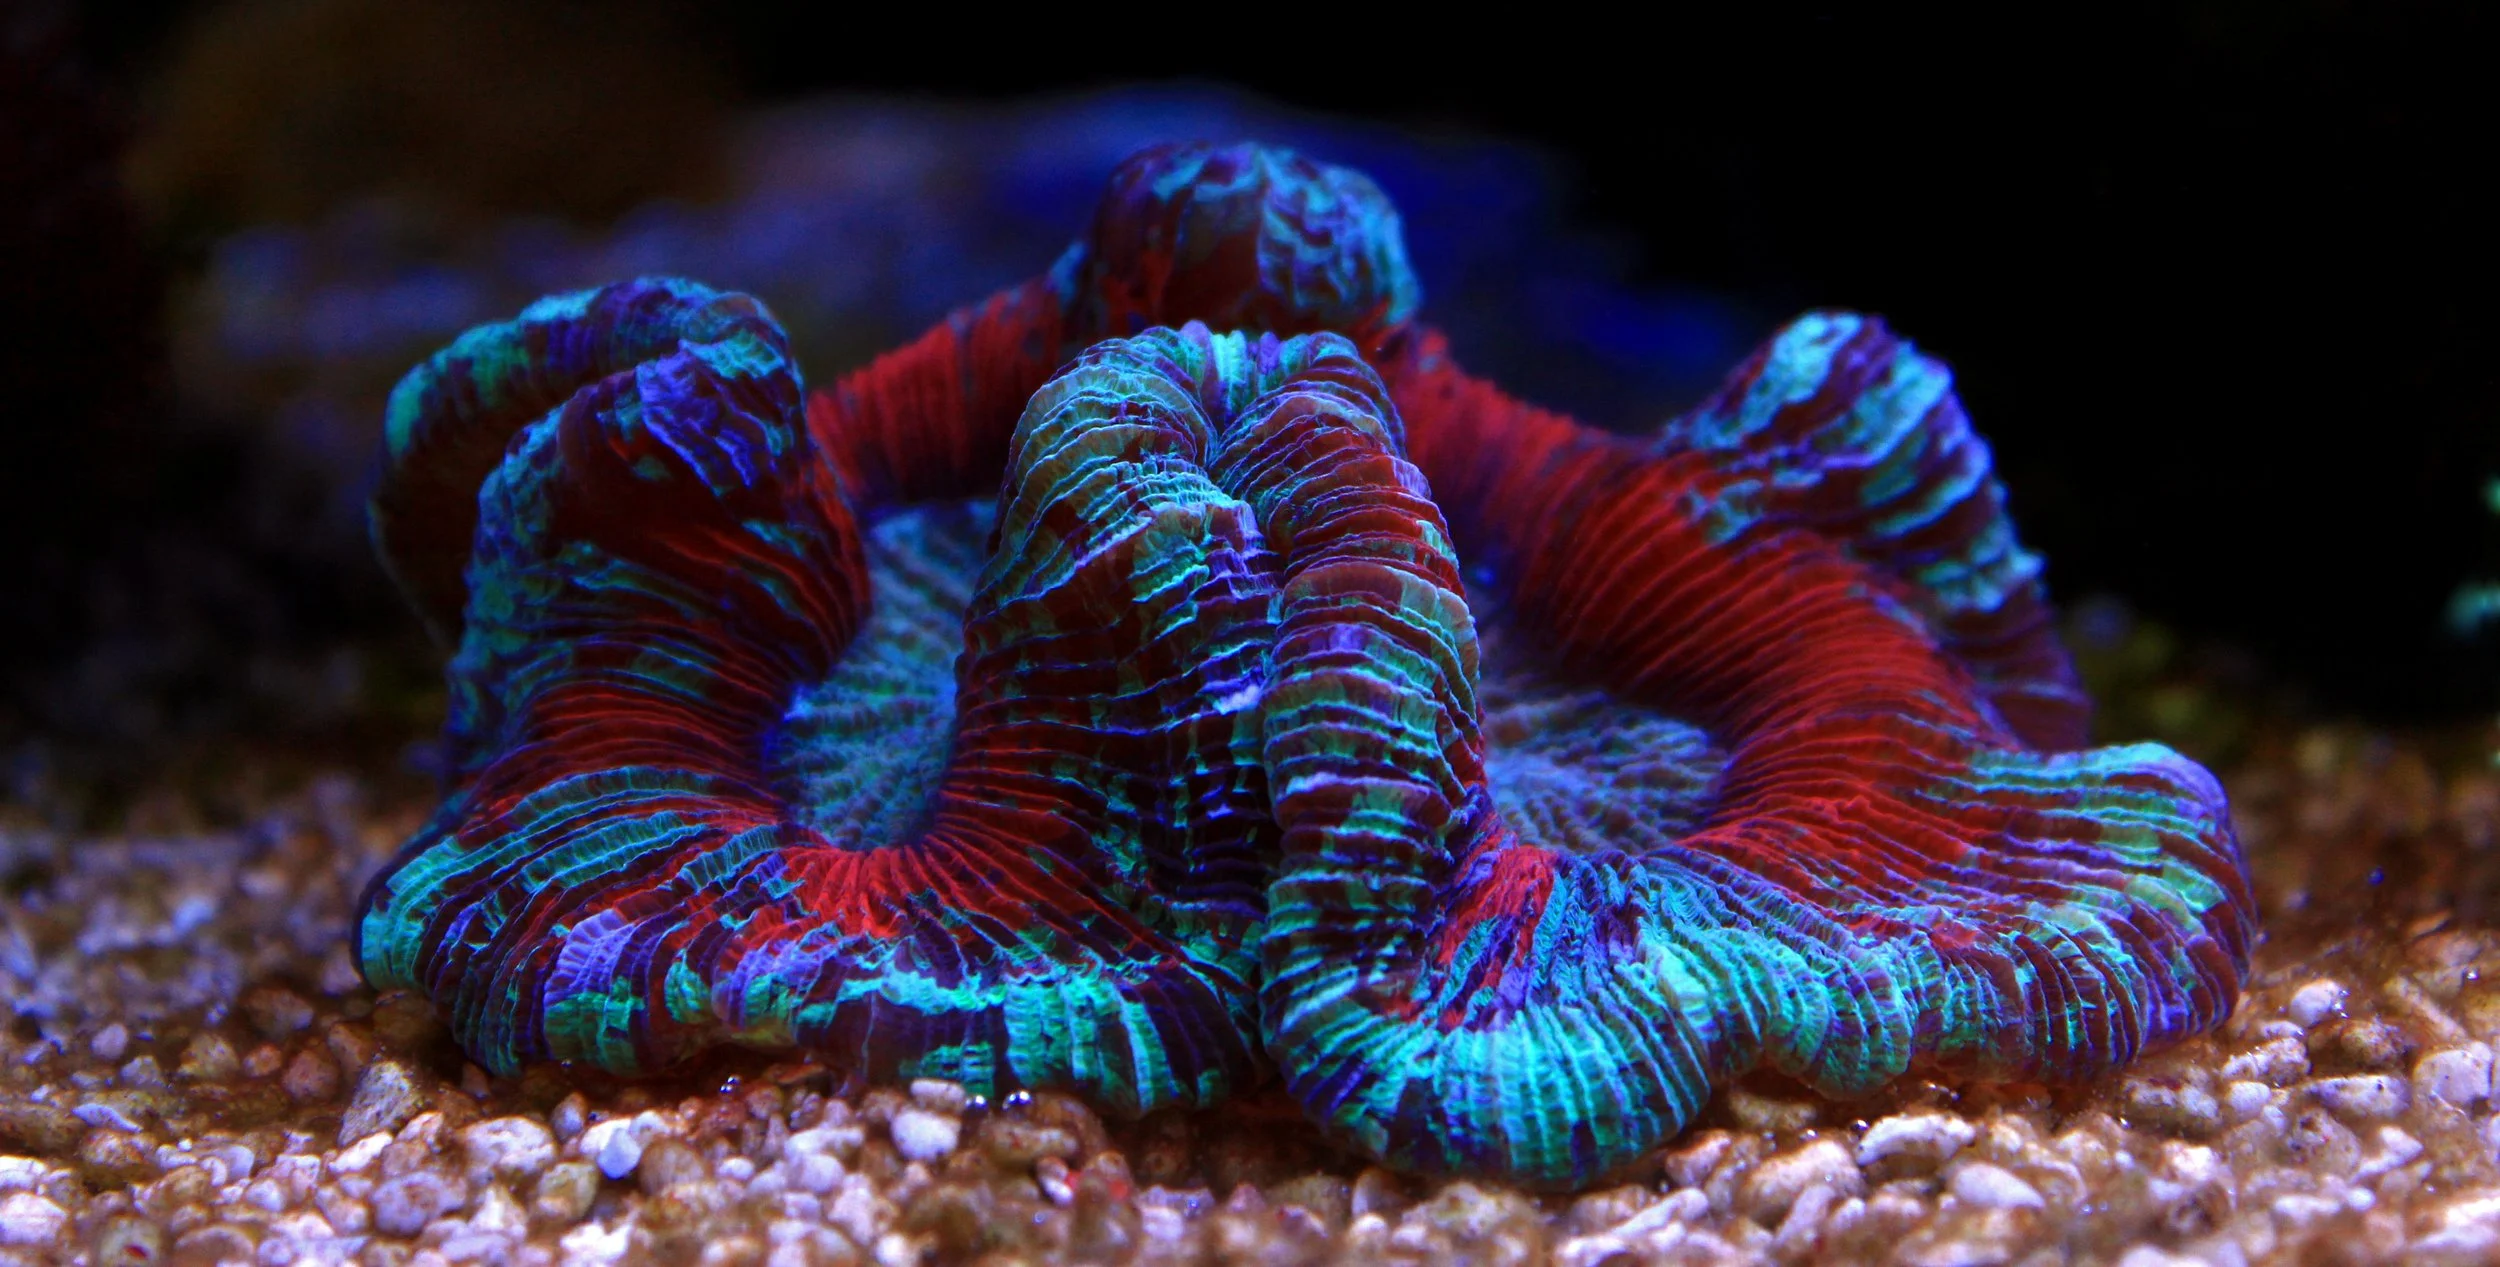
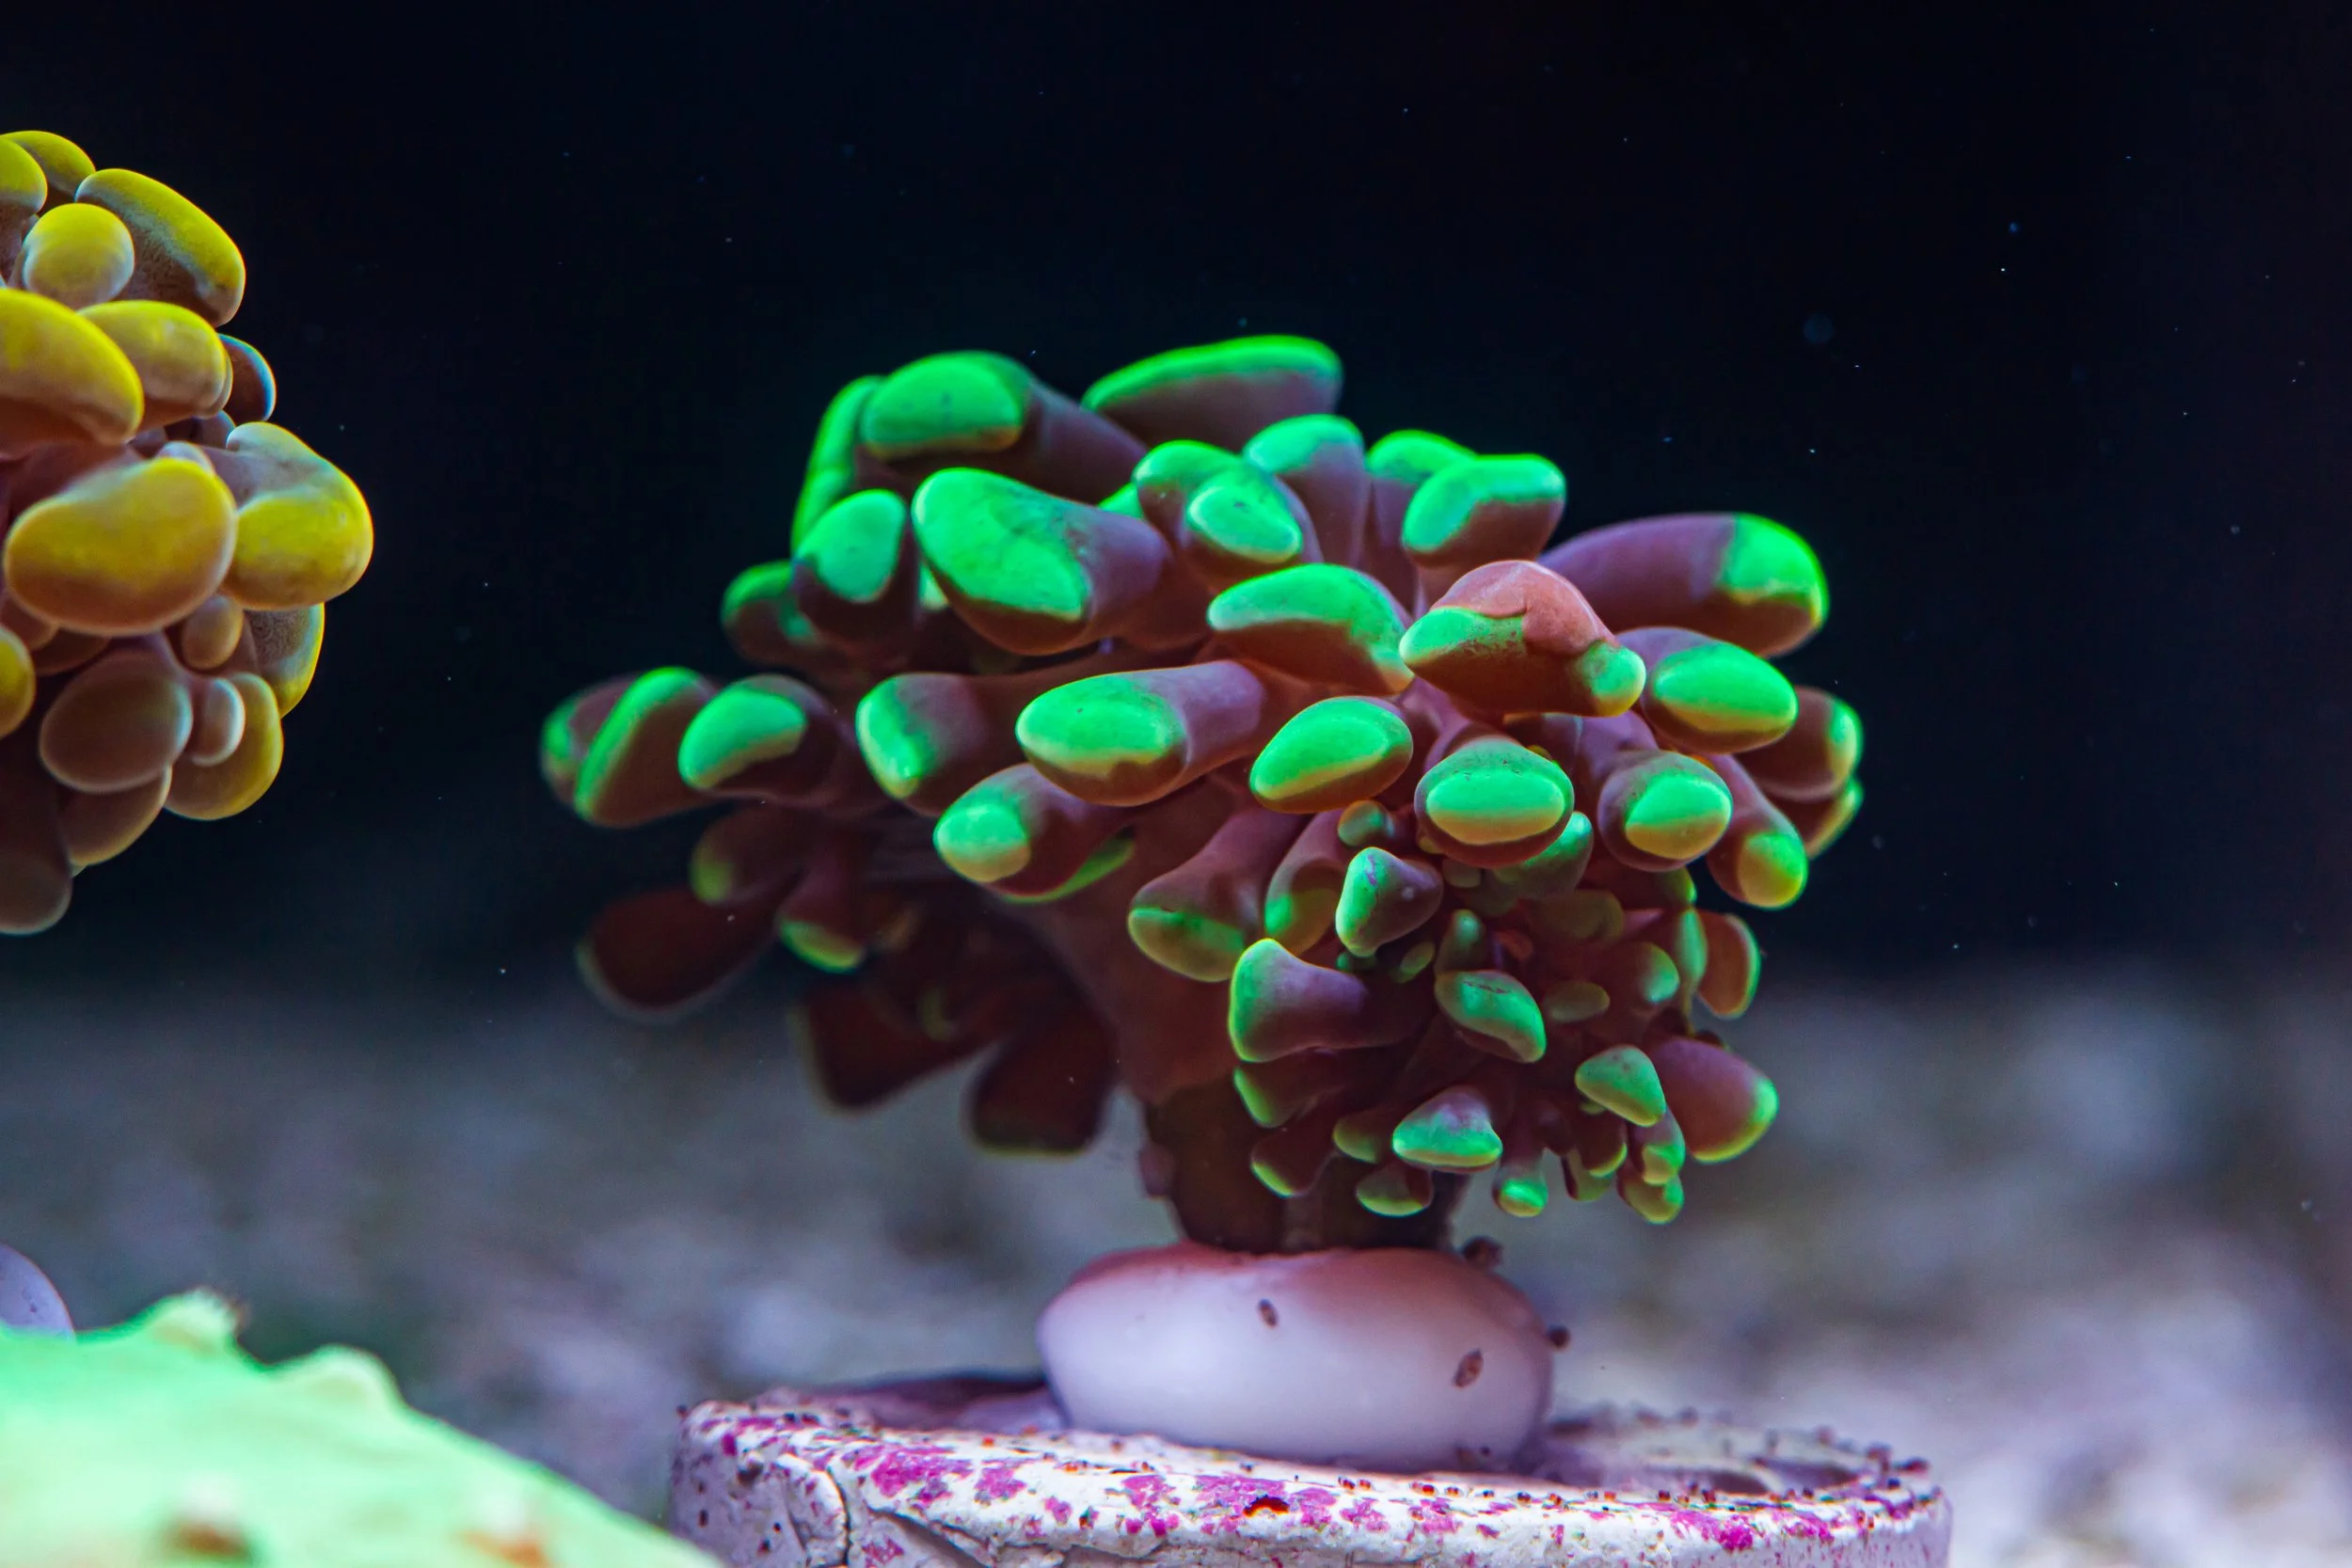
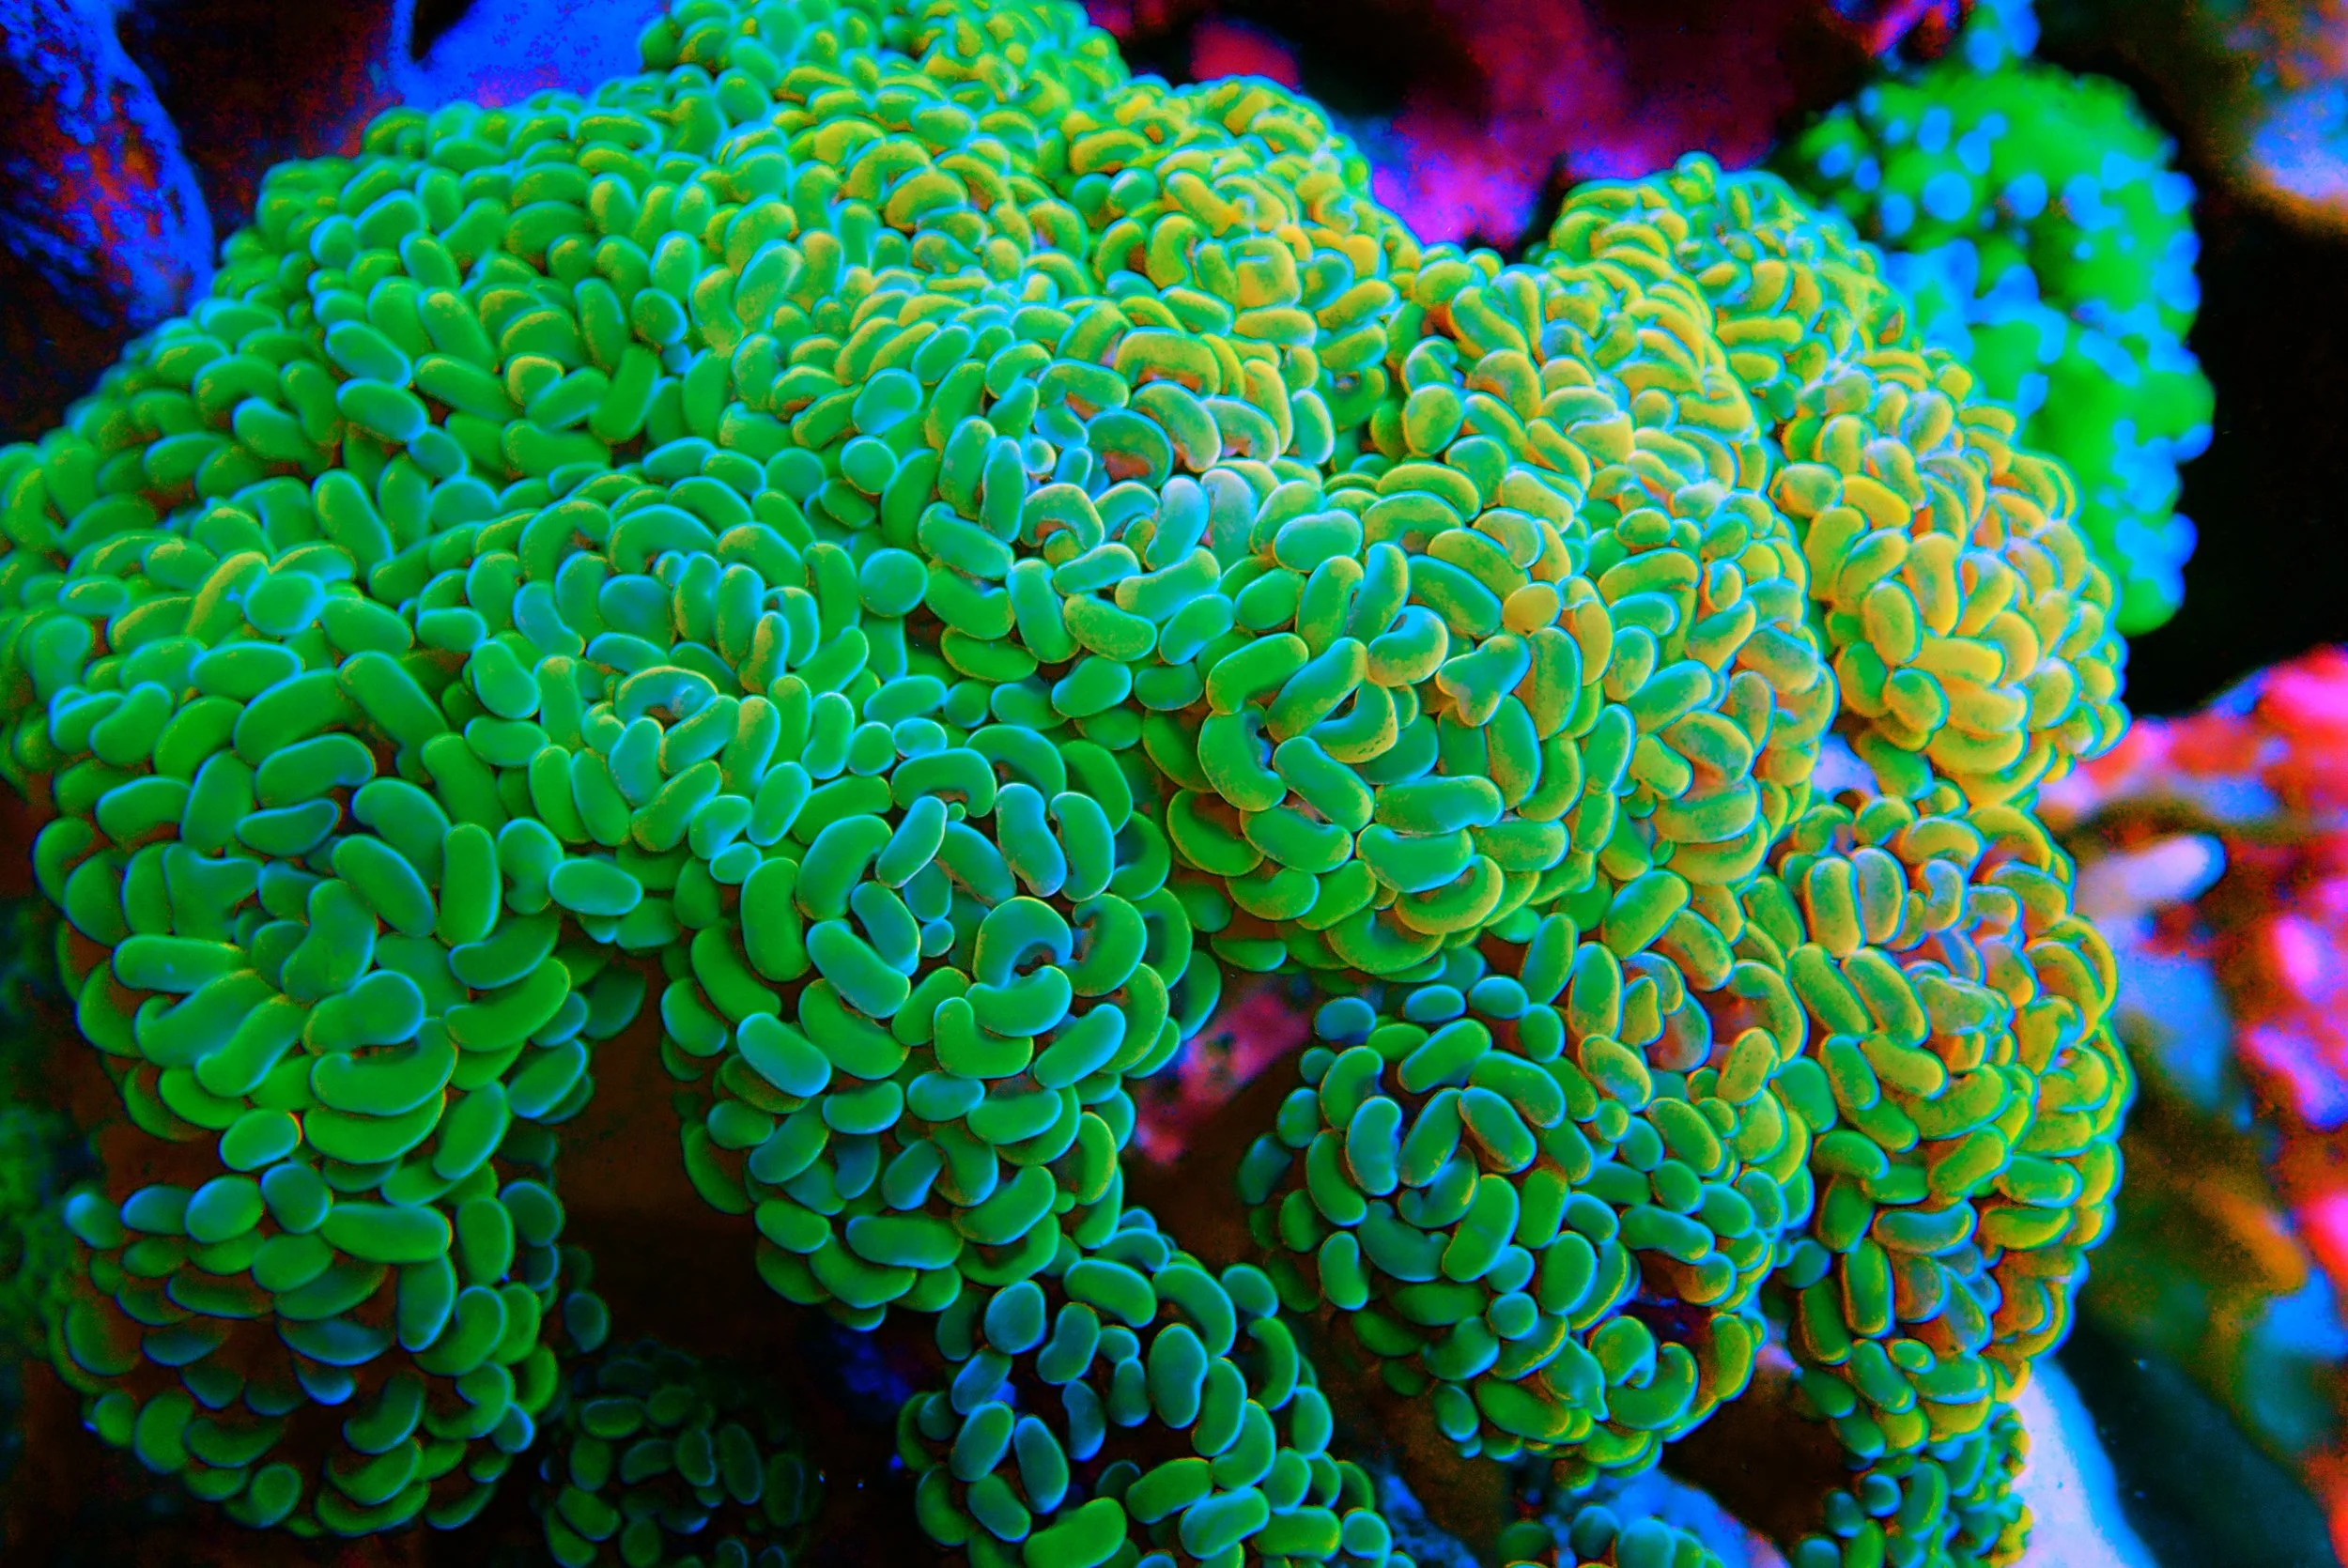
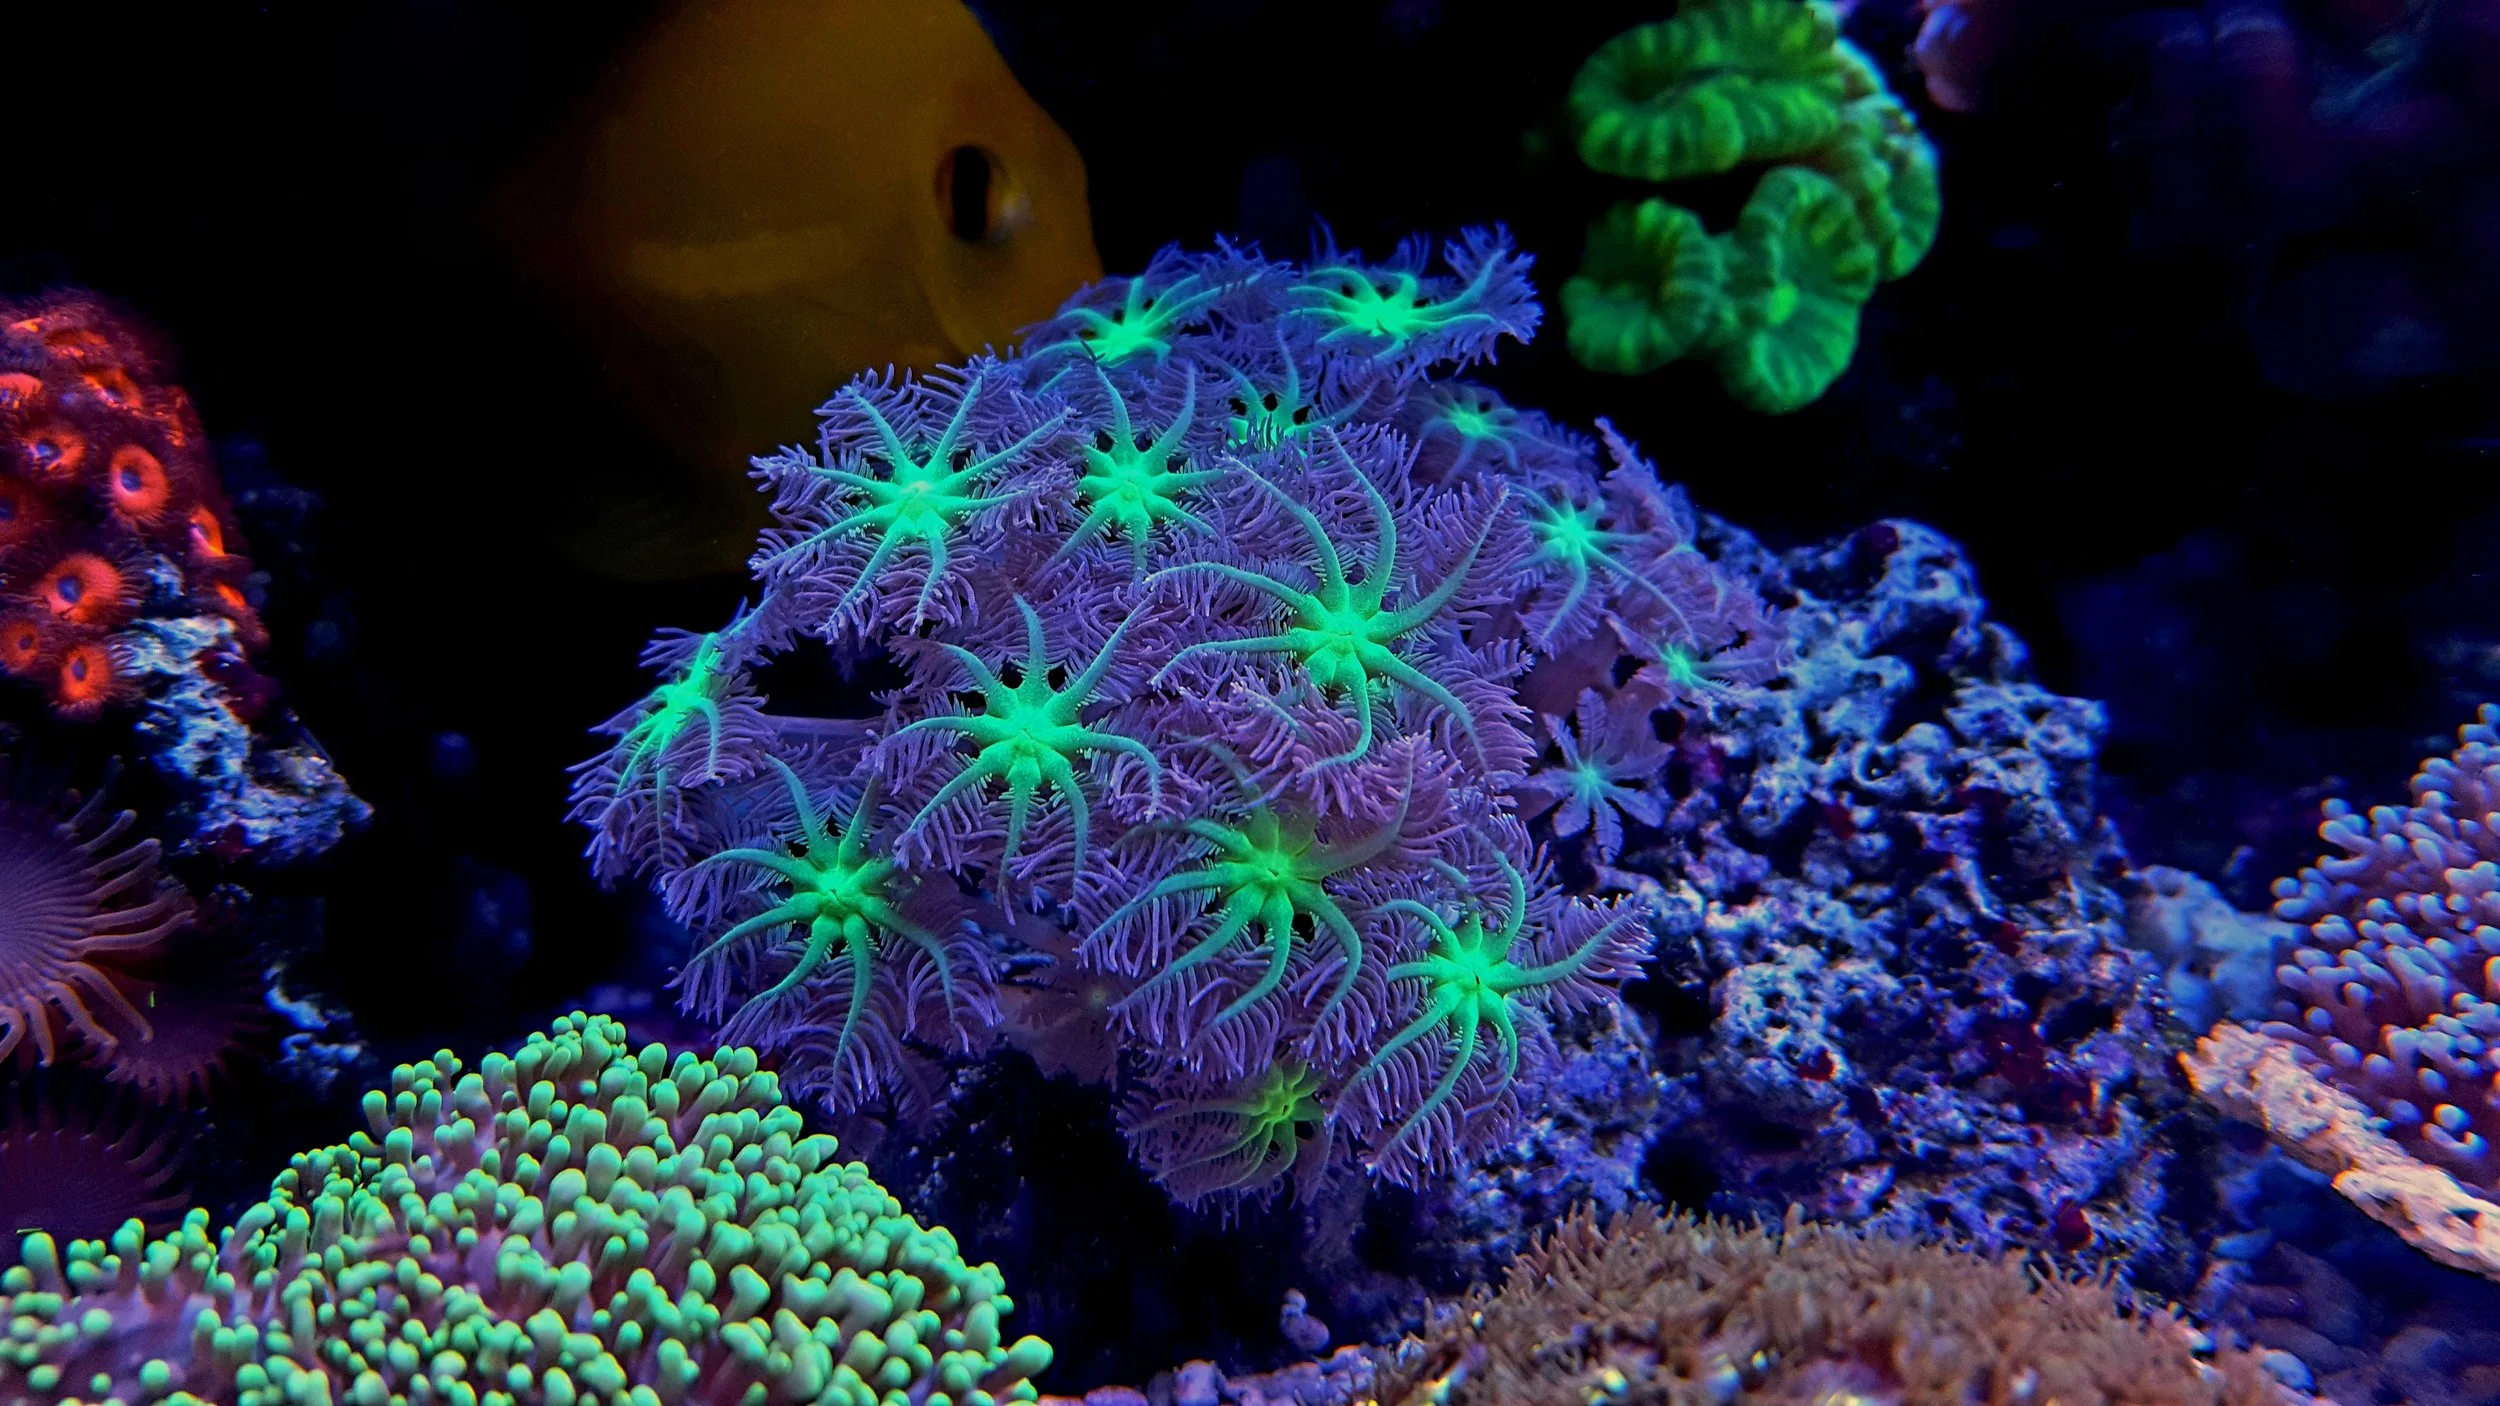
For a high-percentage success build we favor LPS and soft coral setups. They are forgiving, beautiful on camera, and relevant to a majority of hobbyists. A few practical advantages:
Visual impact — big flowing polyps and saturated colors make the tank pop on the SR set.
Lower PAR, lower maintenance — Lower light means dramatically less algae on the glass and rock. That means less frequent cleaning.
Wide applicability — LPS tanks are common, so the lessons are useful to many reef keepers. This is a teaching tank for new to intermediate reefers.

Tank Size & Brand: Why we chose the Fiji Cube 76 EXT
We normally recommend tanks in the thirty five to seventy five gallon range for the 90/10 formula. For this hybrid build we called a small audible and chose a seventy six gallon Fiji Cube. The goal was to consolidate several smaller 25g AIO tanks on the SR set into one larger 76g system. That decision reduced pumps, lights, filtration, and ongoing work while giving us more display area.
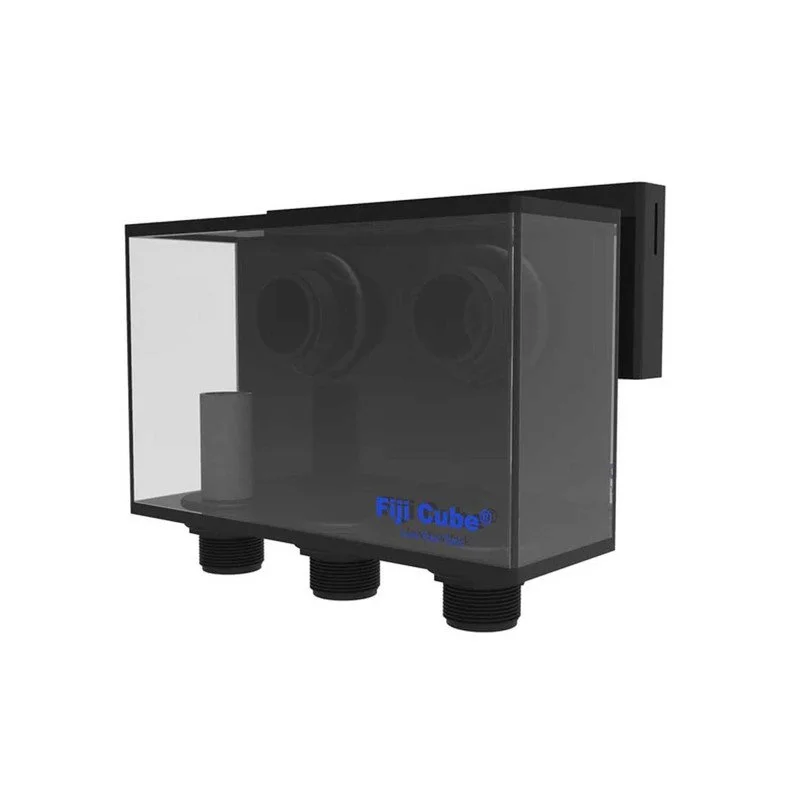
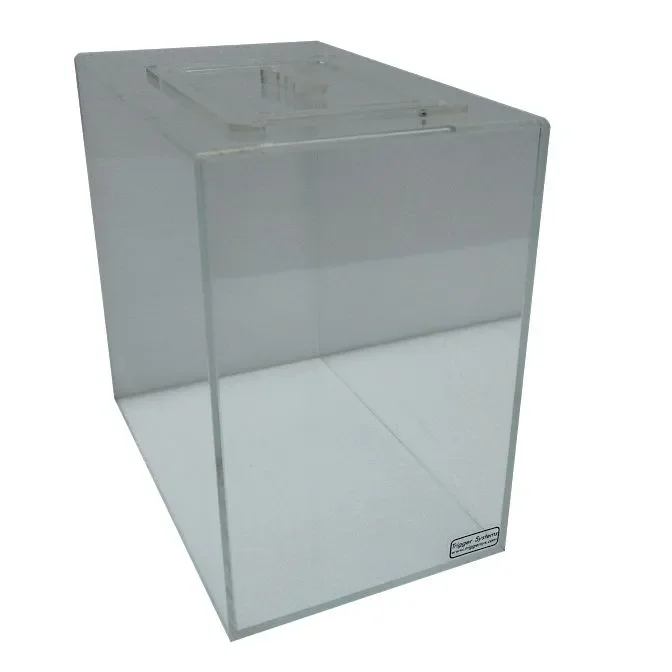
Sumps are not forbidden in 90/10, but most builds skip them to avoid added cost and complexity. In this case we do not have a sump but we did select a tank with an external overflow for a few key reasons.
The tank is twenty four inches deep, which gives us a full twenty four inches of front to back display. A similar all in one design would sacrifice around six inches to house a mostly empty rear chamber, leaving only eighteen inches of usable depth. The tradeoff is that you might see the heater in the tank, which we are willing to accept.
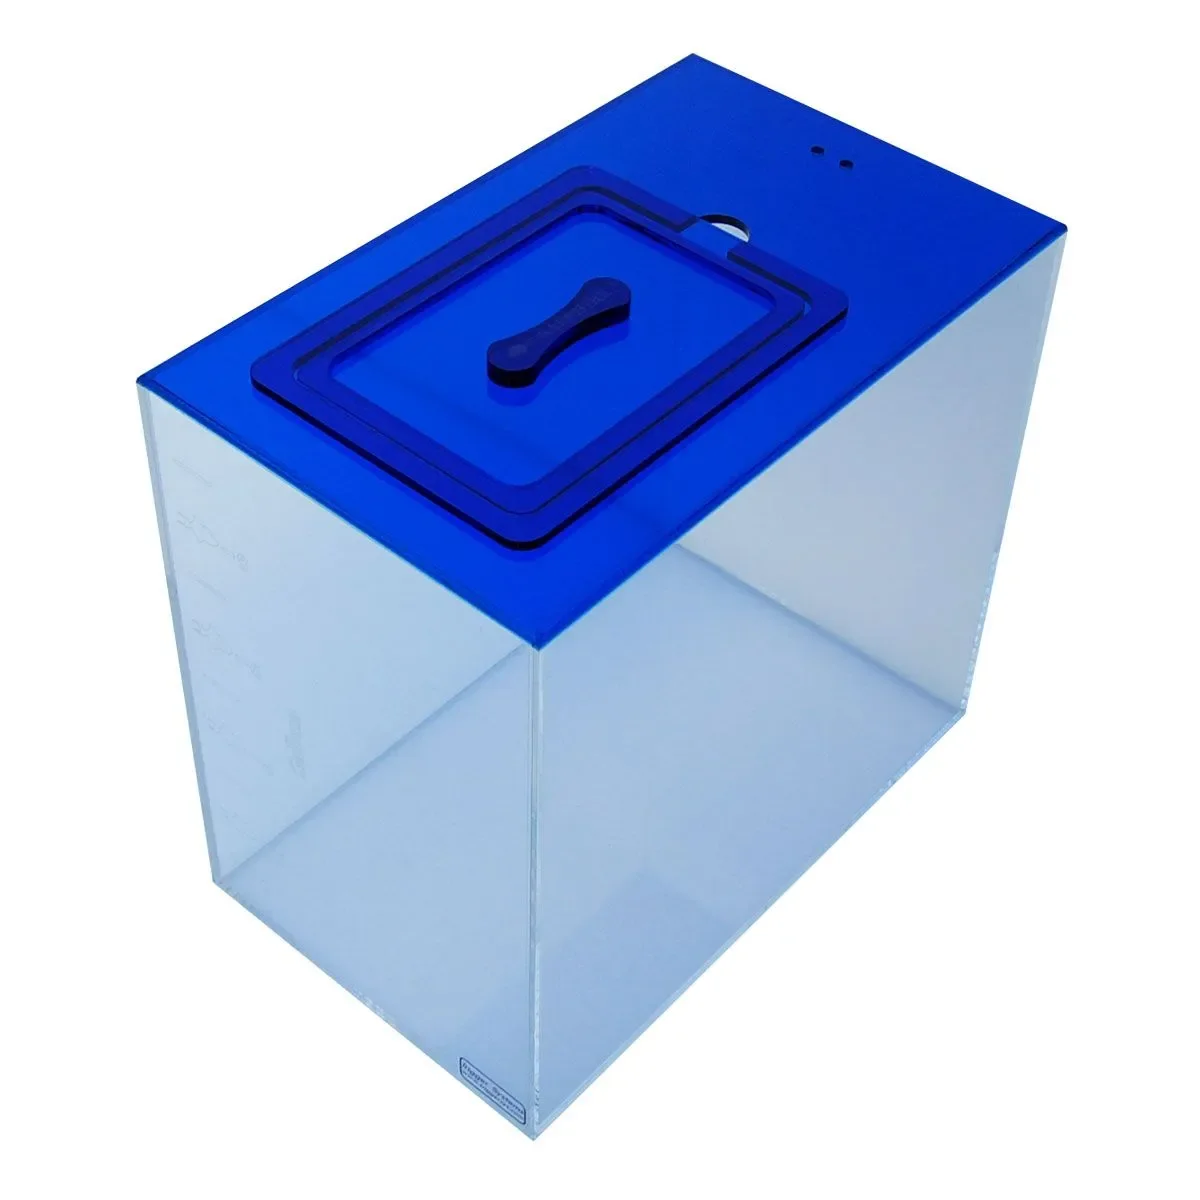
Rather than a plain glass box, we chose one drilled for an external overflow because we plan to use that overflow box as a DIY all in one chamber that will hold the heater, ATO, and probes.
The external overflow also future proofs the build in case we decide to add a sump down the road.
We chose Fiji Cube because we do not need a tank four months from now, we need one today. They are one of the few companies that stock external overflow tanks, do not require buying a stand we do not need, and have inventory available in the United States.


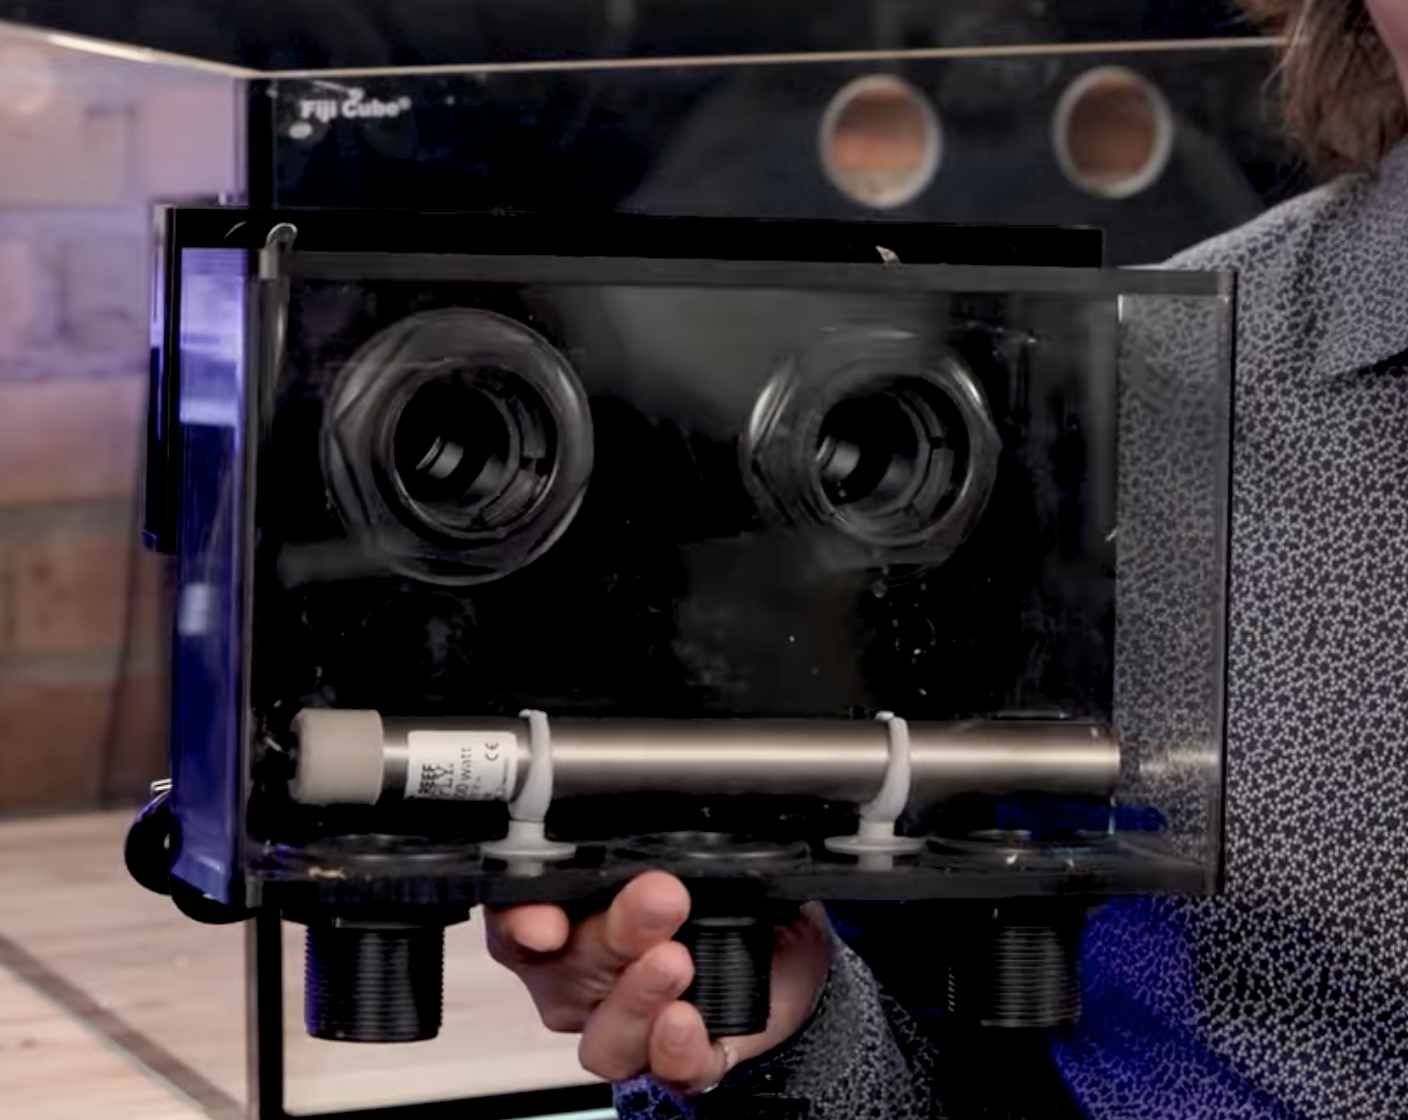
Using the overflow as a compact all-in-one compartment
We have never tried this before, but it is time to learn something new. The goal is to find out if the overflow box can function as a DIY AIO chamber for a small amount of essential gear. We installed a compact heater and an Axis 20 return pump to create a closed loop between the overflow and the return nozzle.
The objective is to house the ATO, heater, probes, and a filter bag inside a closed loop box with reliable flow. This provides many of the benefits of an AIO or sump without the visual impact, space demands, cost, or added complexity. in future releases you will see how we did it and how well it worked out.


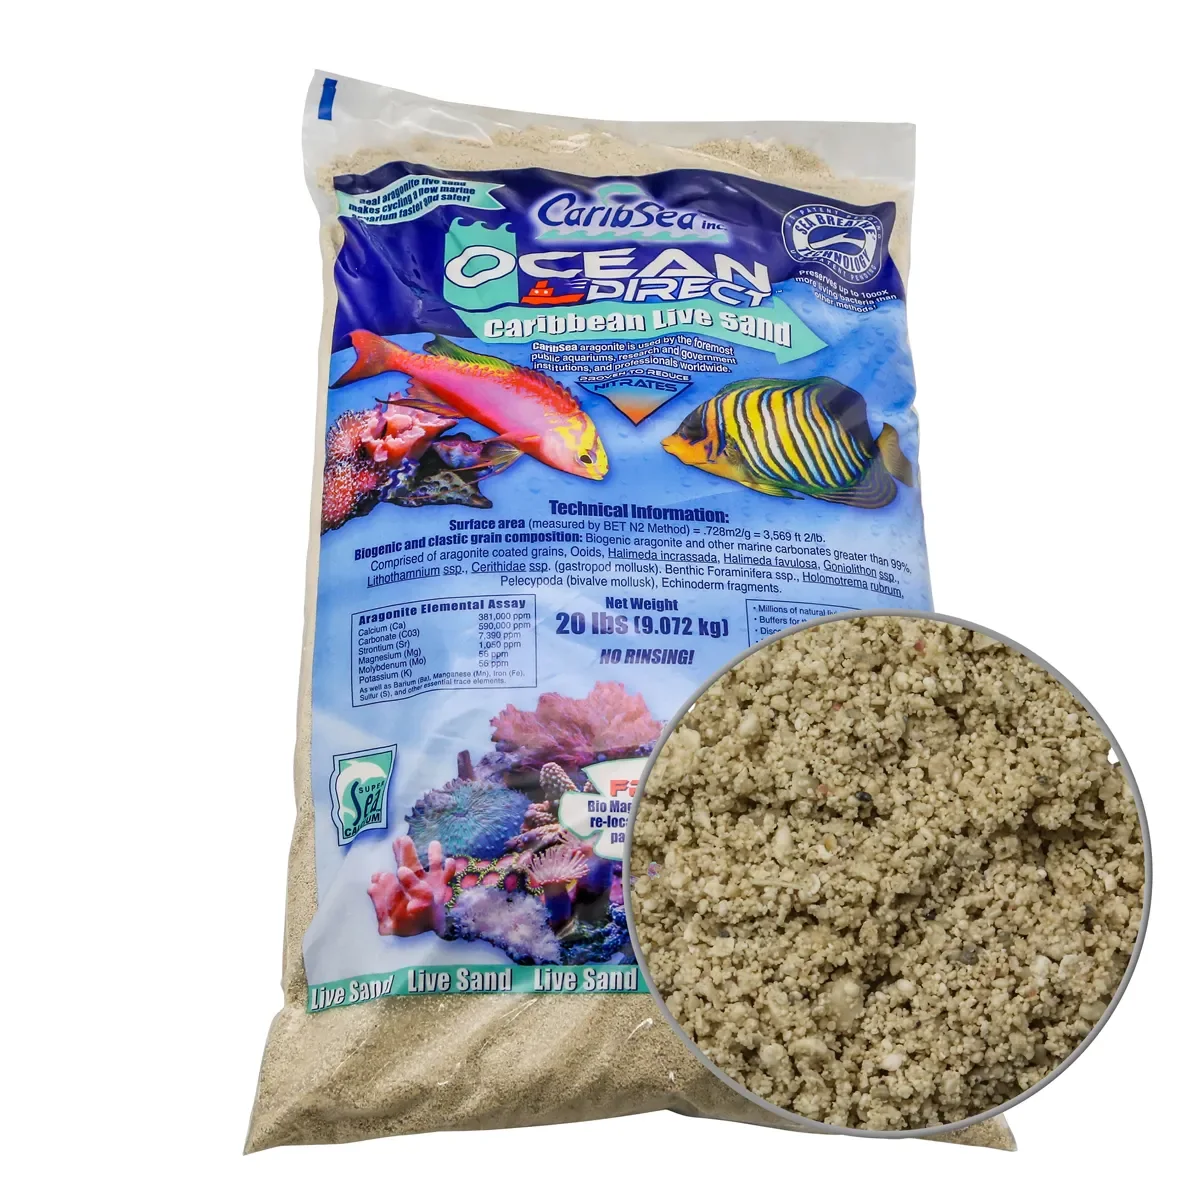
Sand and biome: Why we chose Ocean Direct and “Used” Sand
We are using a blend of processed live sand (Ocean Direct) and a small amount of unprocessed live sand as a biome donor. In this case that means sixty pounds of Ocean Direct and a thin layer of about ten pounds taken from an established tank we are migrating into this system. That proven, stable biome jumpstarts the microbiome and helps the new tank mature faster.
This is a deviation from the typical 90/10 recommendation of using TBS ultra live sand. We usually recommend TBS because it is reliably available to anyone in the United States. Clean, established sand from a mature system is not available to most reefers.
Historically we have advised against using “used sand.” In reality all sand is used. What we are actually warning against is dirty, dead, detritus-laden sand, which is what most sand from existing aquariums becomes. Specifically if it is stored for any period of time. In this case we are taking a different path. Right before migration we will remove the rock, thoroughly siphon and rinse the sand in the tank to clean it, then move it directly into the new system. That means it will be both clean and alive.
You will get to see how this audible plays out as we document the biome cycle and ugly stage in real time.

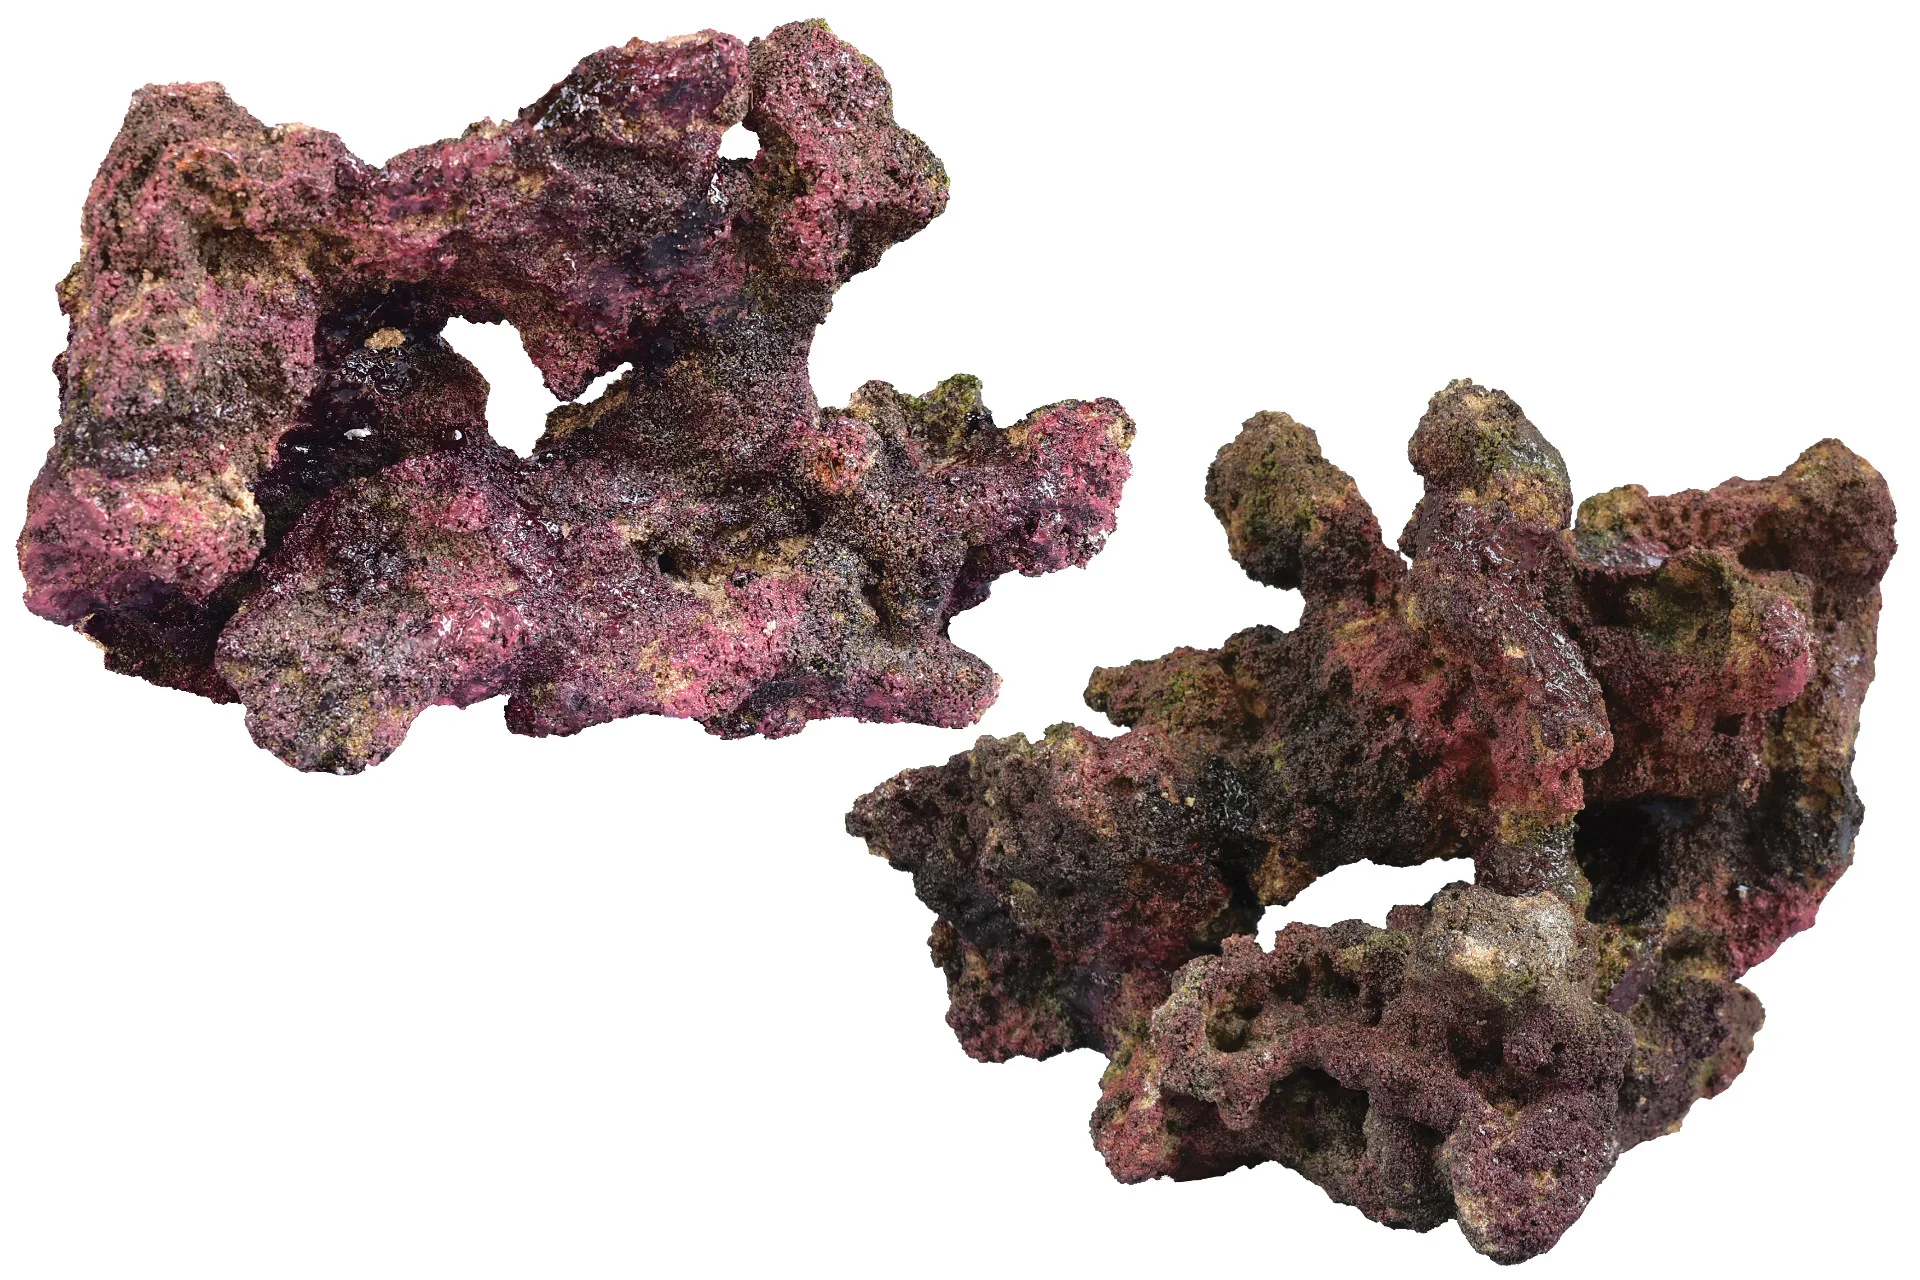
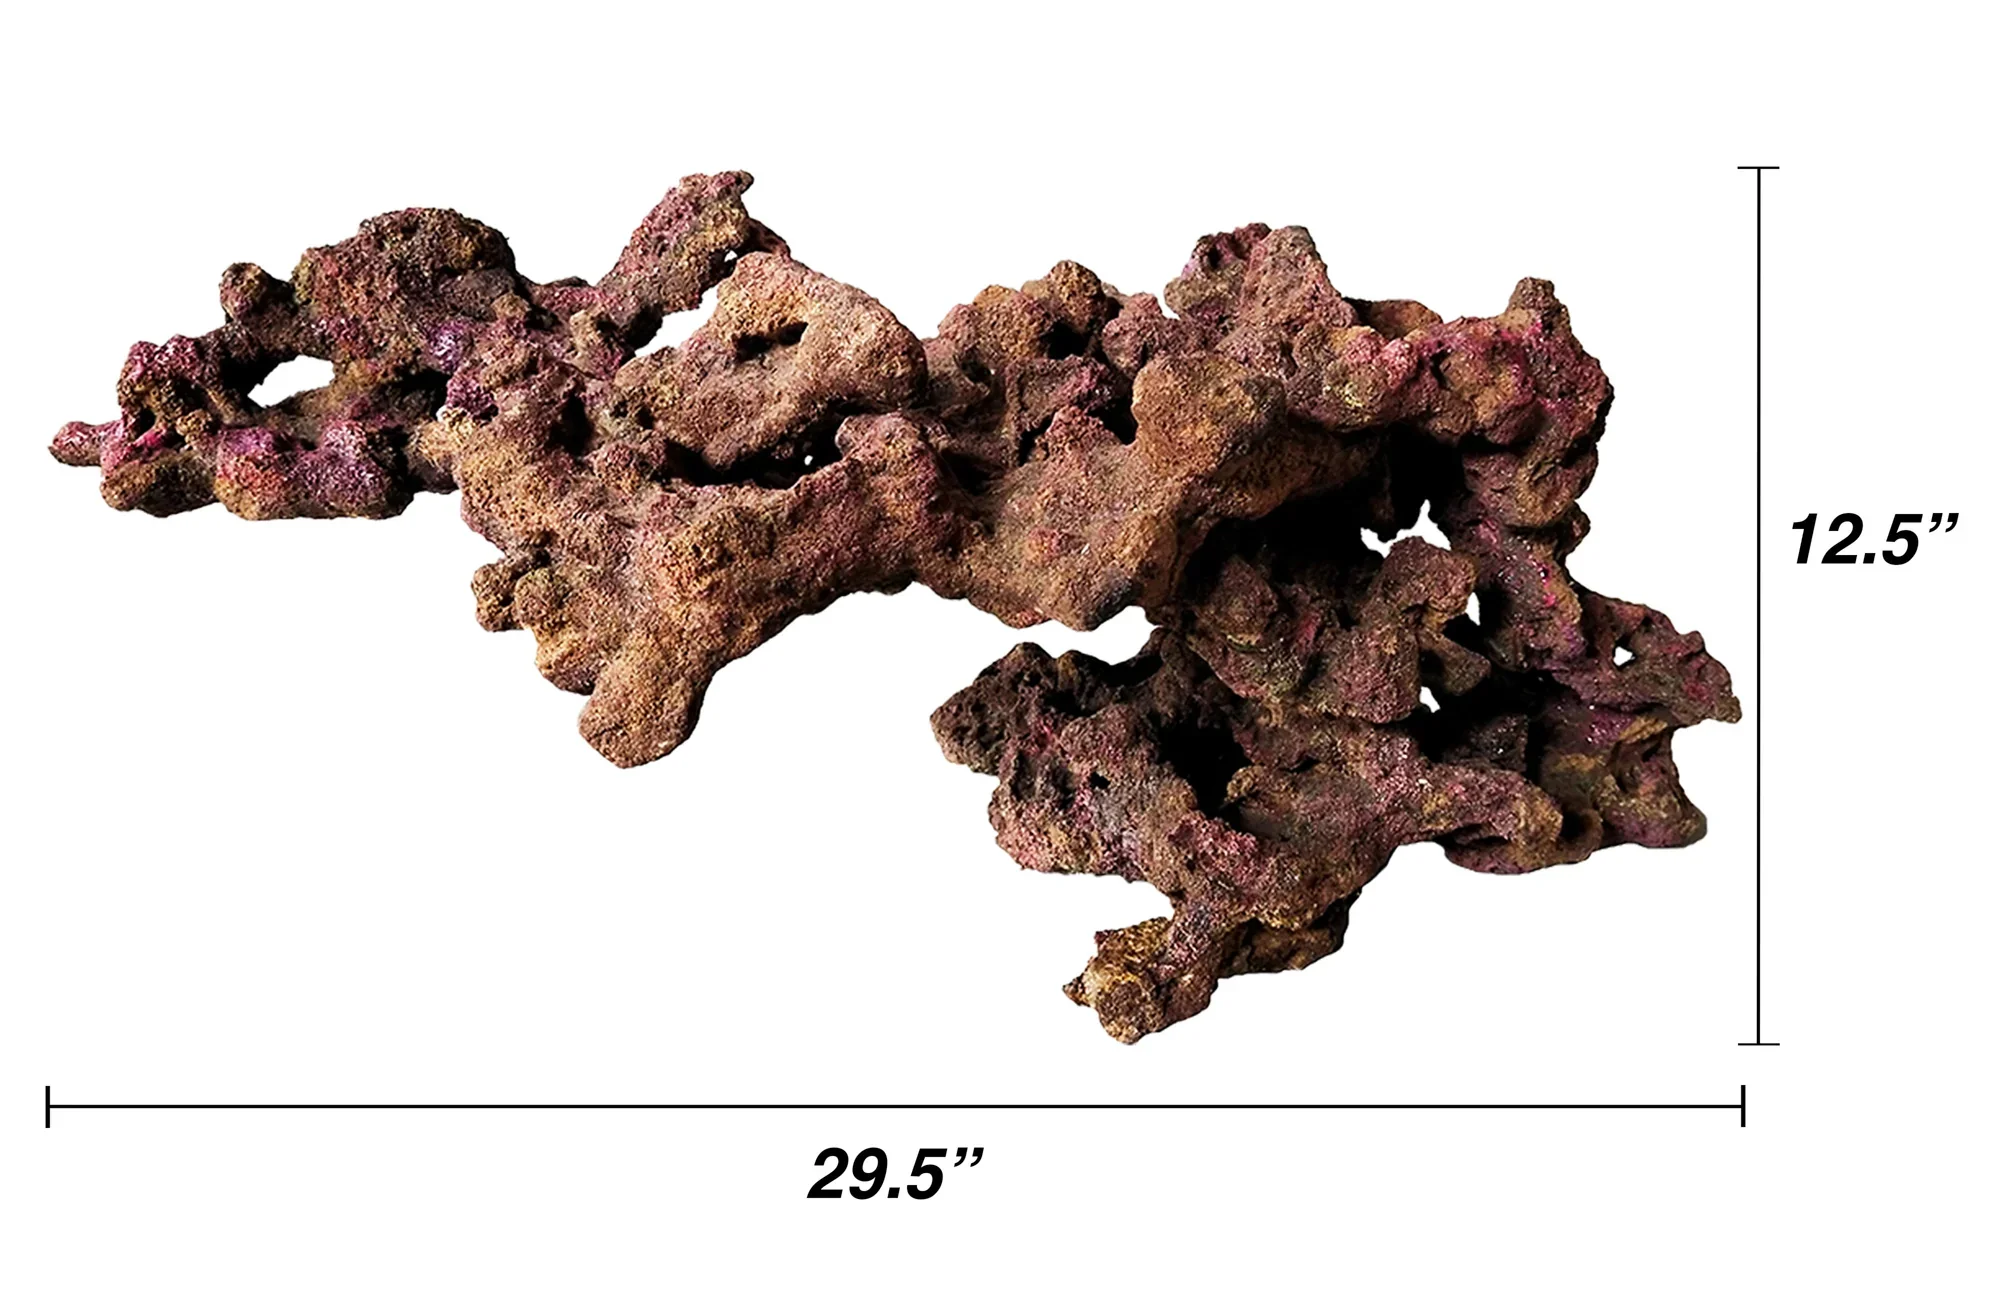
Rock: Why we chose Ecoscapes rock
Functional dry aquascapes are our go-to for predictable cycling and coral placement. For this build we used Ecoscape rock. It offers the porosity, shapes, and structure we want for flow and mounting coral.
We chose this rock based on how well it did in a recent SR Unfiltered review. We have limited experience with this rock in live tanks, and new materials always carry some risk, but we are excited about its potential and ready to learn.
While we did use ecpscapes in a 25 nuvo. This will be our first attempt at a more elaborate aquascape with this rock. Because of that you can expect a full episode dedicated to the process as we learn and build it together.


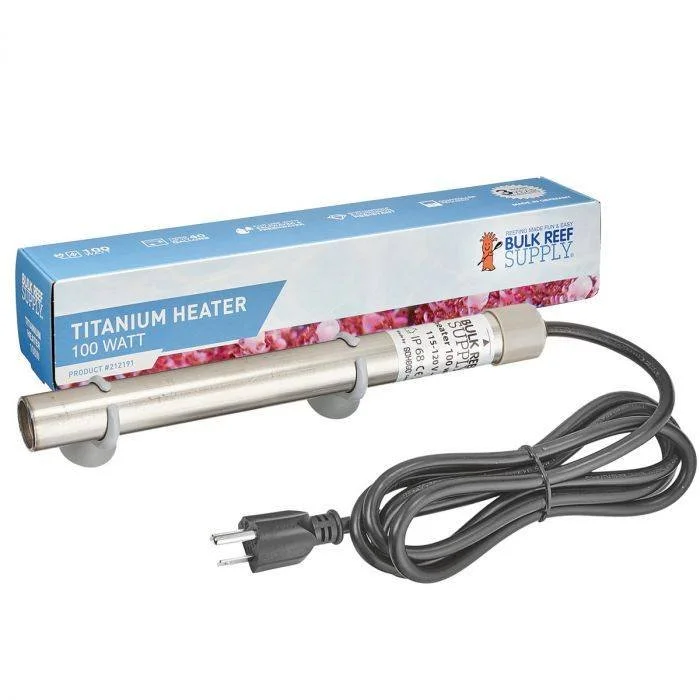
Heater: Why we chose a BRS Heater and Inkbird
We chose the compact two hundred watt BRS titanium heater because it fits inside the small overflow compartment. There are not many two hundred watt heaters short enough to do that. The heater is connected to a separate temperature controller (Inkbird) so we can set safety limits and monitor the tank.
For redundancy we are migrating an aquarium controller from one of the existing twenty five gallon Nuvos to this tank as that system is shut down and this one comes online.
In this setup the only part we replace annually is the thirty five dollar Inkbird, since it is the component that turns on and off countless times a year and is most likely to wear out. The titanium heater can last for many years and generally fails only in the off position. The aquarium controller acts as a backup with very little wear.
Note: Heaters are not designed to last forever. Manufacturers know this, and many only warranty them for ninety days. Back them up and replace them before they fail, and you will be here to tell the tale.

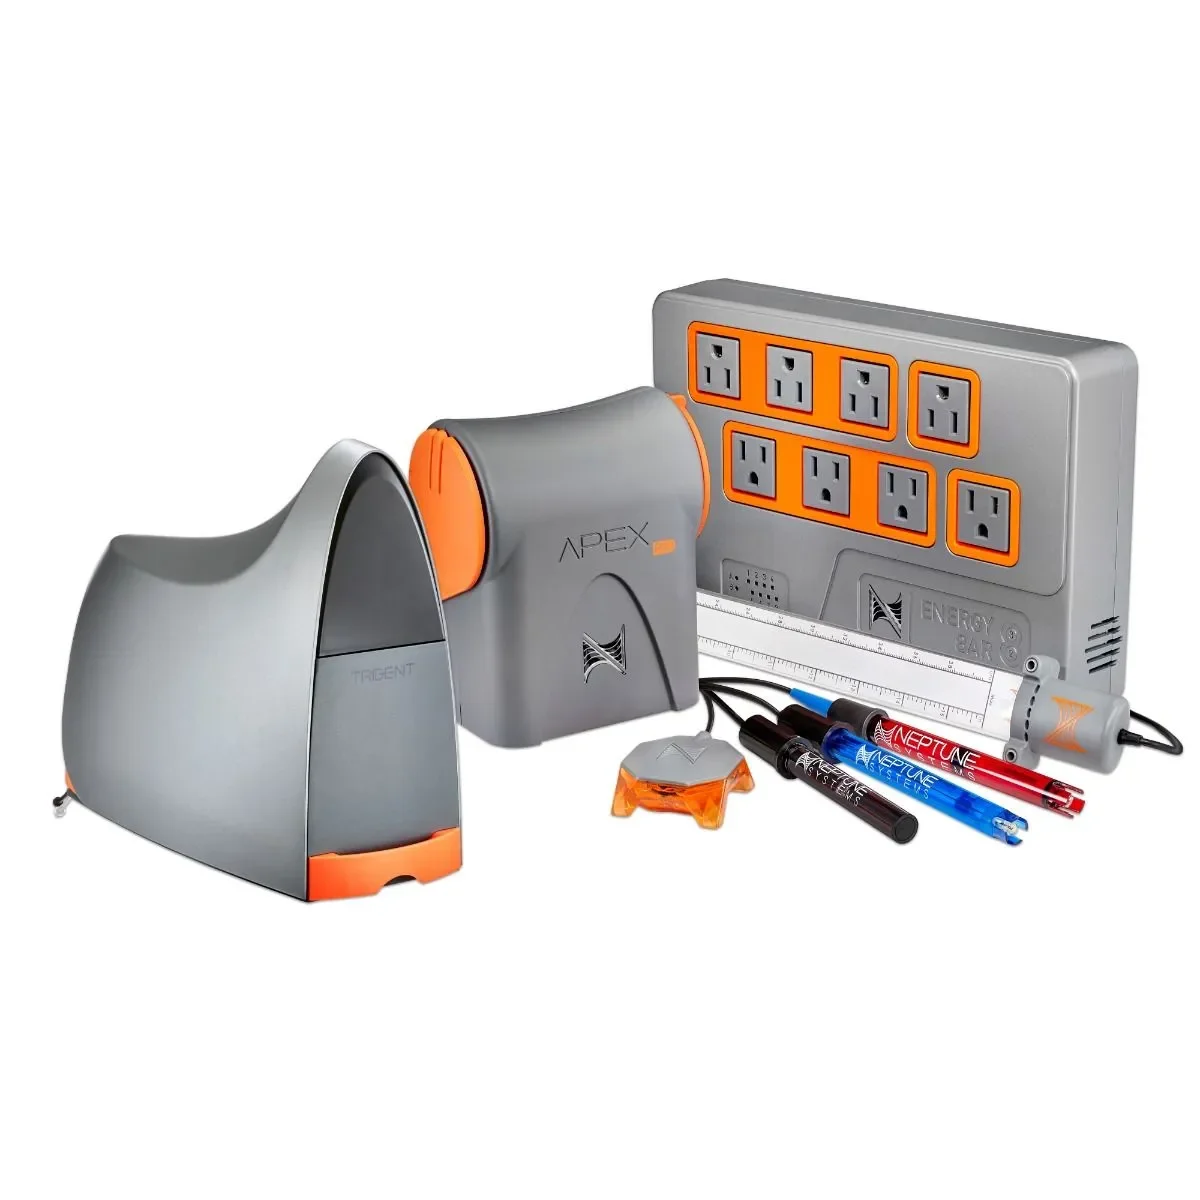
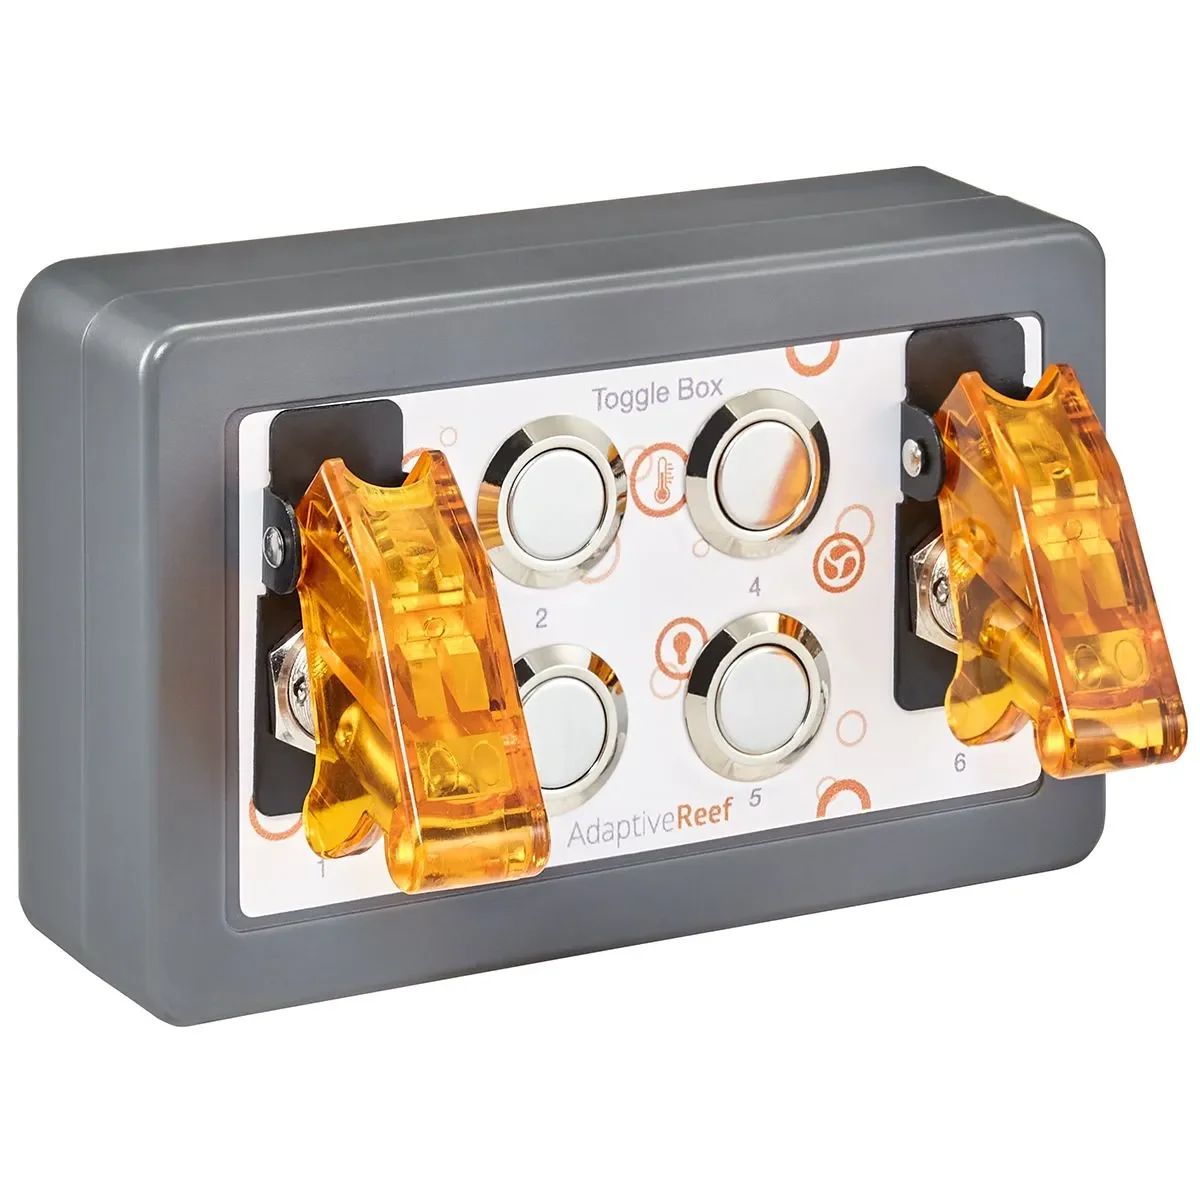
Aquarium controllers: Why we chose one for this system.
The 90/10 method does not recommend or prioritize expensive equipment like aquarium controllers. They are simply tools in the toolbox. Use one if it solves a problem for you.
In our case they are invaluable because we are away from the tank so often. Since we are only in the studio eight hours a day, five days a week, and gone for weeks at a time for travel, it would be borderline negligent to the animals if we did not use remote monitoring and built-in redundancies.
There are four primary controller options. They all have die-hard fans, and they all do very similar things in different ways. From a 90/10 perspective, the best controller is the one you are most confident you will set up and use correctly. Hard stop. The rest is marketing.
We have used the Neptune Apex for more than a decade on dozens of systems, so that is the ninety percent success, ten percent effort decision for this build. For those who want to follow along, we will show how we set up each component on the controller as the system comes together.
We are considering adding controllers to the SR Unfiltered gear review series to expand our collective knowledge of the available options. Rather than only reviewing each controller, we may focus on how each makes other equipment safer or better, which is their primary purpose.
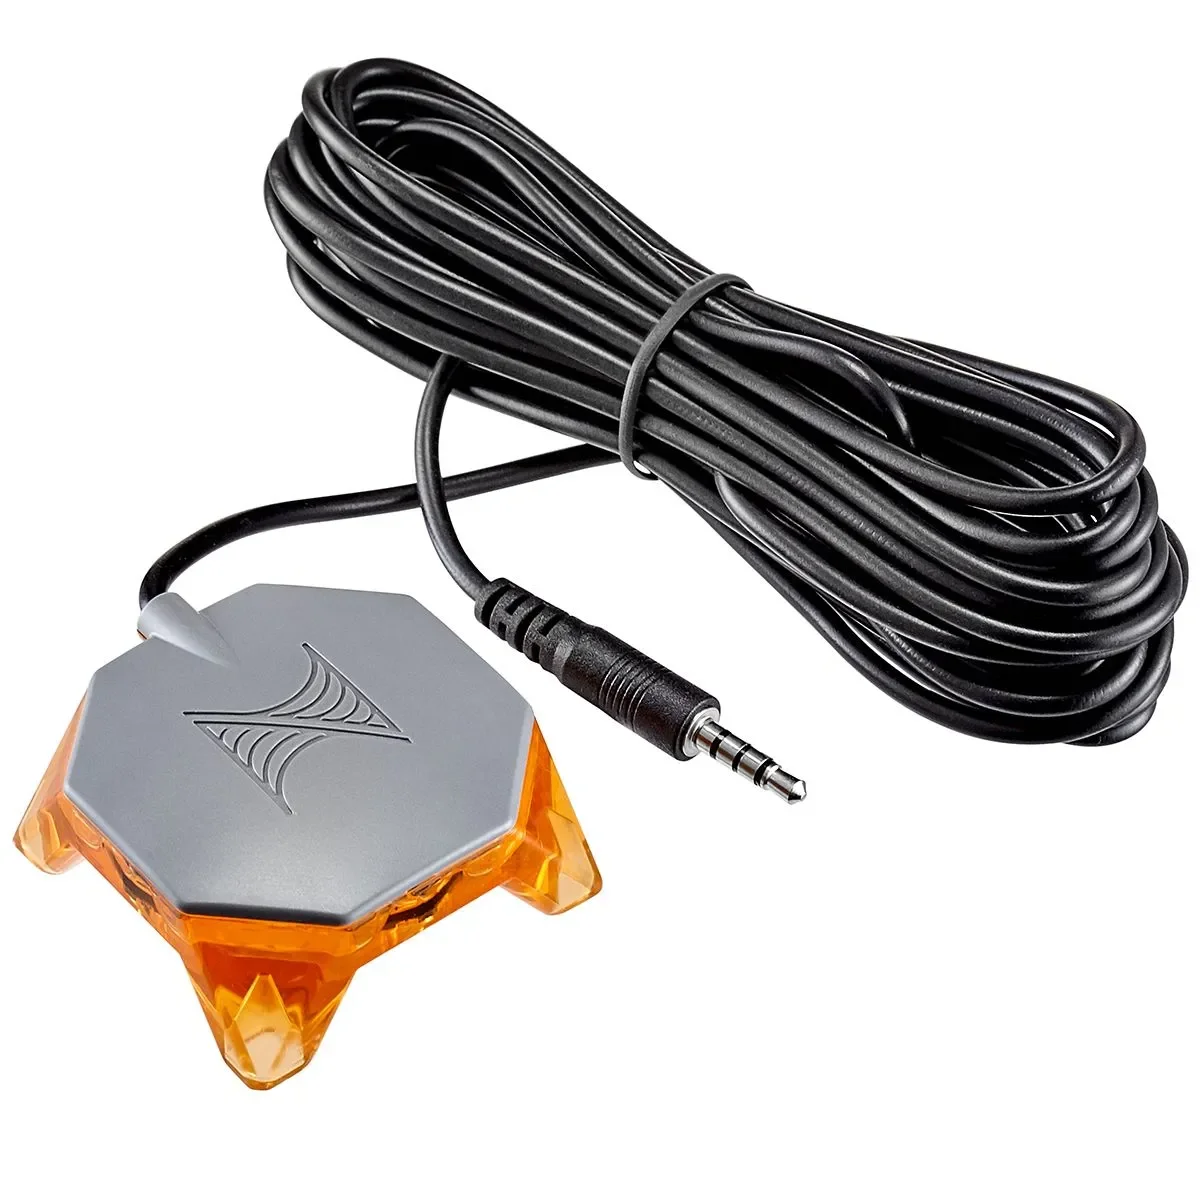
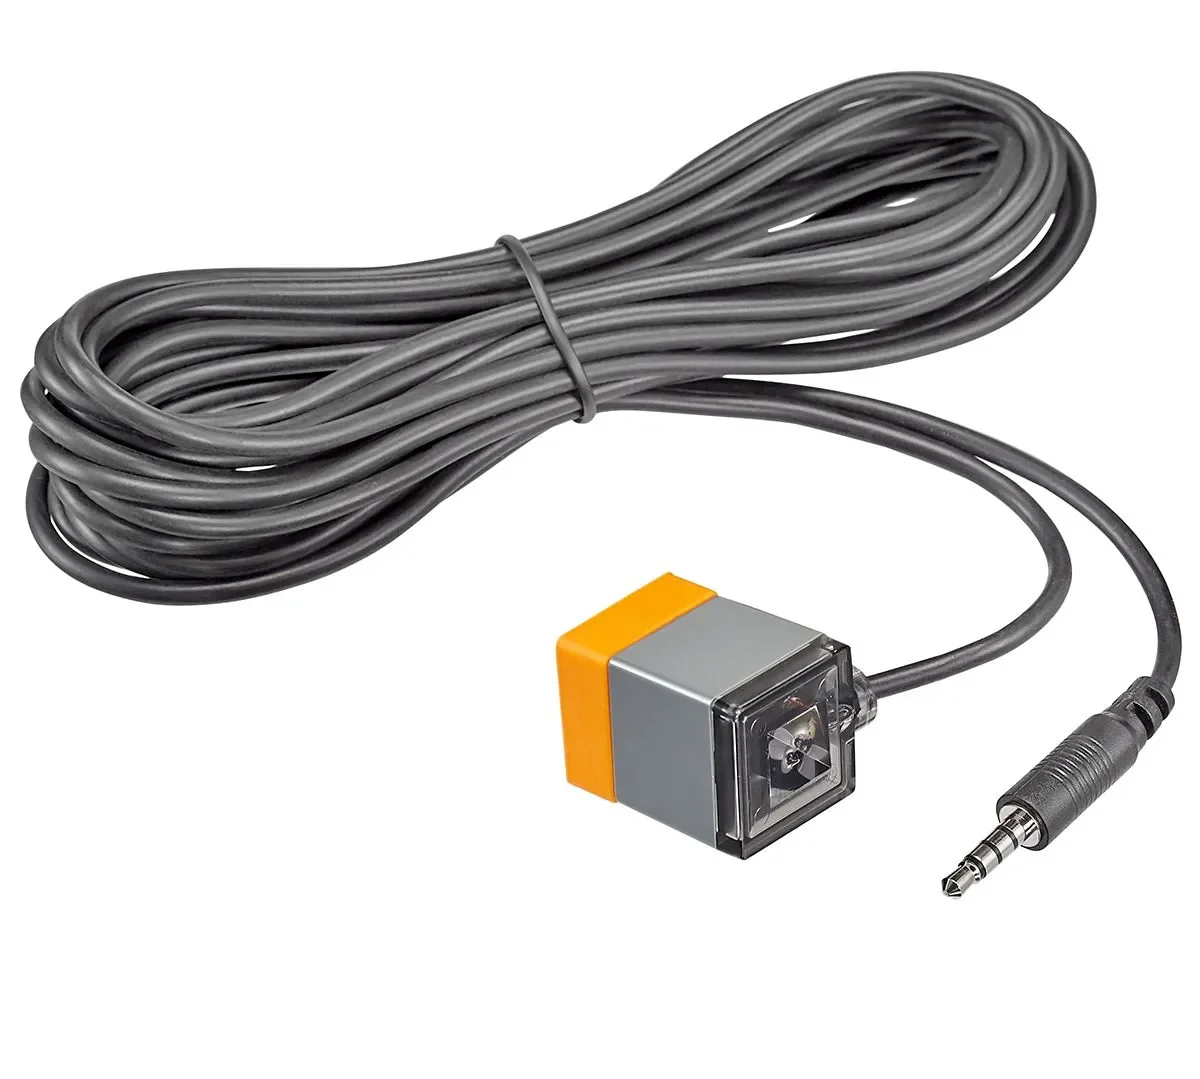
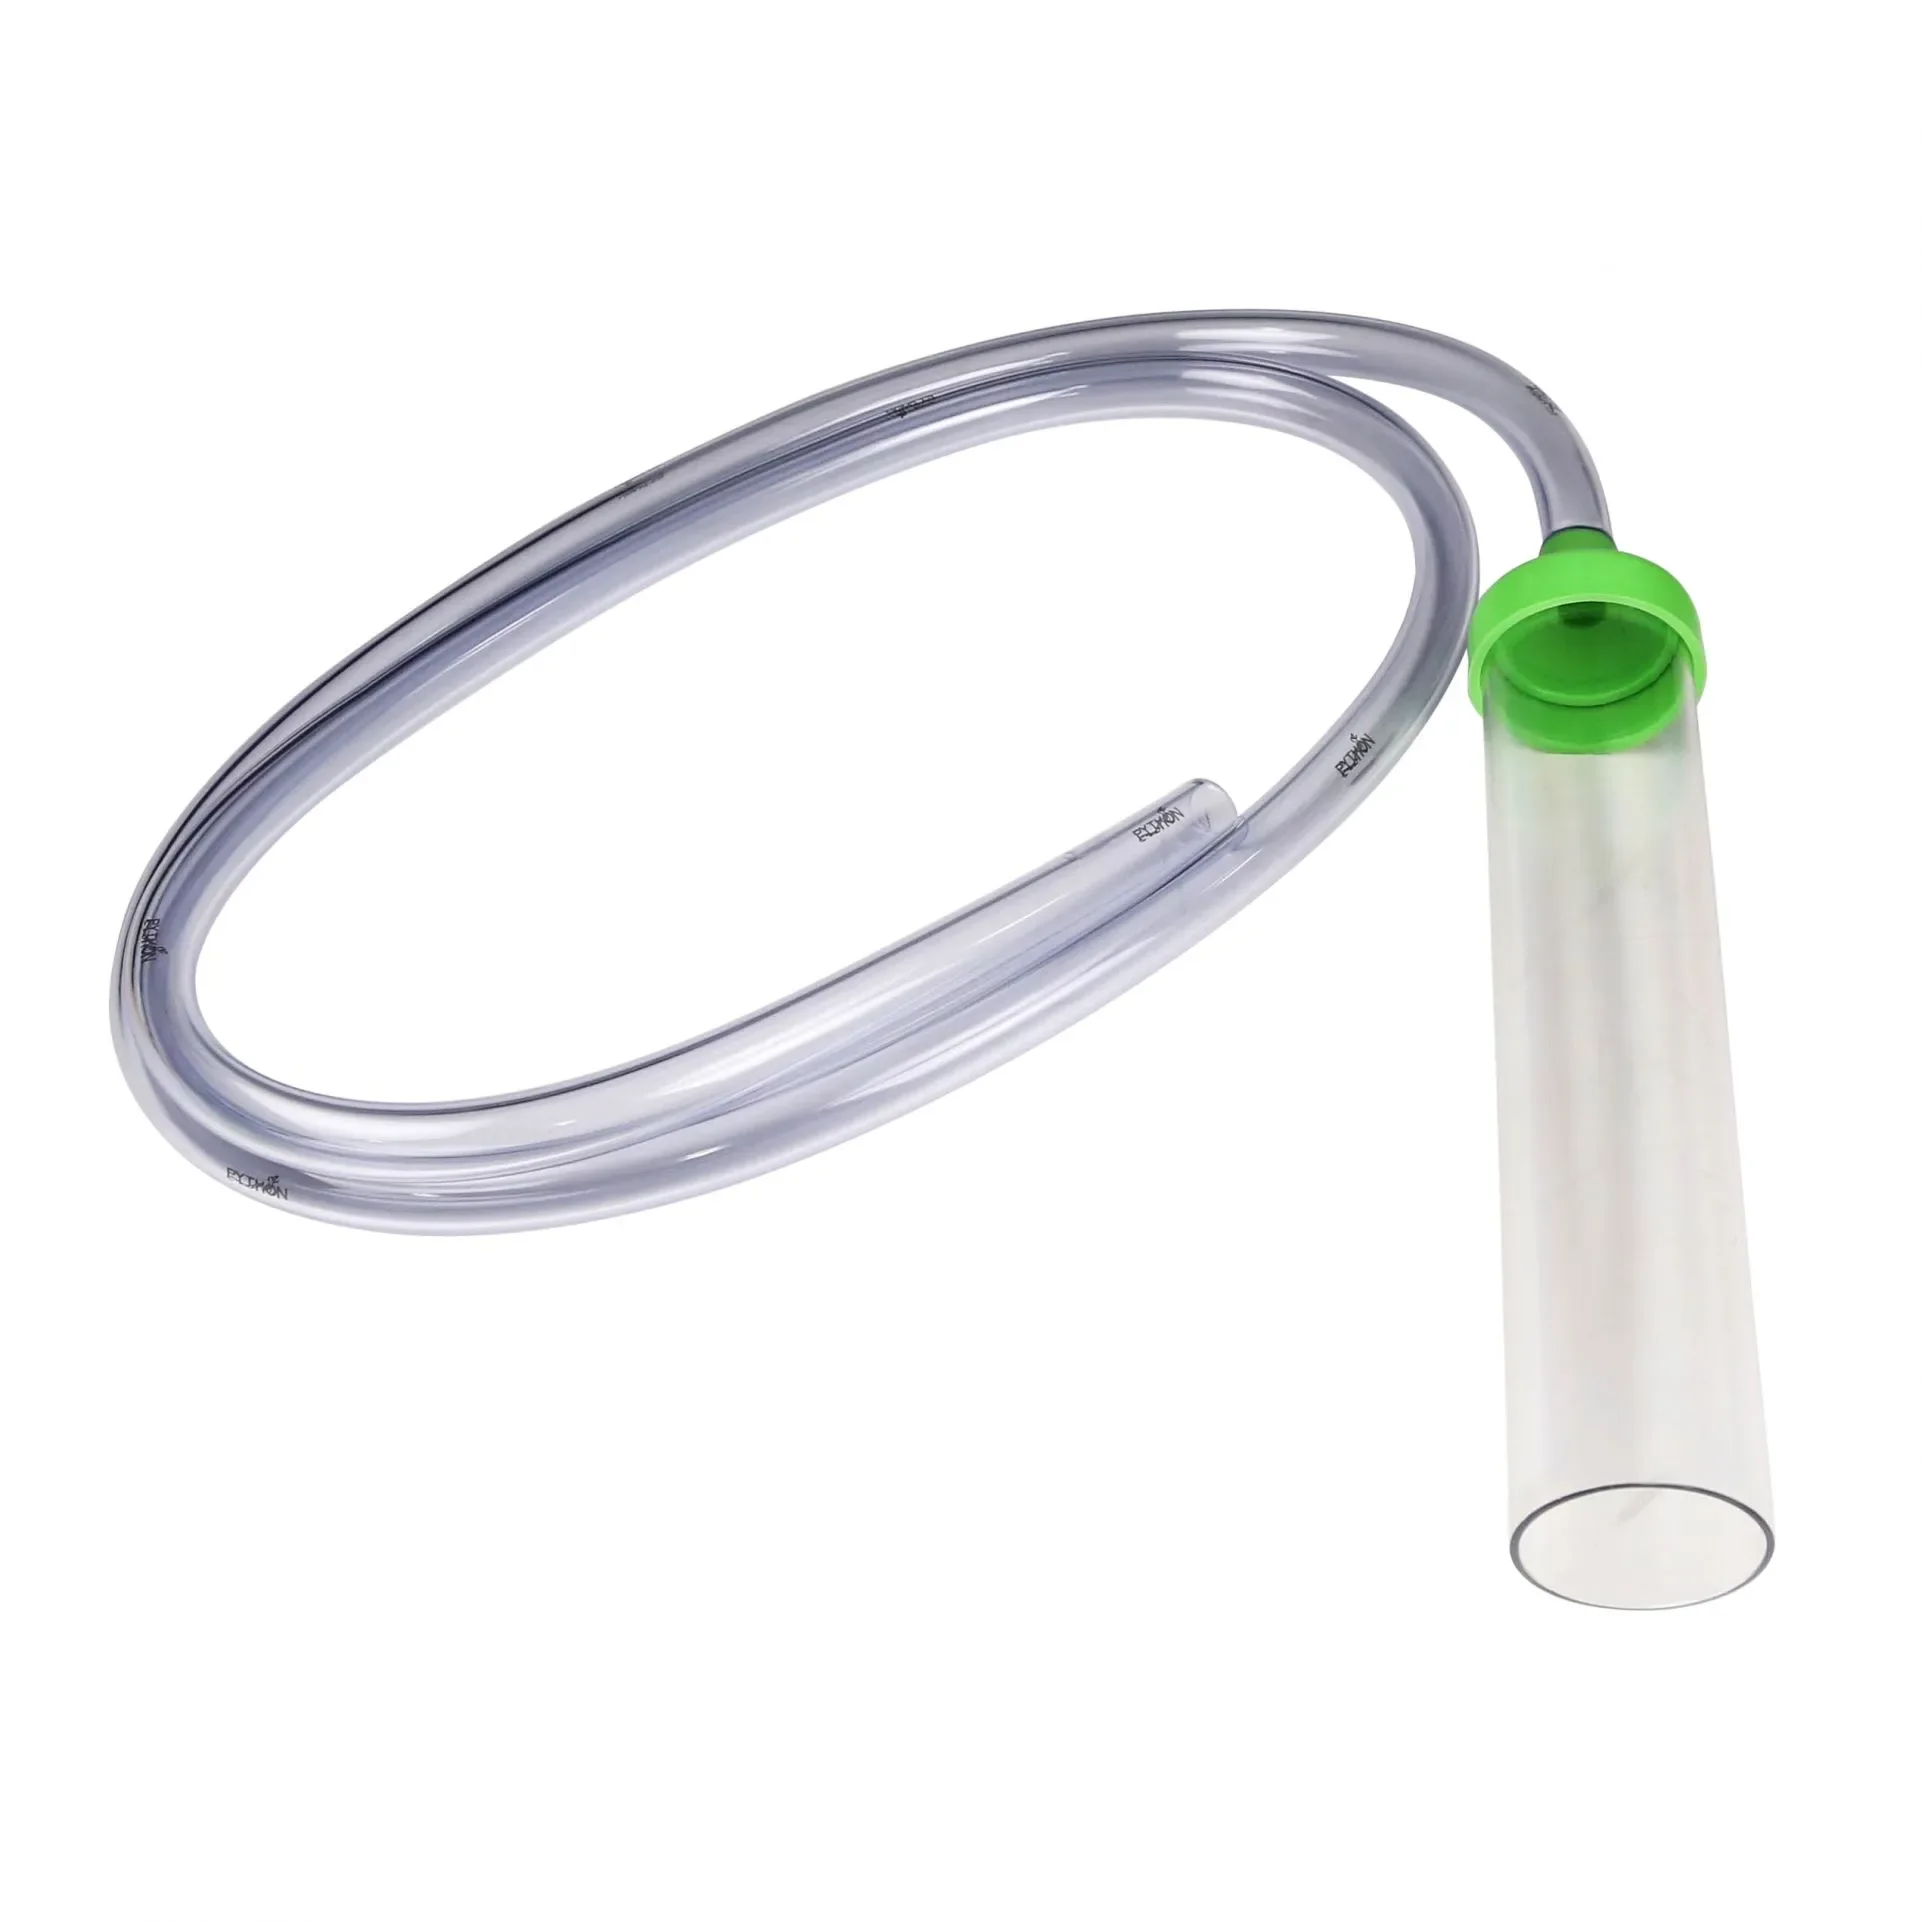
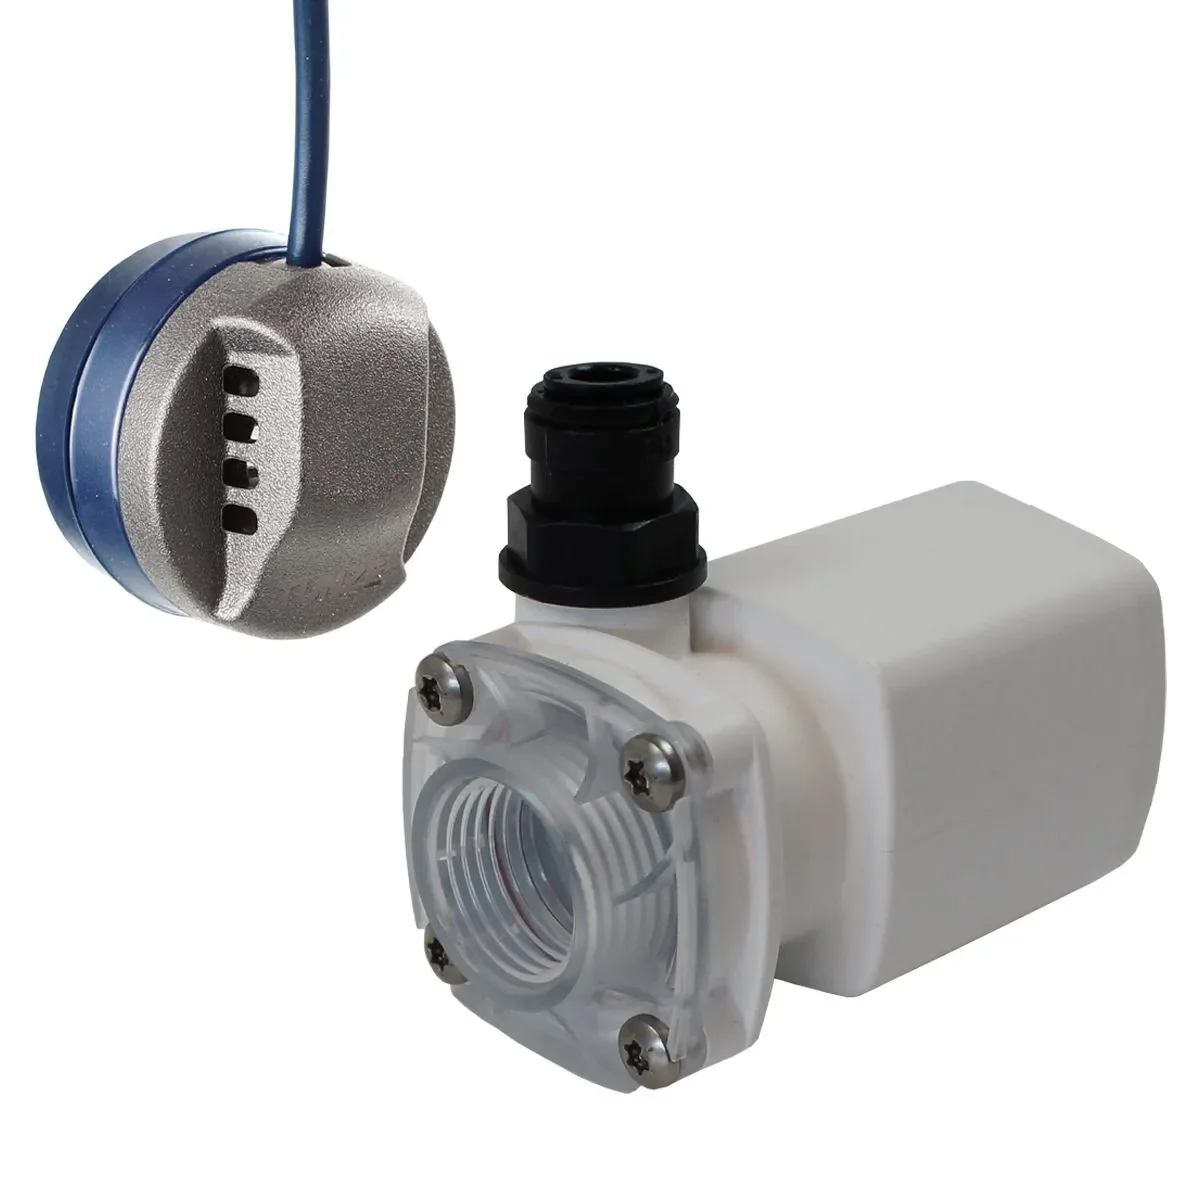
Auto Top Off: Why we chose a Osmolator 3 and 10g reservoir.
An auto top off (ATO) is a day one requirement for any mixed reef system. We are using the Tunze Osmolator 3 because it is reliable and keeps the overflow compartment and return pump chamber from dropping below safe levels. In my experience the Osmolator line prevents overflows better than any other ATO I have used, which is essential for our “cannot leak, ever” requirement.
We paired the ATO with a ten gallon freshwater reservoir sized to cover roughly two weeks away from the studio.

Chemistry and dosing: Why we selected Nyos Ion-B and BRS 1.1ml/min Dosers.
For baseline chemistry we prefer a simple, solid two part approach. Almost all additive lines and dosers will get the job done but some do have advantages over their peers. You can see our full unfiltered review of Nyos Ion B here. We chose Ion B for a few clear reasons.
Nyos Ion-b is ten thousand DKH per liter, making it the most concentrated two part we reviewed. That means fewer refills.
It is a true two part system with only two components dosed daily. That makes hand dosing easier, takes up less space, and automation requires only two pumps.
It offers a modern, easy approach to trace elements.
It is affordable, costing less than half of the more expensive options.
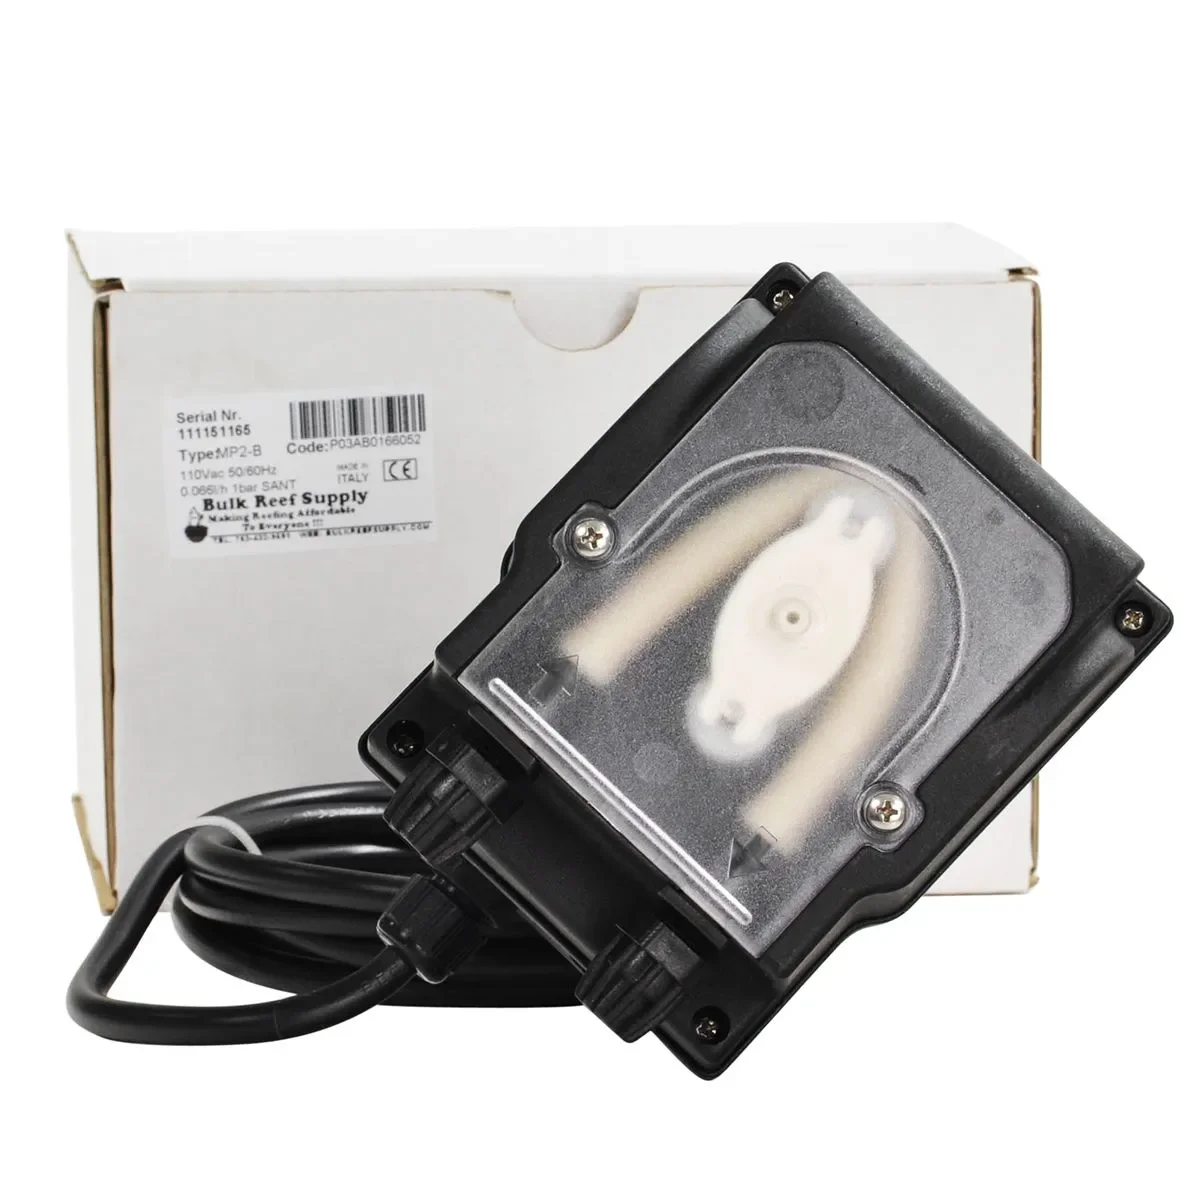
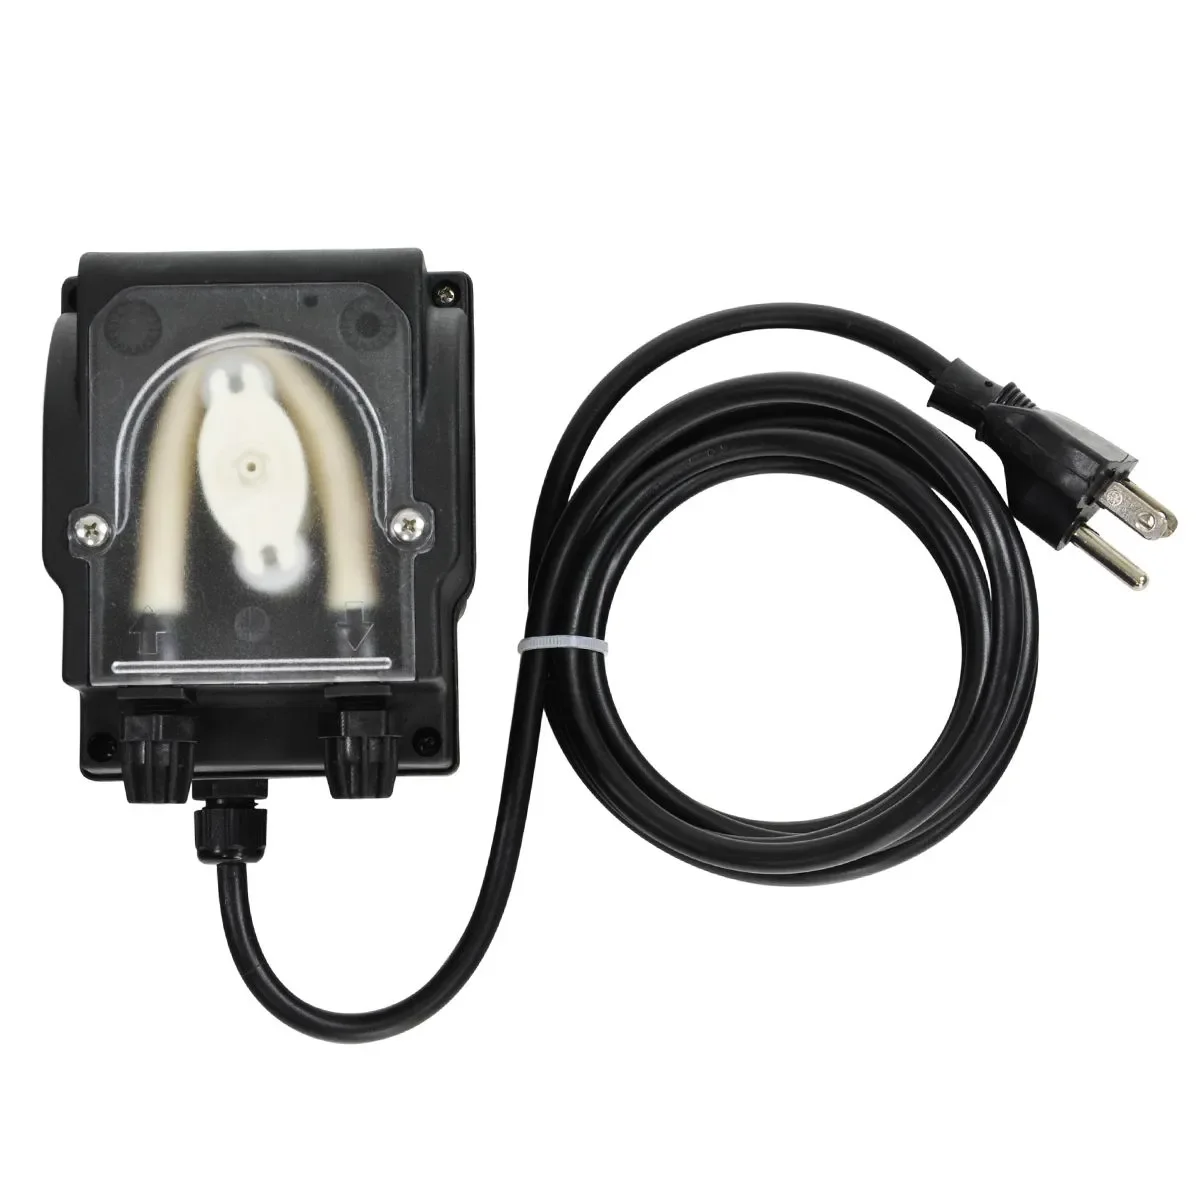
For dosing we selected the old school BRS 1.1 milliliter per minute doser on a timer (Apex) because it sits at the intersection of affordability, capability, and reliability. Admittedly this is not what most reefers will choose because many prefer a modern doser with a screen and onboard controls. The challenge is that the units with those features at similar price points are often less reliable, the motors and tubing wear out faster, and they frequently dose much faster than the 1.1 milliliters per minute that our chosen option delivers.


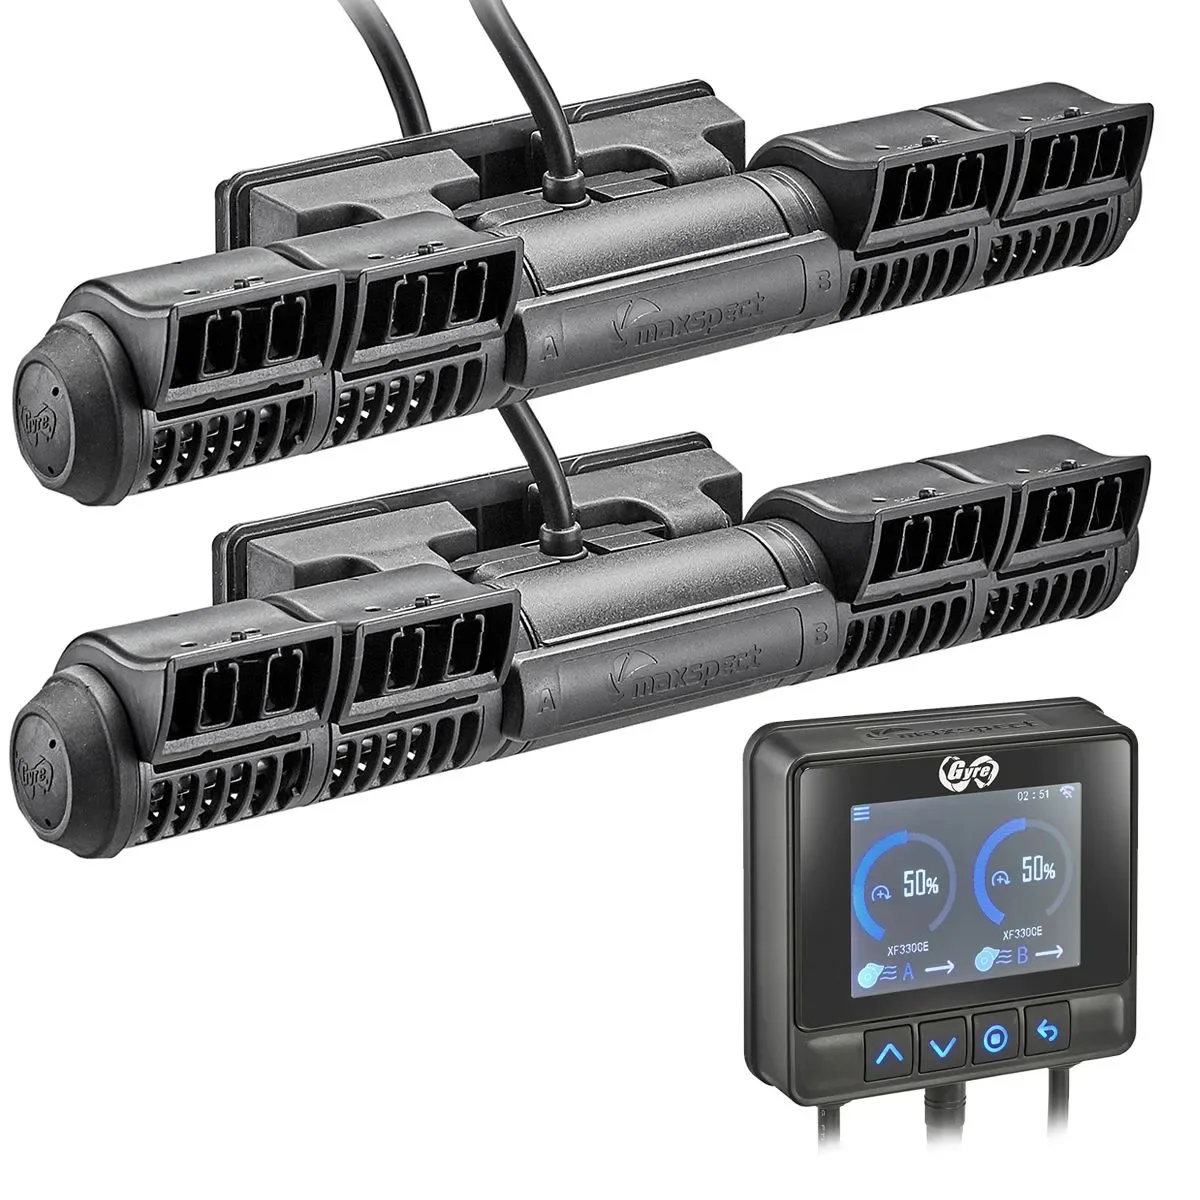
Flow: Why we chose dual Gyre XF330 Cloud Edition
LPS corals prefer shifting currents rather than constant high turbulence. Instead of blasting them with high velocity turbulent flow, gyres create a thin sheet of water that moves across the top or behind the rock and generates a strong returning current throughout the tank. This produces a flushing flow across coral surfaces so polyps can feed without being battered.
We chose to splurge on the Cloud Edition over the Jump series and other brands for a few reasons.
A single hard wired control box accurately controls both pumps, which means one setup step, one power cord, and one adaptor box.
The Cloud also avoids the wireless connectivity challenges many other pumps struggle with. Plenty of pumps advertise wireless sync and anti sync features, but in practice they often fail to perform as promised. Because both Cloud pumps are hard wired to one control box, those issues are eliminated entirely.
One power cord and one adaptor box run both pumps.
The Cloud Edition offers more control configurations, including a custom mode we plan to use for longer pulses and sustained flow patterns.
It includes stronger magnets that hold more securely to the tank.
Two Gyre Cloud pumps cost almost half as much as other brands’ flagship models, making them a high value choice.


Lighting: One rule — don't guess
When setting LEDs, estimate and measure rather than dialing by eye. We aim for roughly one watt per gallon as a starting rule for these lower-light corals, and we verify with power measurements and PAR readings as needed. A $35 Kill-A-Watt is our suggested watt measurement tool.
We selected the Maxspect Ethereal lights for their low profile, camera friendly appearance, and usable color. The fixture is not perfect in every measured metric, but the best solutions are not always determined by data alone. Usability matters too.
These are a few of the factors behind the decision:
Looks good in person and on camera, both above the tank and inside the tank.
The app is easy to use, intuitive, and maintains a stable connection.
The light arms flip up for maintenance and automatically turn off so you are not blinded.
The lens guard reduces front spill light, which is helpful from a seating position and in our case prevents camera exposure issues.
Good spread and coverage, even if a few of the one thousand dollar competitors perform slightly better on paper.
The six hundred fifty dollar price point bridges the gap between similar wattage DFC options and the most elite fixtures.
We had two Ethereals running on the 25g Nuvos. They upgraded to this tank at no cost for us.


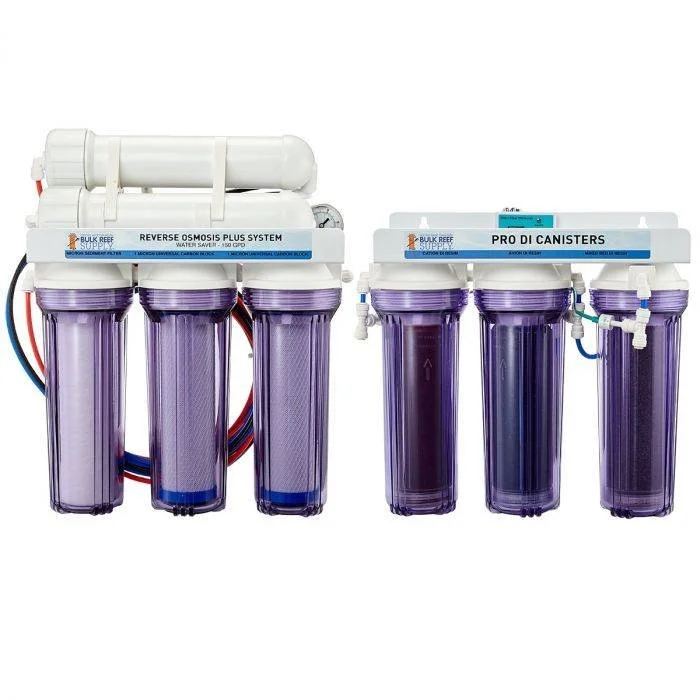
Source water: Why we chose the 7 stage and backed it up.
Clean, predictable source water is non-negotiable but that can be done with a 4-5 stage RODI. For the studio we run a faster 7-stage RO/DI rated at 150 gallons per day so we can refill the 55g reservoir in a single 8 hour work day. Turn it on at 9 and off by 5. To protect the building from water damage we do not want the system running when we are not here.
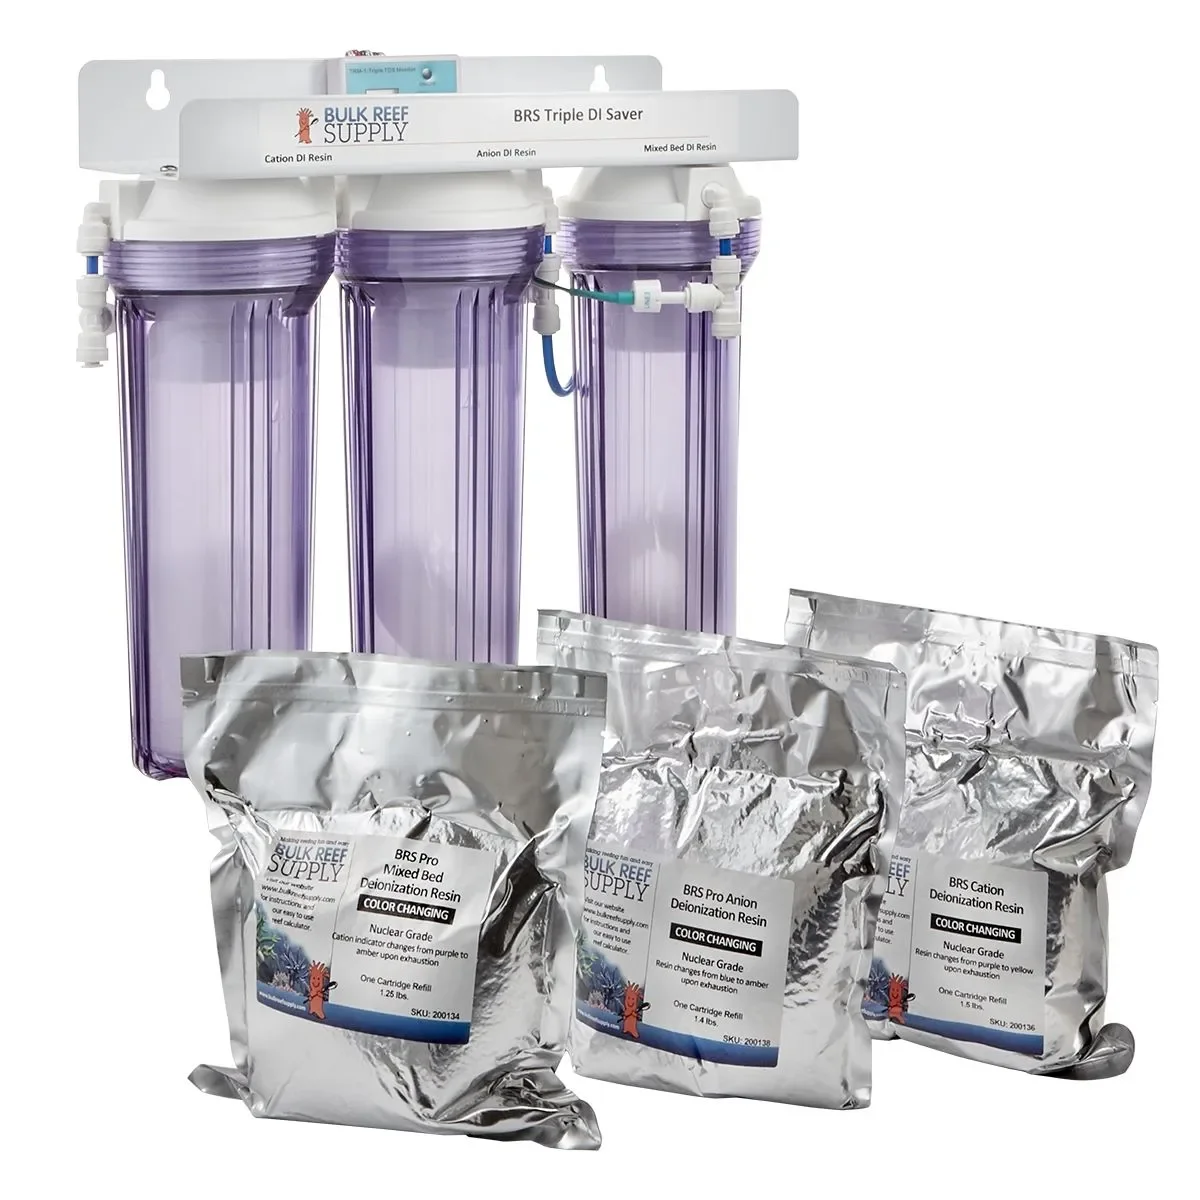
The three-stage DI arrangement we used extends media life and reduces the frequency of replacements. Current 3 stage Pro DI cartitrges one has been in use for almost a year and still going,
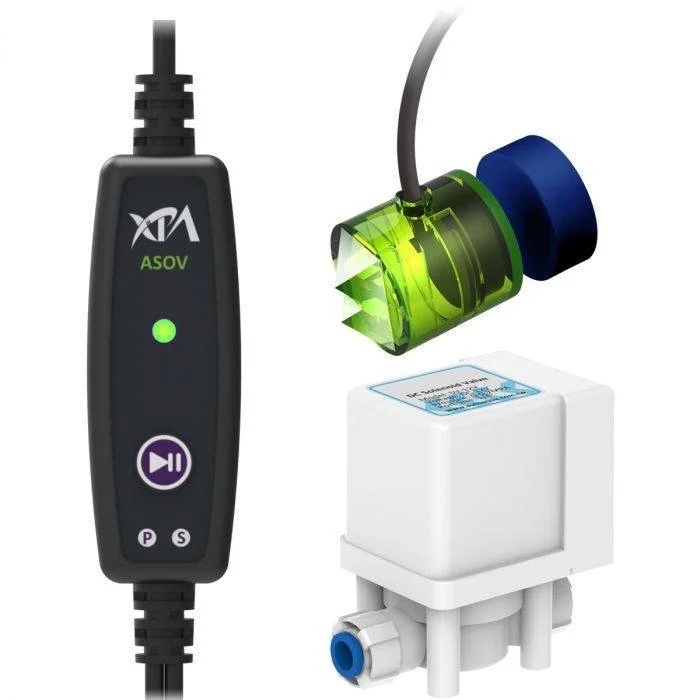
Flood prevention is critical when tanks are on upper floors. We installed leak trays beneath equipment and integrated a RO/DI flood guardian solenoid plus a Flow-Lok pad-triggered shutoff.


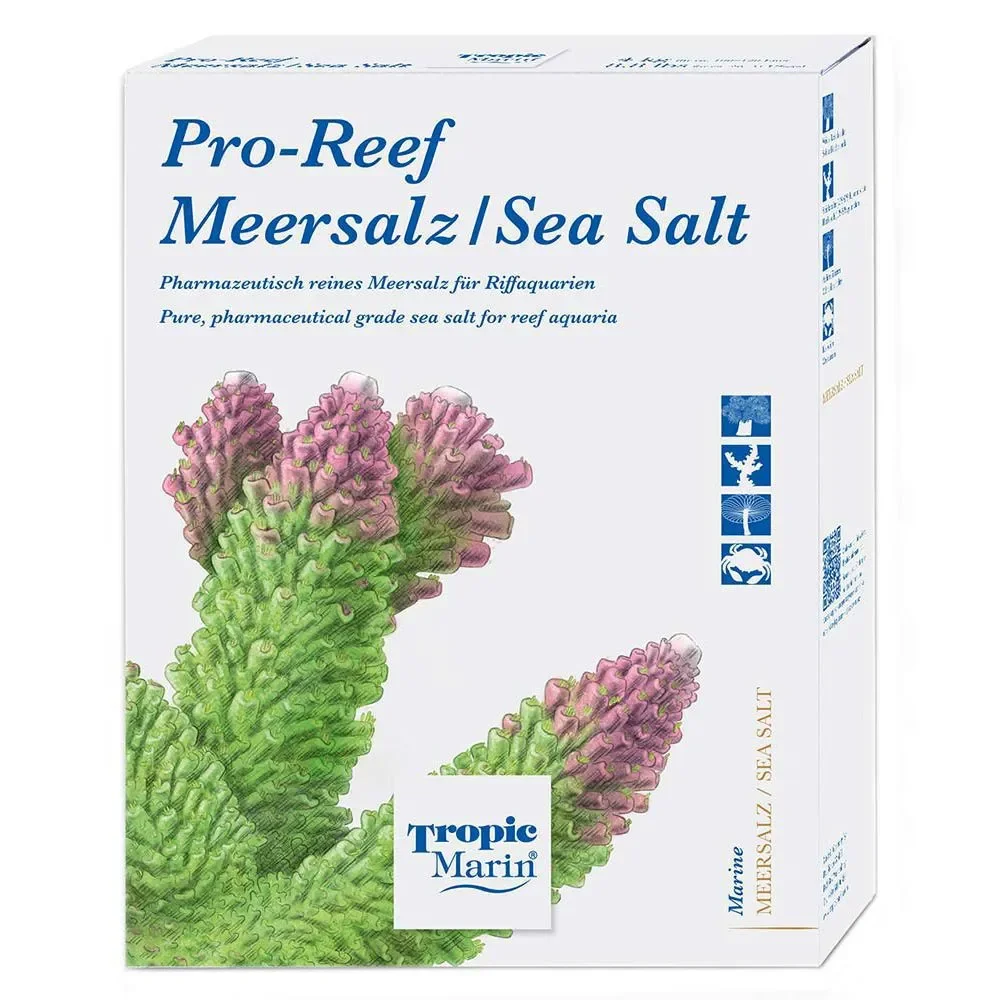
Salt mix choice and ongoing evaluation
We currently mix Tropic Marin Pro Reef simply because it has worked the best for us clean formulation keeps the bin clean but we continue to evaluate other salts and test results. Salt selection matters less than consistent, high-quality source water and disciplined testing.
Key components checklist
76 gallon Fiji Cube with external overflow
Axis 20 return pump for closed-loop overflow circulation
Ocean Direct live sand plus small biome donor sand from a live tank
Equascape dry rock aquascape
Titanium heater with Inkbird controller
Apex aquarium controller (for redundancy and alerts)
Osmolator ATO and 10 gallon reservoir
Two-part concentrated chemistry and BRS doser
Maxspect Ethereal LED fixtures
Maxspect Cloud gyre pumps for shifting flow
7-stage RO/DI with flood prevention devices
Tropic Marin Pro Salt
Closing thought
Design tanks for the animals first and our schedules second. The 90/10 hybrid approach gives us a reliable baseline and the freedom to tailor systems to real-life constraints. Thoughtful audibles make the difference between a constant maintenance chore and a resilient, low-friction reef system.
What we’ll do next
Next we will bring this build from hardware list to installation — plumbing the return, setting the rock, and filling the tank correctly. The installation steps will be the practical nuts and bolts that make the theory work on a real system.
Frequently asked questions
Can we change the 90/10 system to suit our situation?
Yes. If this is your first reef, keep changes minimal and stick to proven setups. If you have experience, use the 90/10 mentality to make targeted modifications that solve specific constraints like travel, time, or space while keeping success as the primary goal.
Do we need an aquarium controller for every tank?
No. Controllers are tools, not mandatory equipment. They become essential when remote monitoring, redundancy, and automated shutdowns reduce the risk of a major failure—especially if we cannot be on-site regularly.
Why pick LPS corals for a low-effort build?
LPS corals tolerate lower light and moderate flow, show strong visual impact, and generate less nuisance algae on glass. They require less intensive maintenance than high-PAR SPS systems, making them a high-percentage choice for many hobbyists.
How do we manage heater failures and temperature safety?
Use a properly sized heating element paired with a separate temperature controller. If the heater has an integrated thermostat, replace the heater annually. The controller provides active monitoring and can trigger alerts or safety actions if temperatures deviate.
What steps should we take to prevent RO/DI flooding?
Install leak trays under all RO/DI hardware, use a flood-guardian solenoid and a Flow-Lok pad-triggered shutoff, and test these devices periodically. Keep spare sensor pads accessible and size the fresh water reservoir to cover expected absences.
What’s Next?
Acknowledgments
Thank you to Than Thien for sharing his knowledge with the SR community. Thank you to Ryan Thompson for summarizing the video and making it available to everyone.
Thank you to the Serious Reefs community. Your membership funds the creation of articles and videos like this one.
Support Serious Reefs
Patreon is the best option If you…
Want to discuss with the SR community and ask questions.
Want immediate notifications of every release.
Listen with phone screen off. Patreon app works with phone closed
Want 25% off via annual discounts.
YouTube members is the best option If you…
Watch SR videos on a TV via youtube App
Want to watch videos natively here on seriousreefs.com - (You must use chrome browser and be logged into google account with youtube membership)
Are a YouTube power user.
Tell a friend. Best option if want more (and faster).
If you like what we’re doing, give SR a quick shout-out on your favorite forum, YouTube, Facebook, TikTok, or Instagram. Let your local fish store know SR is helping you explore the hobby and keep it fun. Thanks for the support!
Disclaimer
Full Disclaimer HERE. This is the gist of it.
Content is based on personal experience, not professional advice. Do your research and reef responsibly. Serious Reefs should not be your sole sorce of information on any topic.
By watching, you agree that Serious Reefs and its creators aren’t liable for how you use this info. Please don’t utilize our information if you are not ok with this.
Serious Reefs has no sponsors, doesn’t accept product or payment for reviews. We do use affiliate links in articles that earn a small commission to support our work. Shop wherever you like, we won’t be offended.
Serious Reefs developed the 90/10 Method to give nearly everyone a straightforward path to a beautiful reef tank with minimal effort. The idea is simple: choose the highest-success option at every decision point so that 90 percent of people reach the finish line, and do it using roughly 10 percent of the effort and complexity typical of hobbyist approaches.