A Modern Reef Tank Build List -90/10 Part 5:
Cheaper & Better Than 2004?! Let’s Find Out!
It’s time to take everything we’ve learned in the 90/10 series and apply it to a real tank build, beginning with the system design and selecting the right gear for the tank.
The design phase is never cheap, but along the way we’re going to challenge the idea that reefing has become more expensive by comparing the cost of this build to Ryan’s first tank from 2004, more than twenty years ago. Spoiler alert: modern approaches to reefing can actually make it cheaper, even without factoring in inflation.
Note: Paid YouTube SR Members Using A Chrome Browser can watch videos natively above on Seriousreefs.com. Sign up HERE
SR videos are a community funded member only resource. Serious Reefs buys everything we review, accepts no sponsorships, and your memberships make it possible to keep every review truly unfiltered.
Four principles that guide this build design.
Has a clear goal. Near Guaranteed to work and minimal effort.
Buy only what’s necessary. Avoid impulse purchases and items marketed as must-haves unless they serve the goal.
Moderate cost, high-value, durable gear. A slightly higher upfront cost can save a lot of replacement headaches and money long term.
Design for forgiveness. System is designed to buffer for mistakes, distractions, equipment failure, and life.
We want a reef tank that hits the sweet spot: about 90 percent success for 10 percent of the effort. That means fewer fiddly systems, fewer replacement parts, and gear choices that give a lot of value without breaking the bank. Below is a step-by-step, practical plan for a 90/10 softie reef tank built to be beginner-friendly, durable, and affordable.
Step 1: Choose the reef tank type
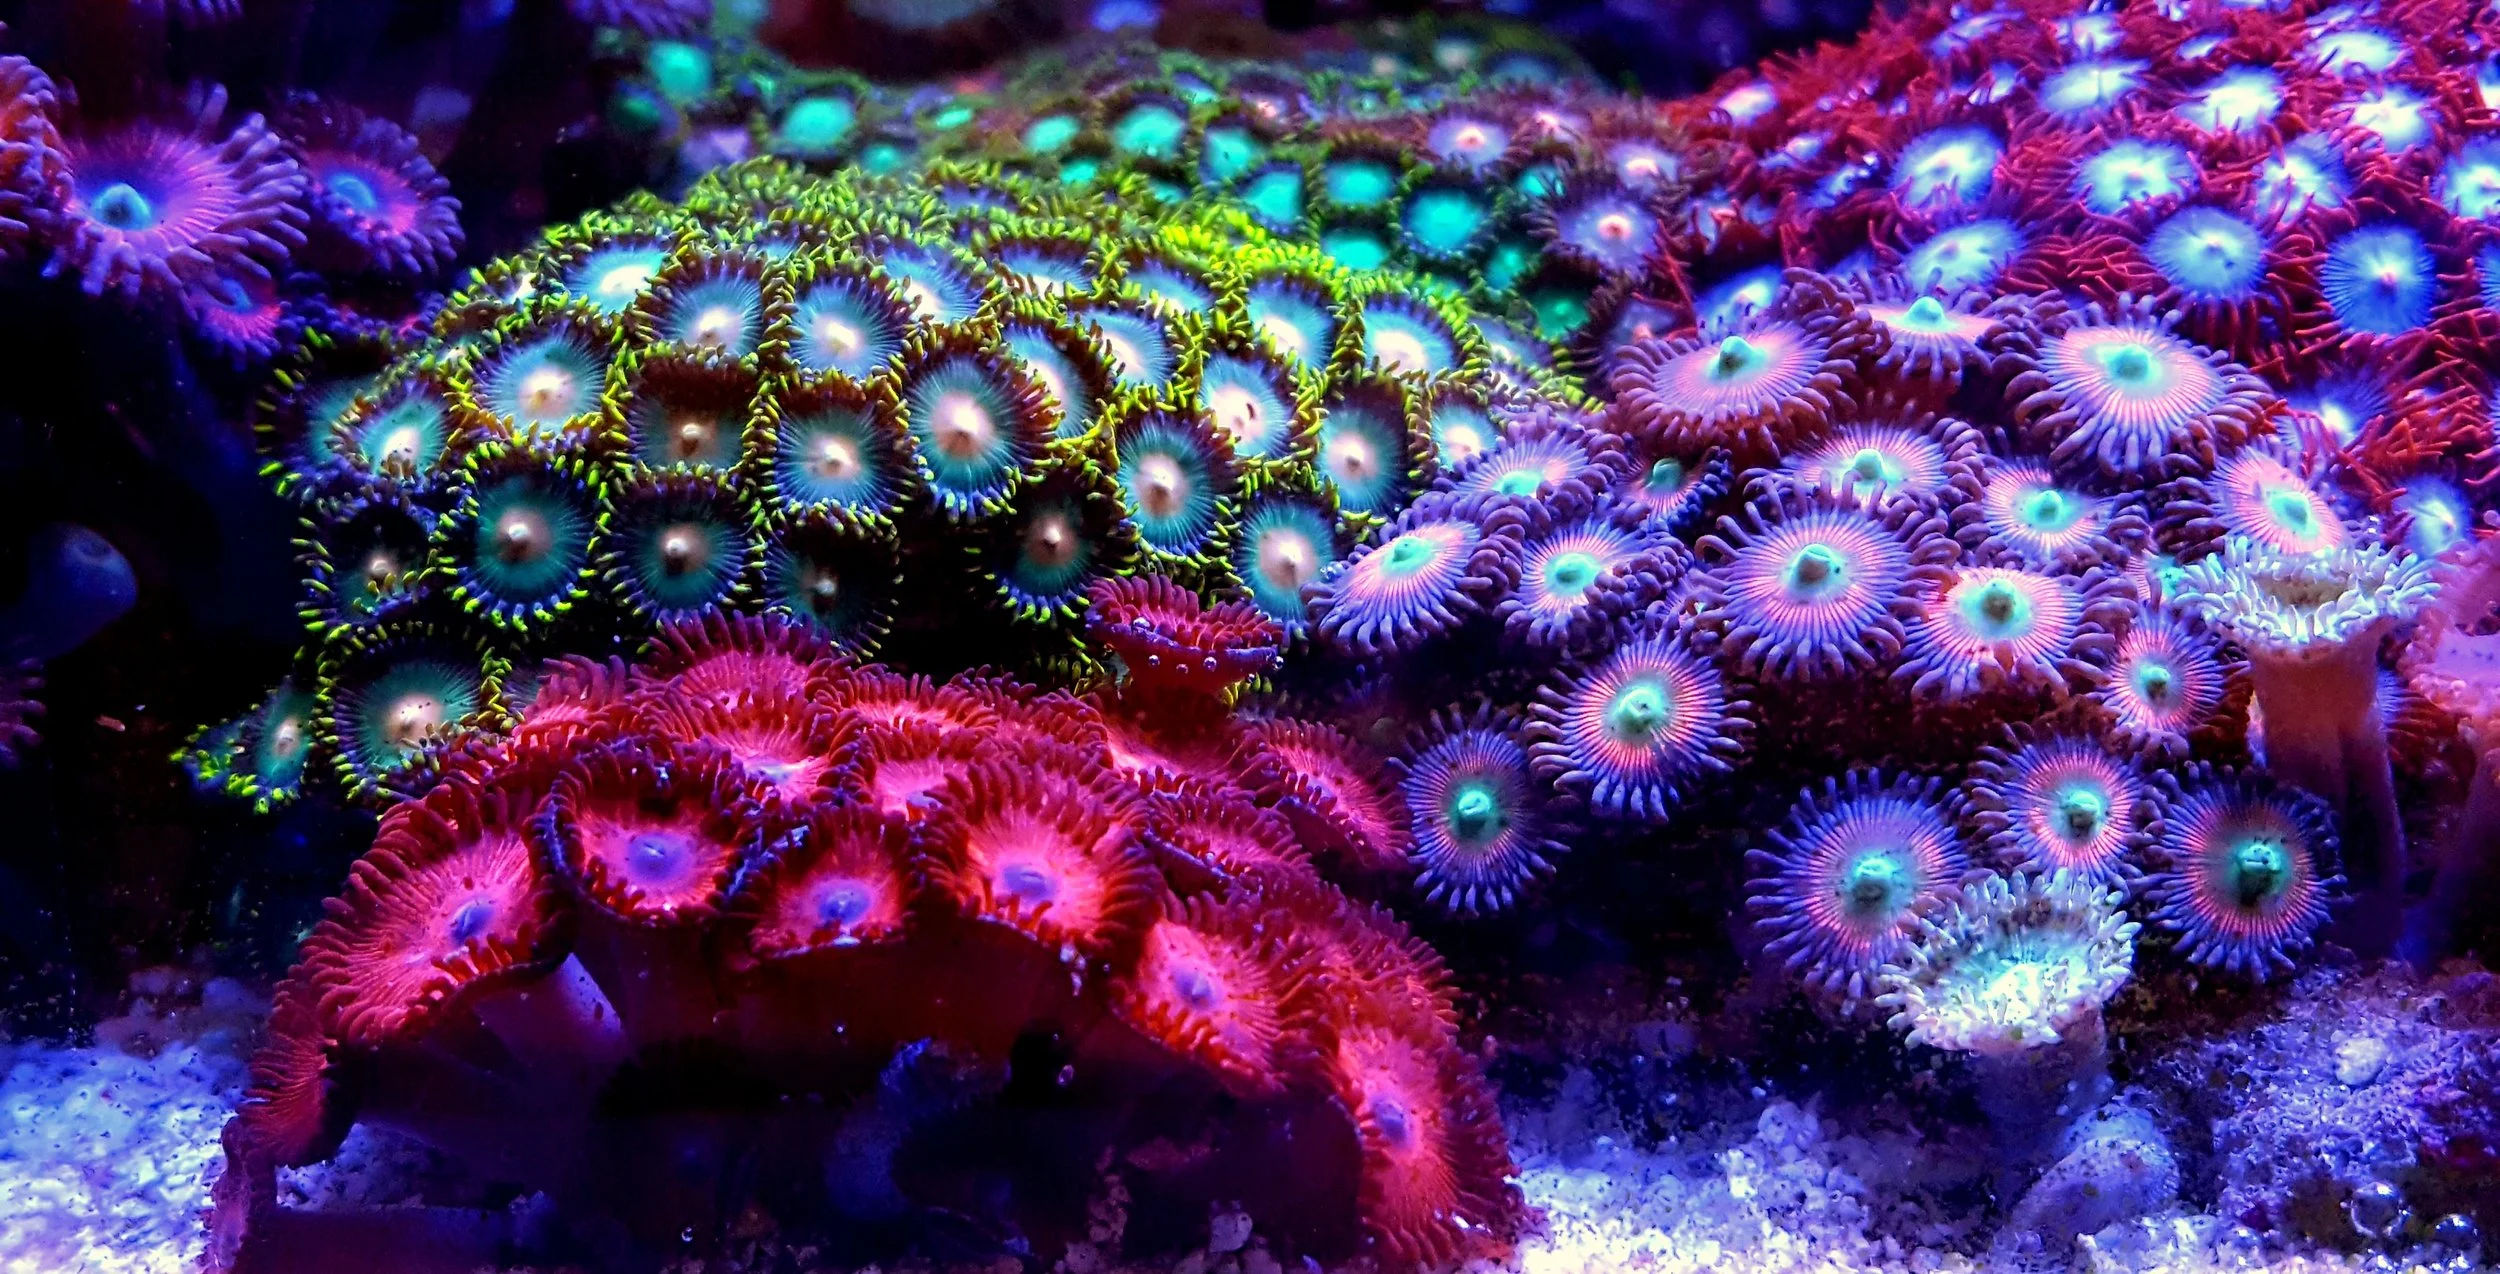
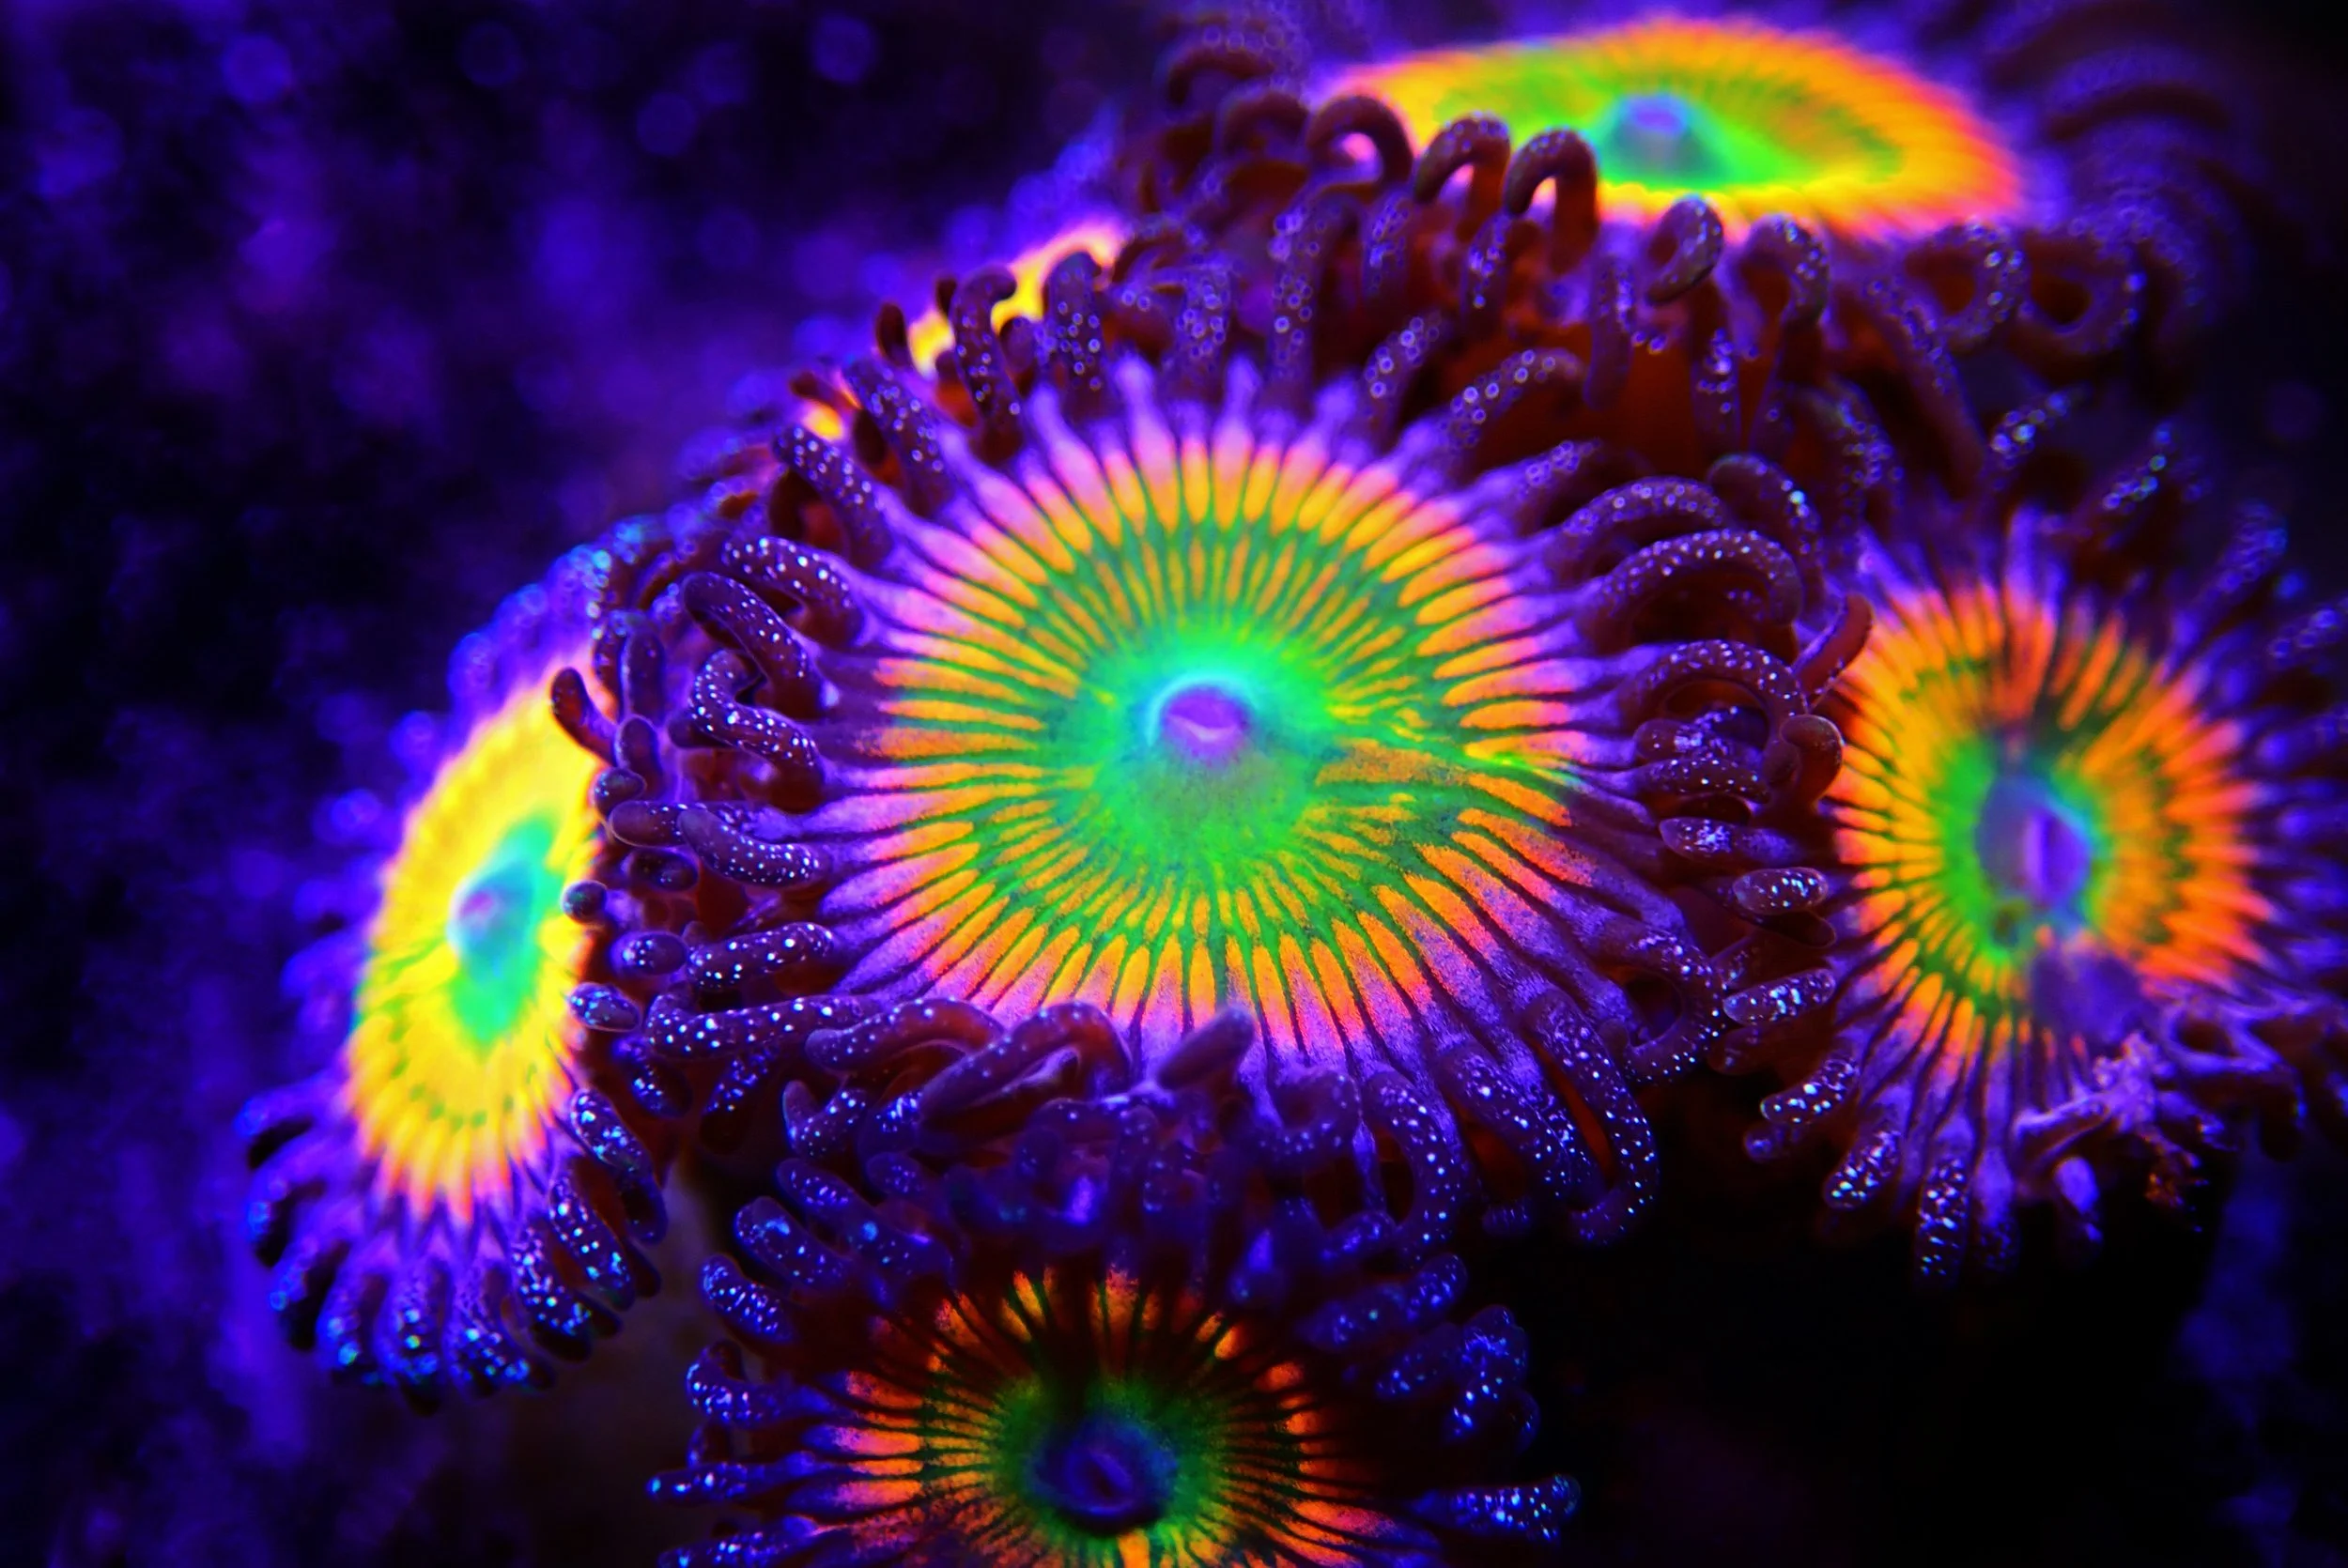
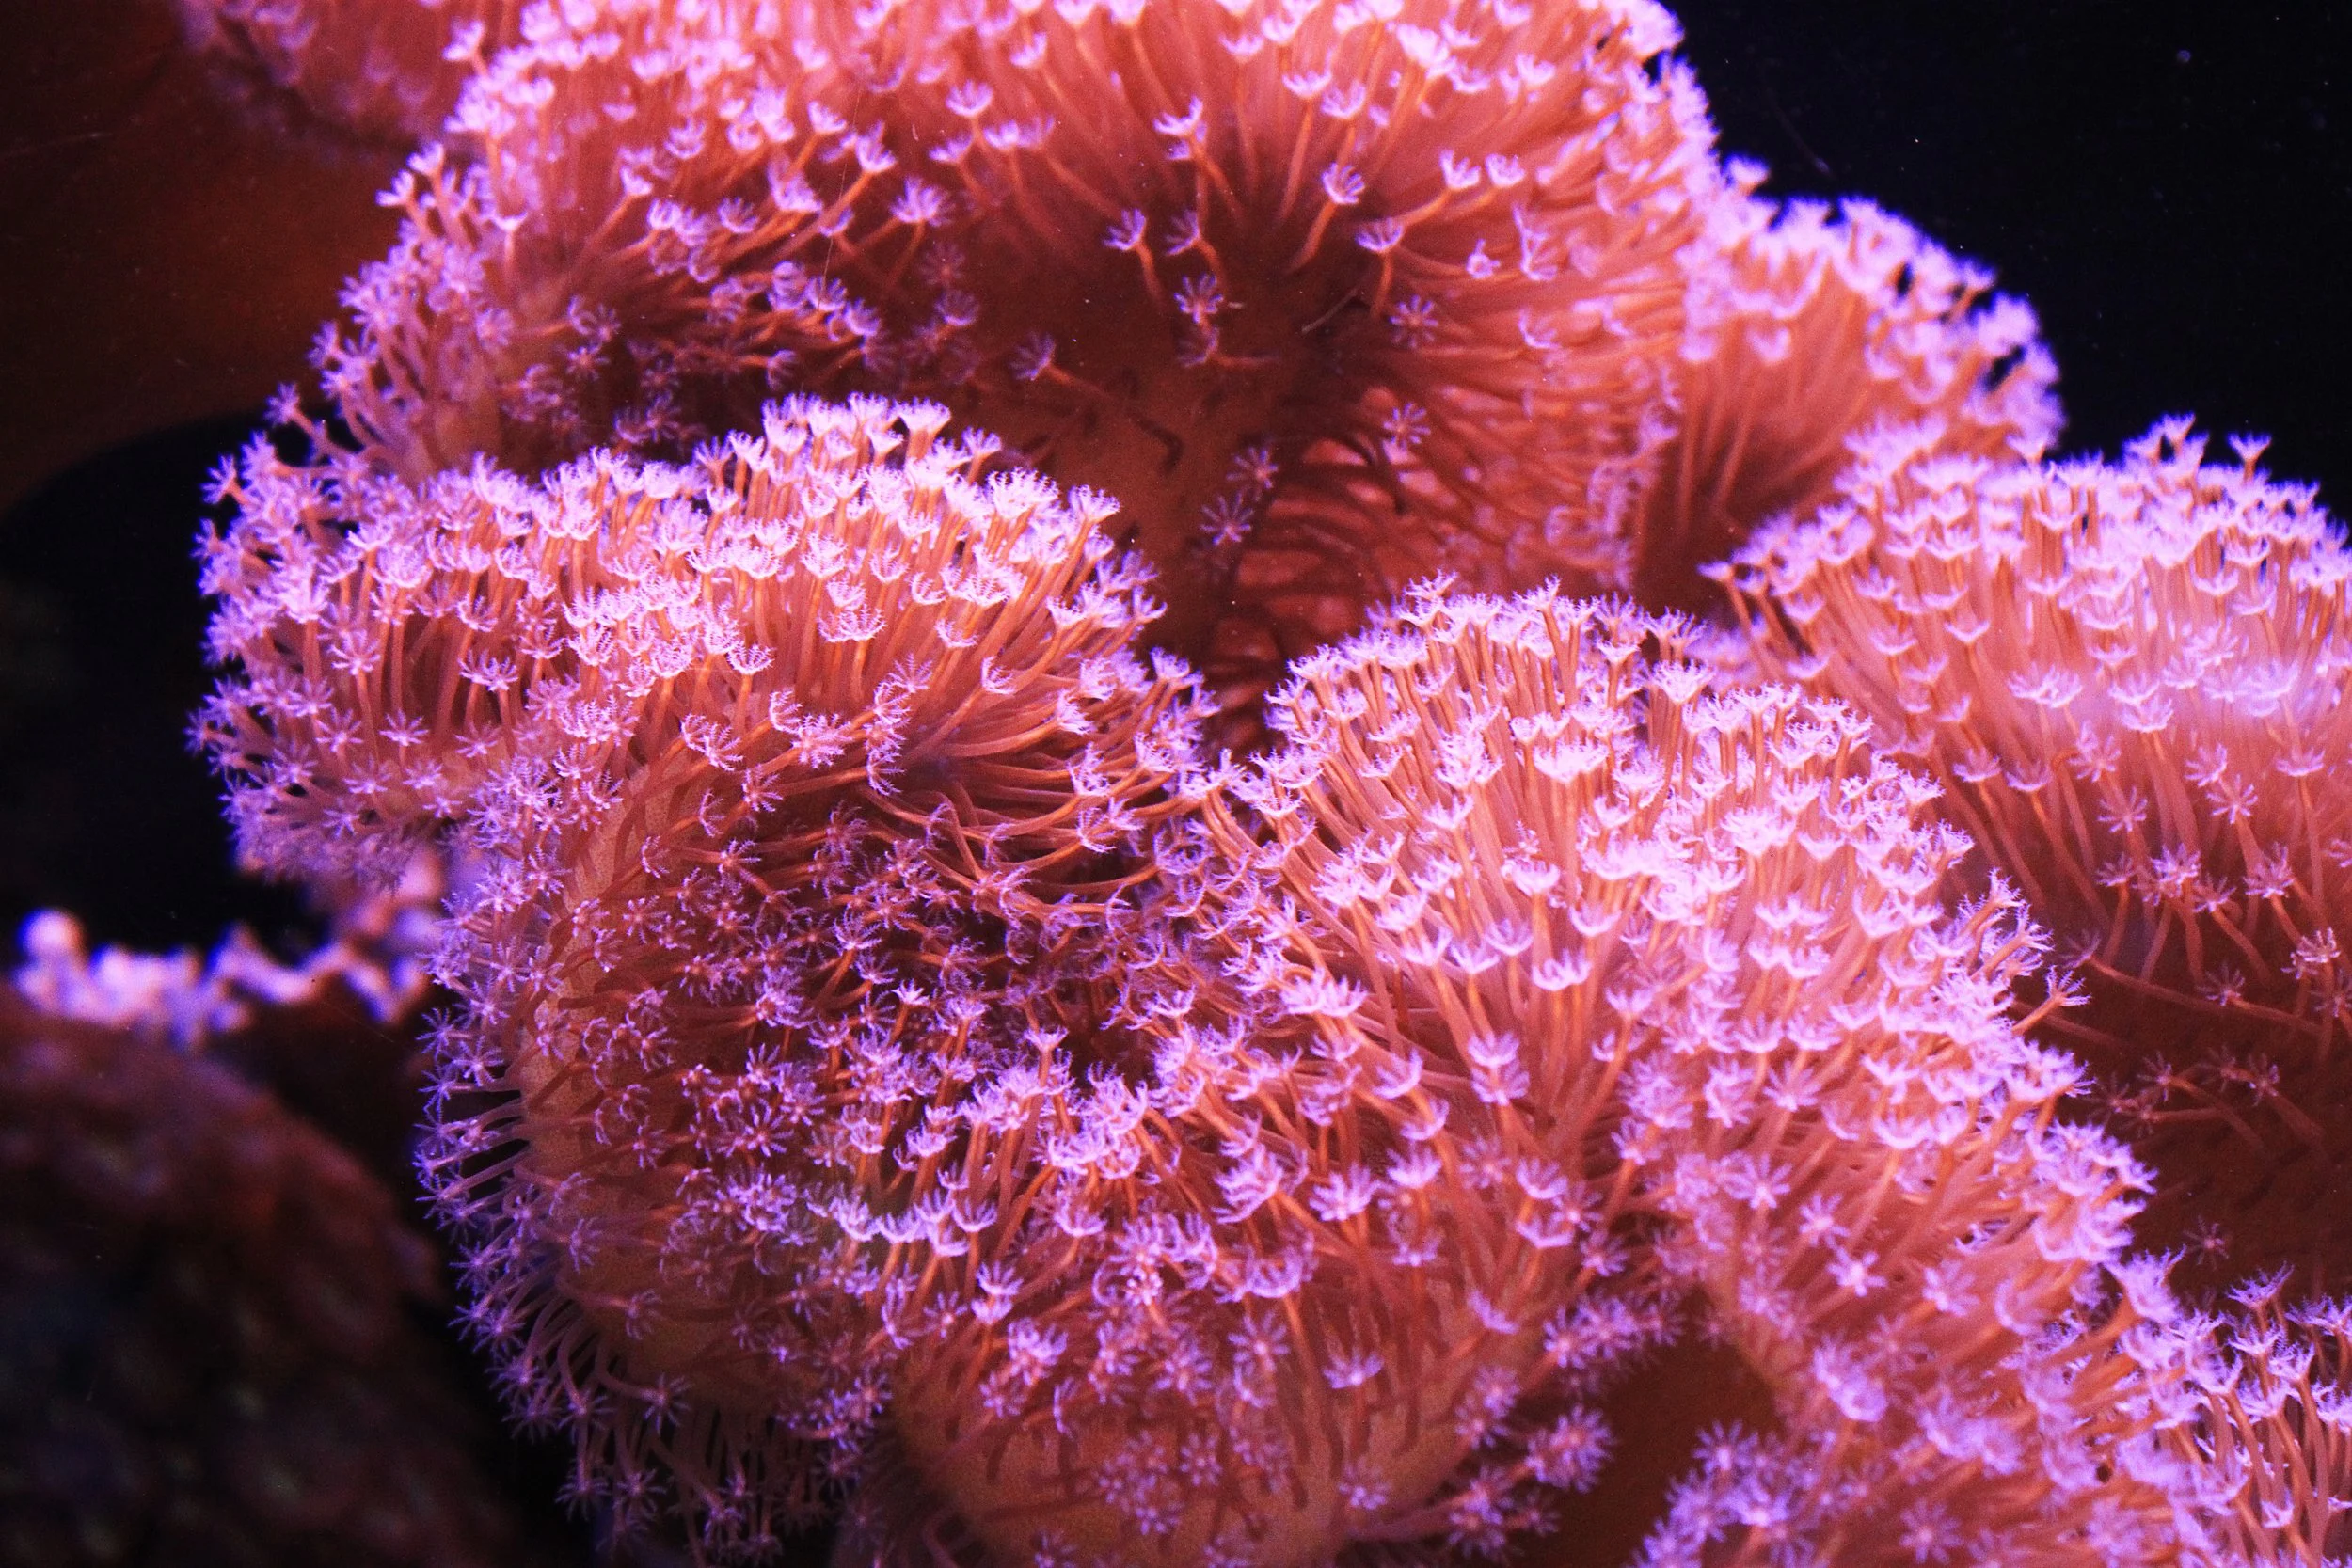
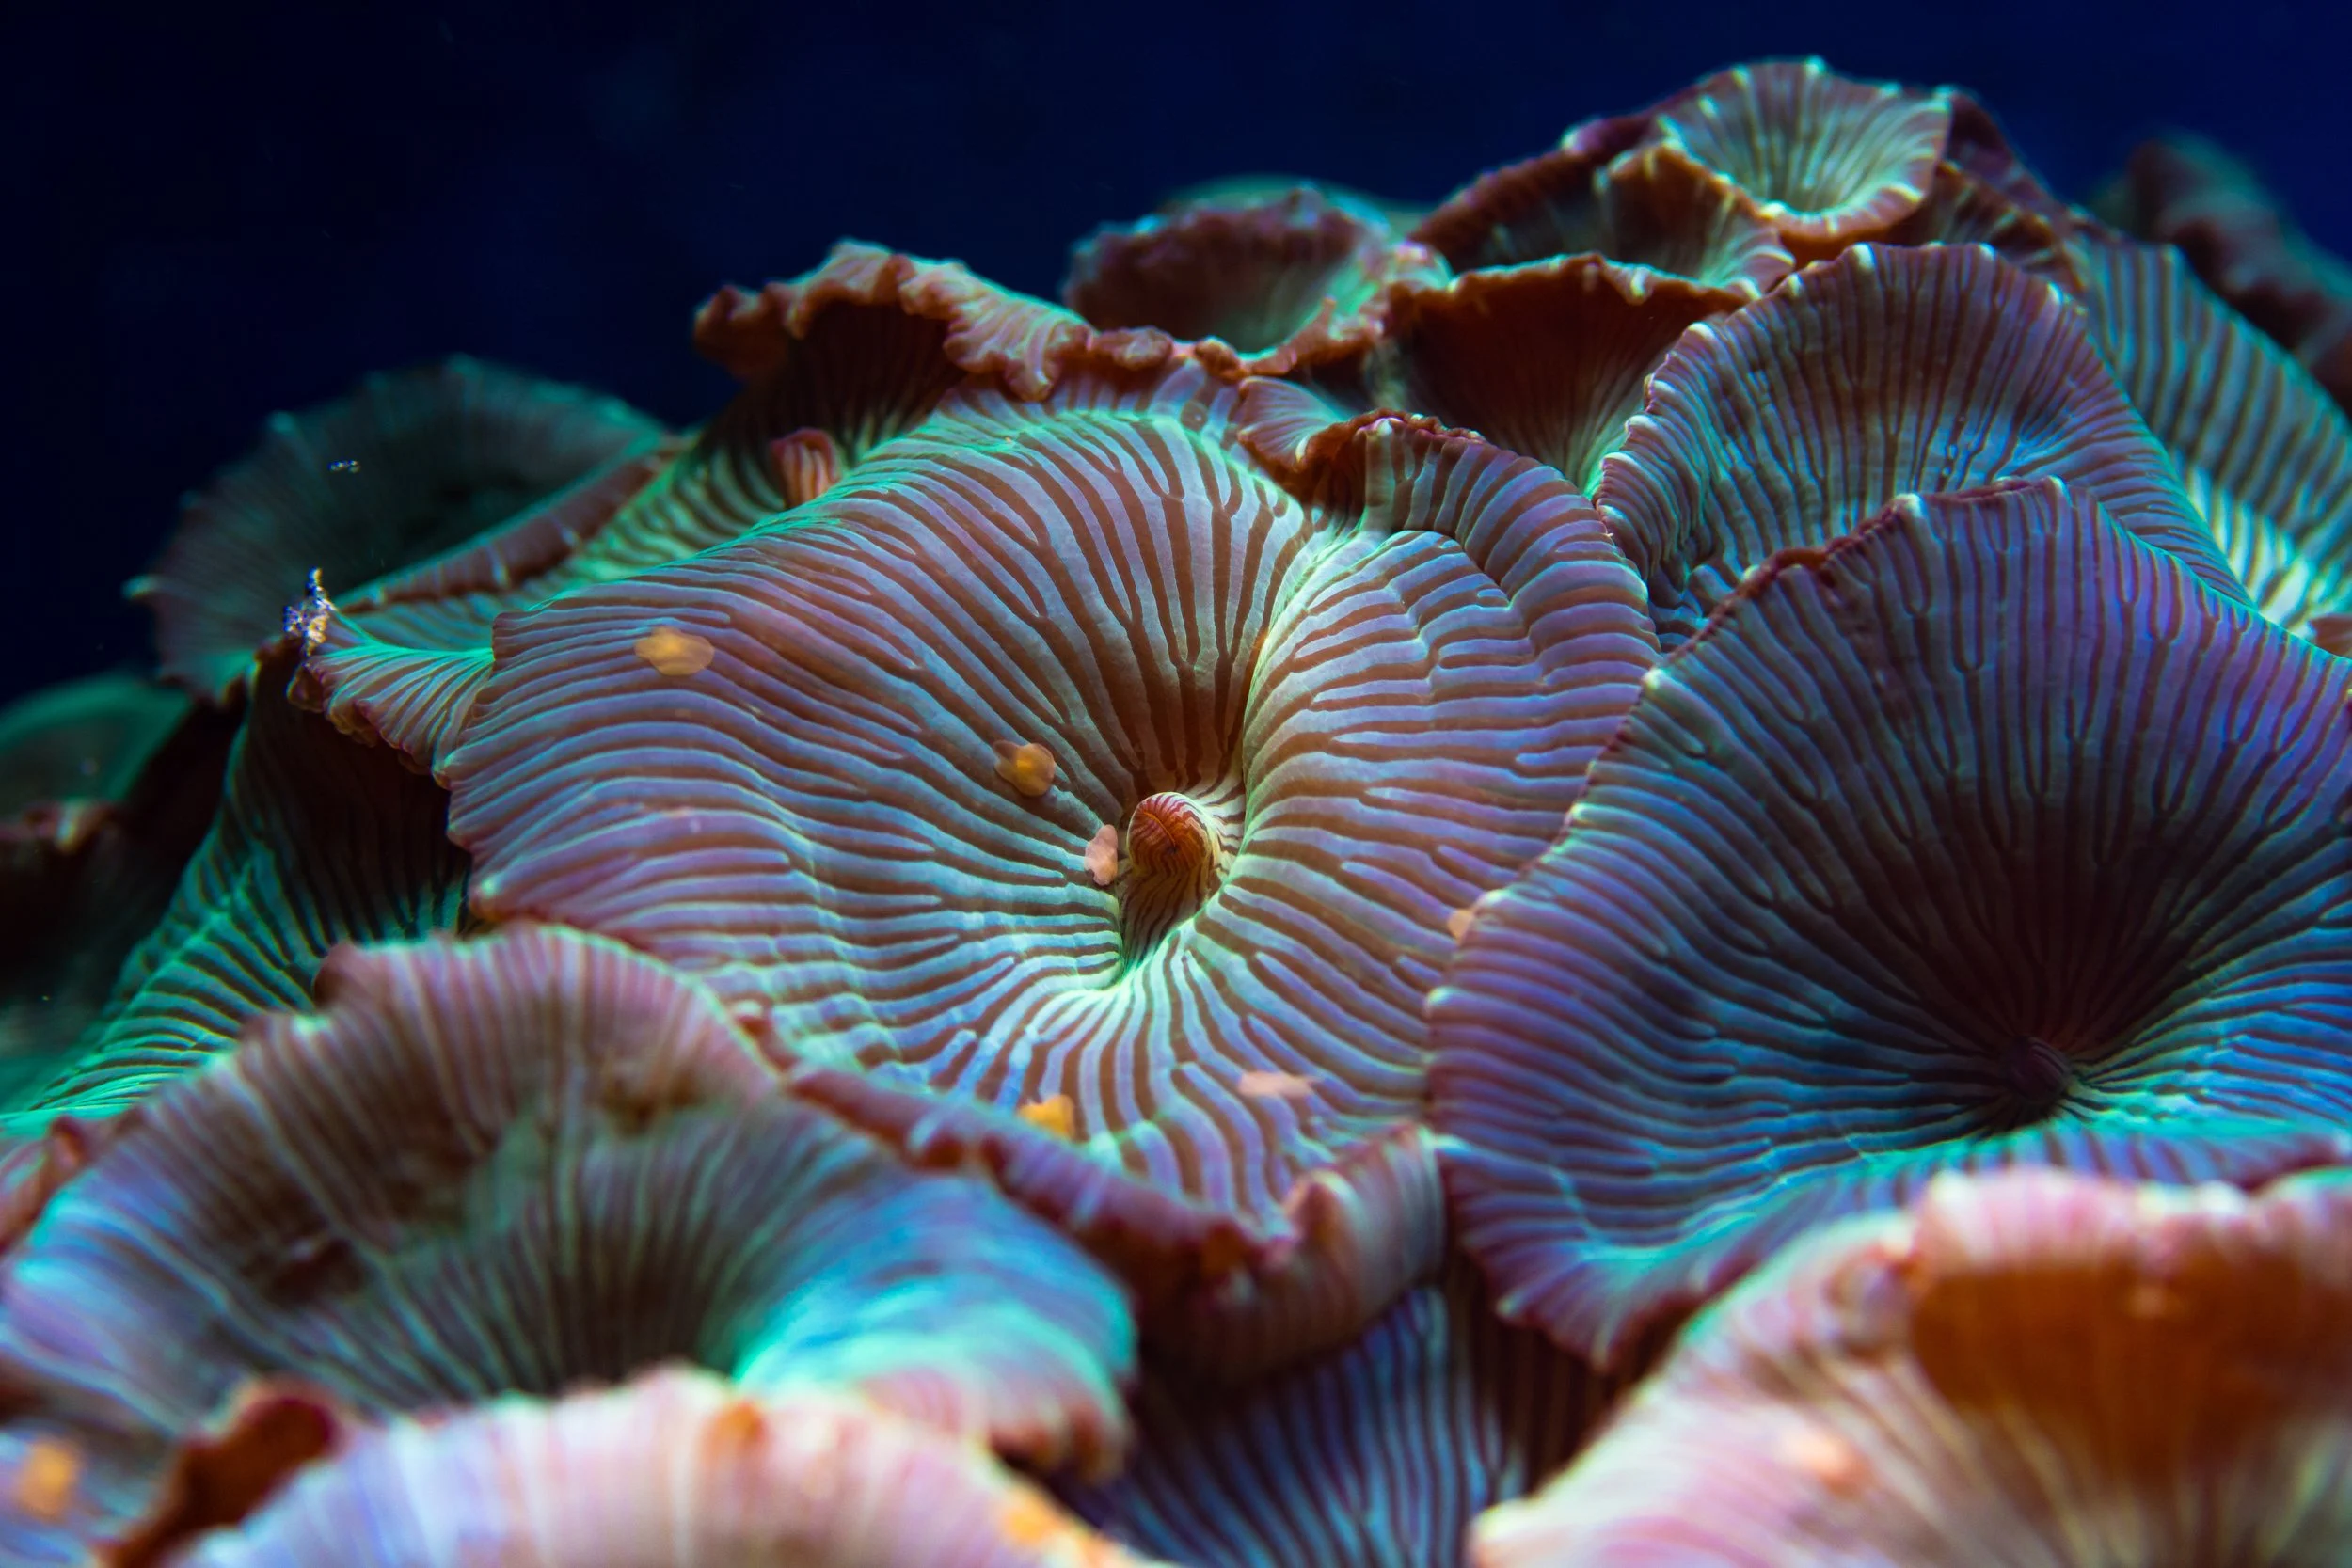
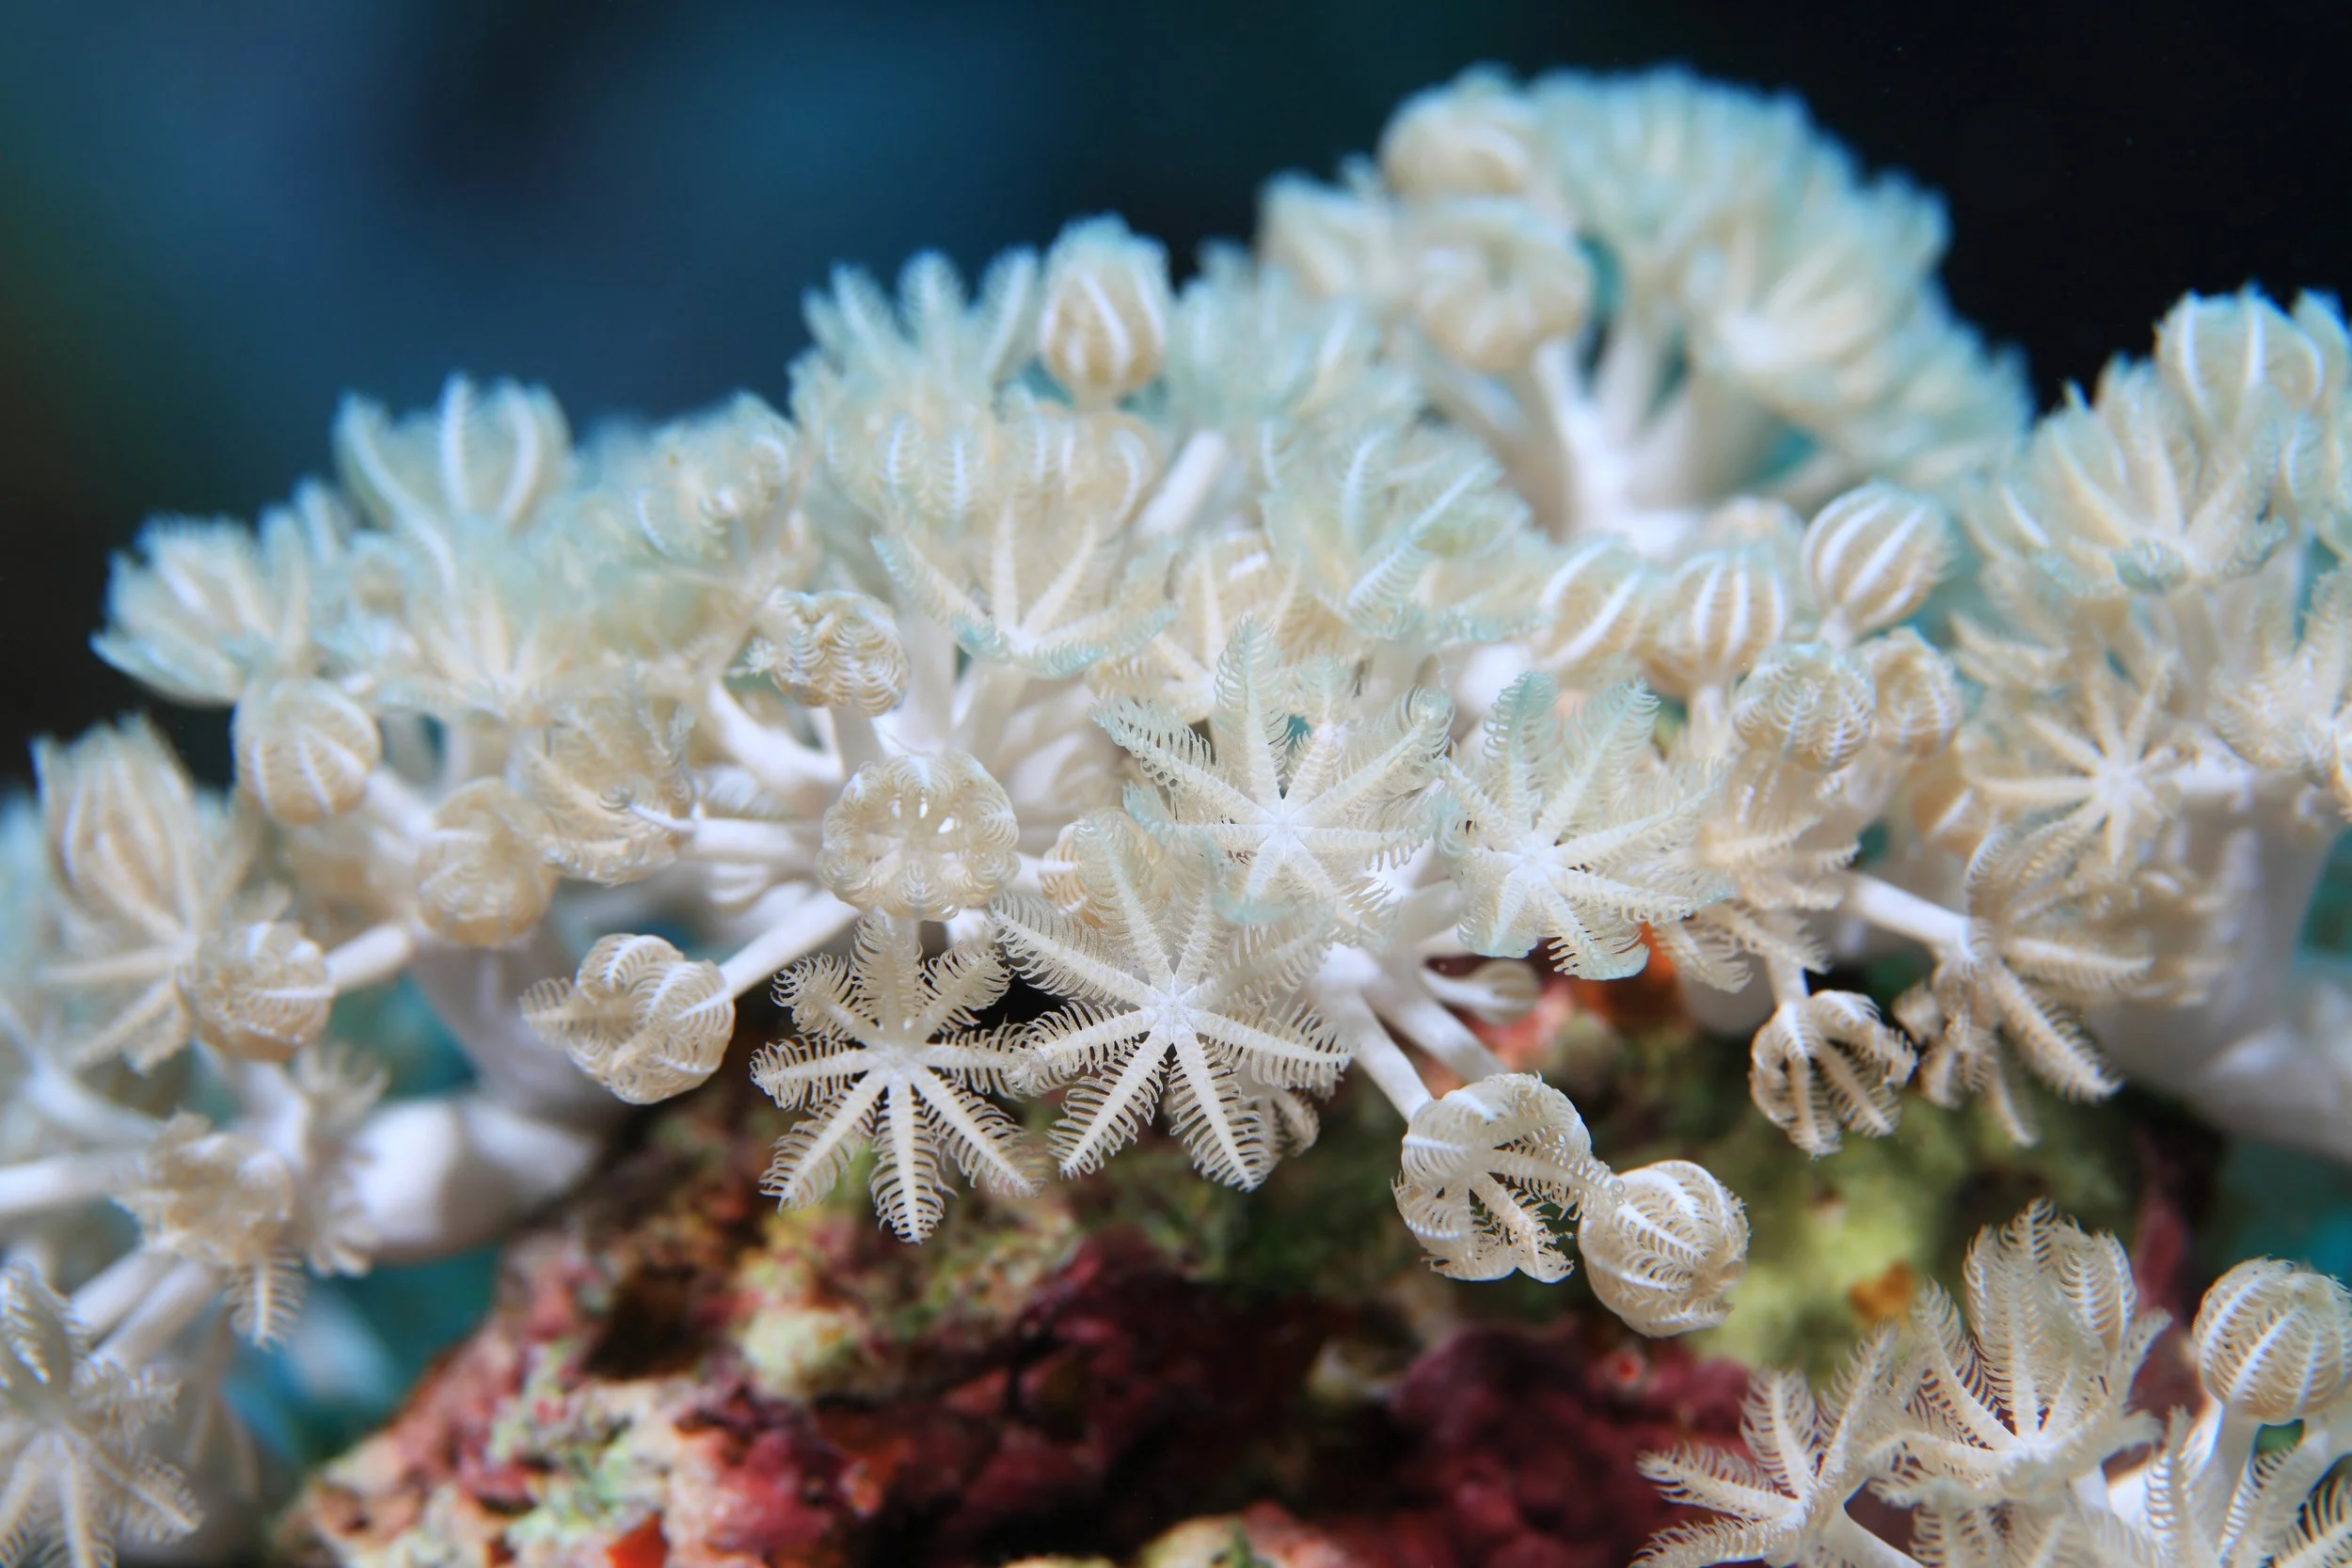
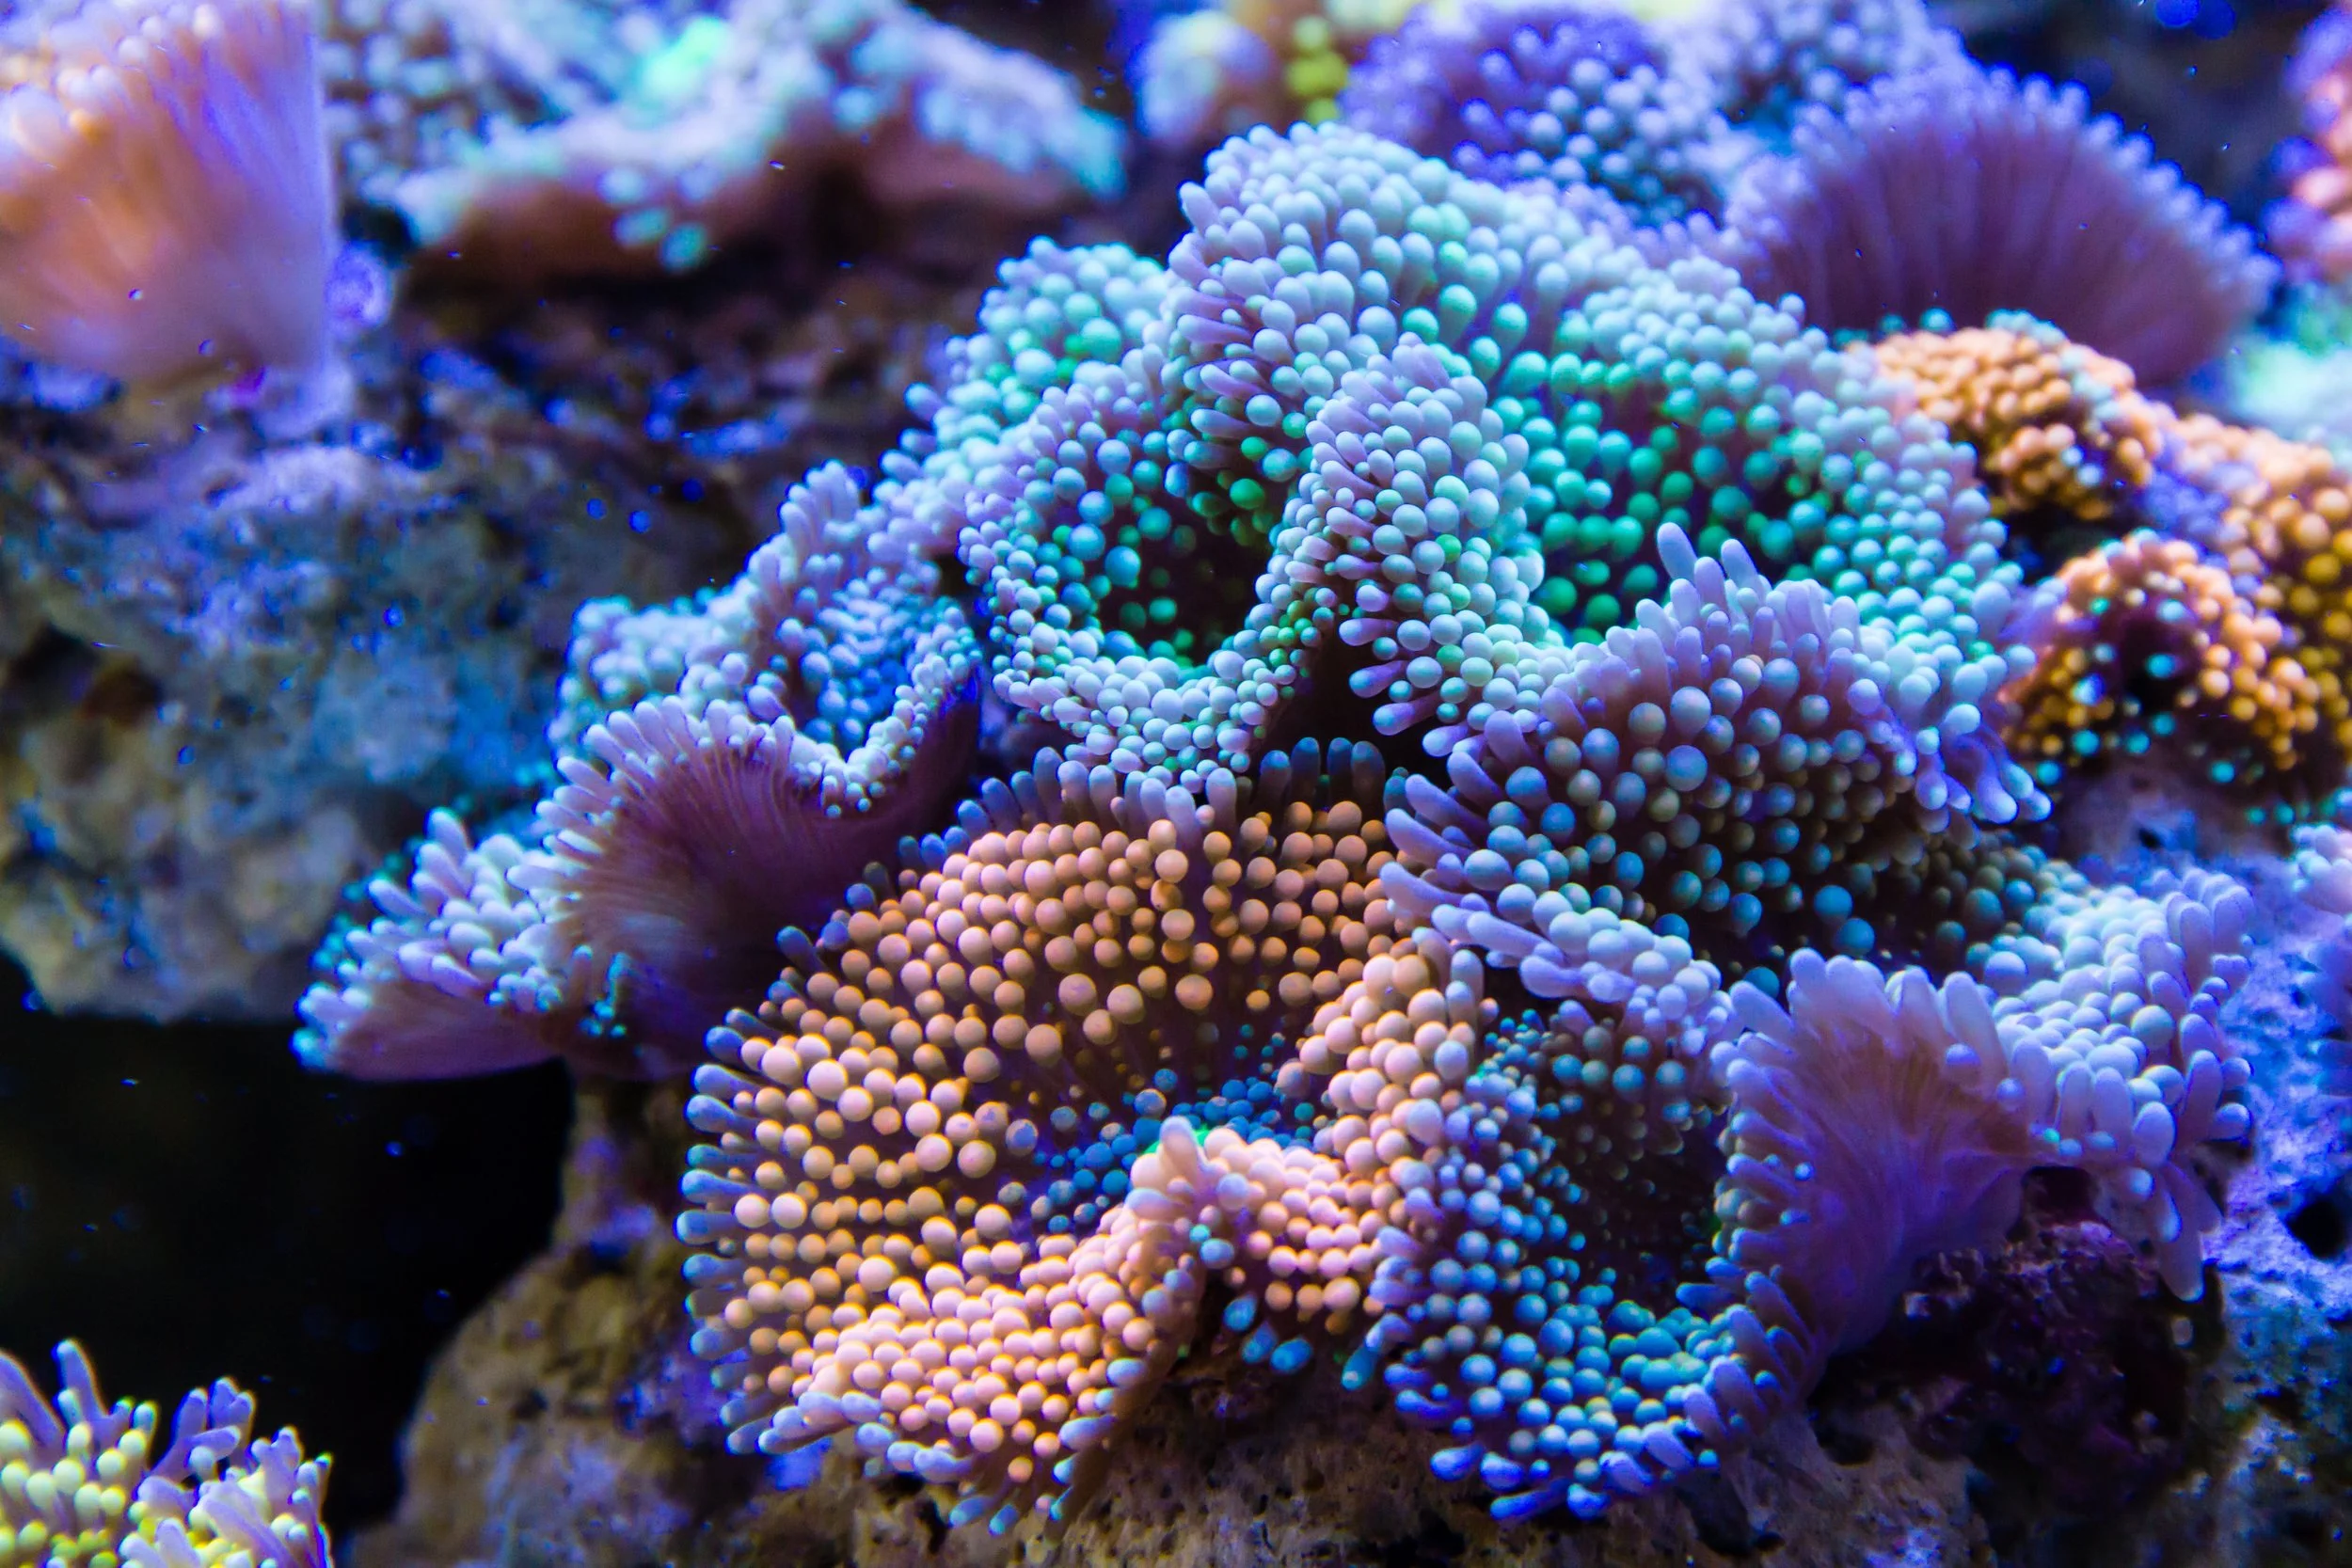
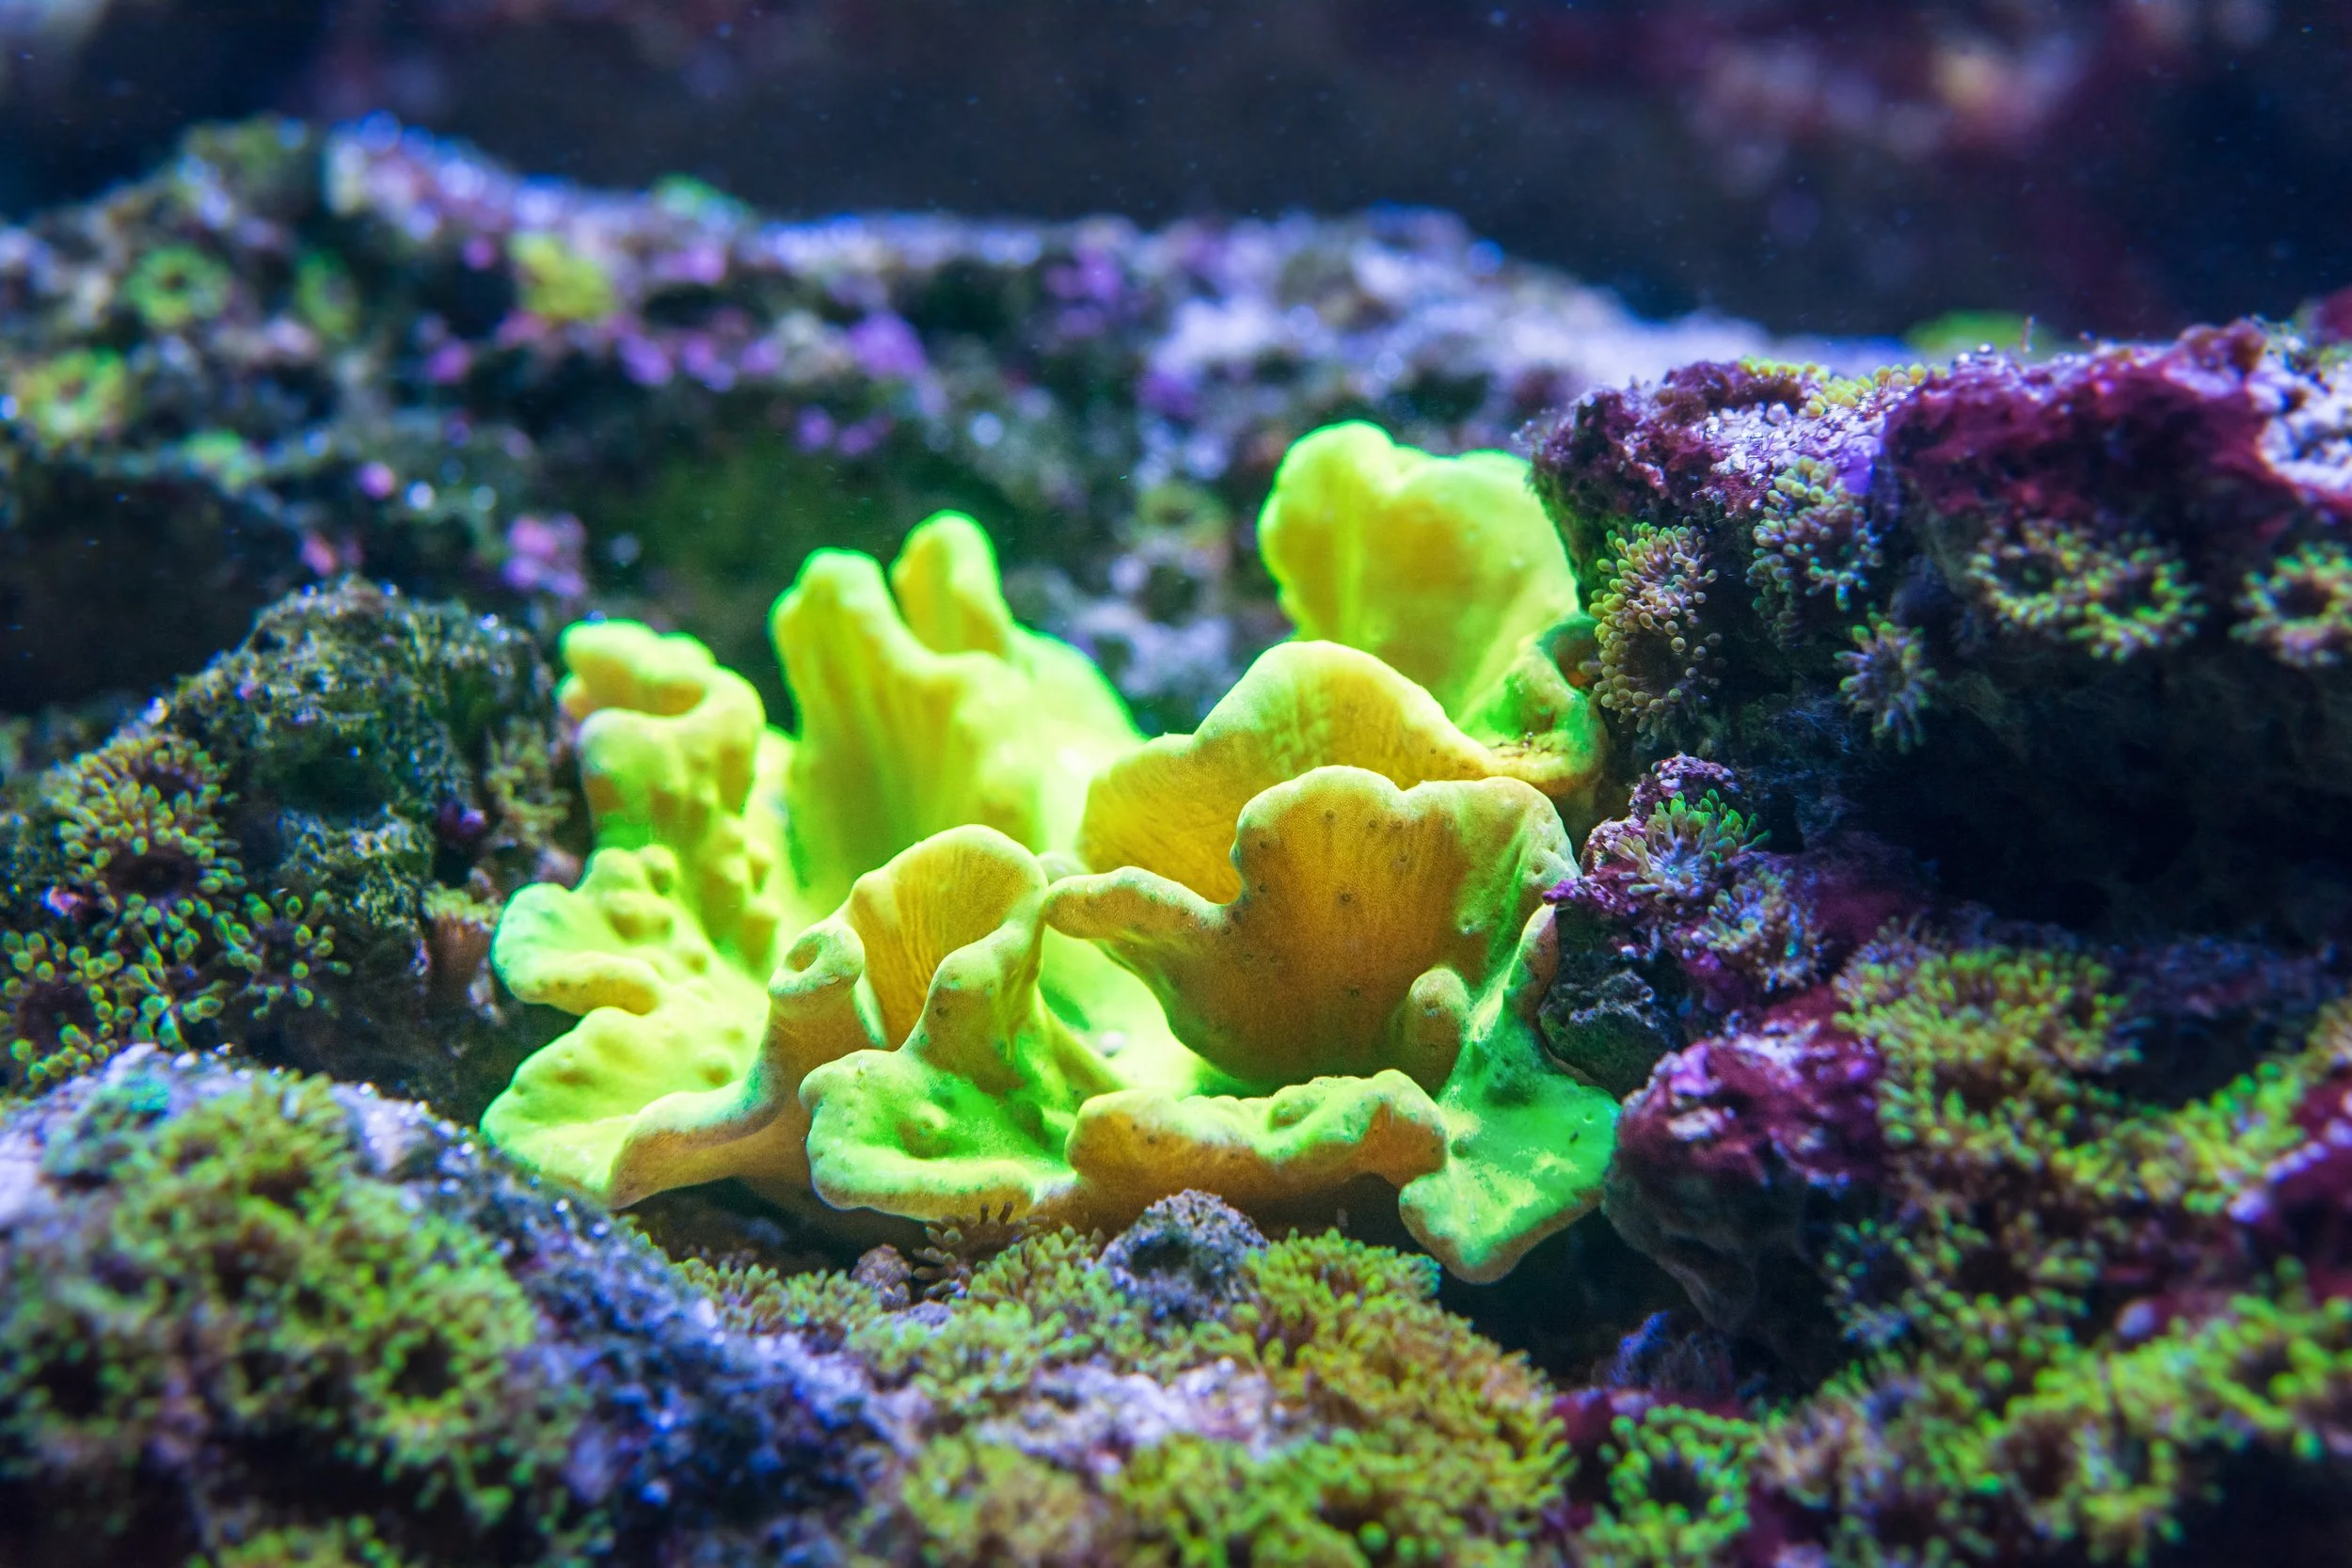
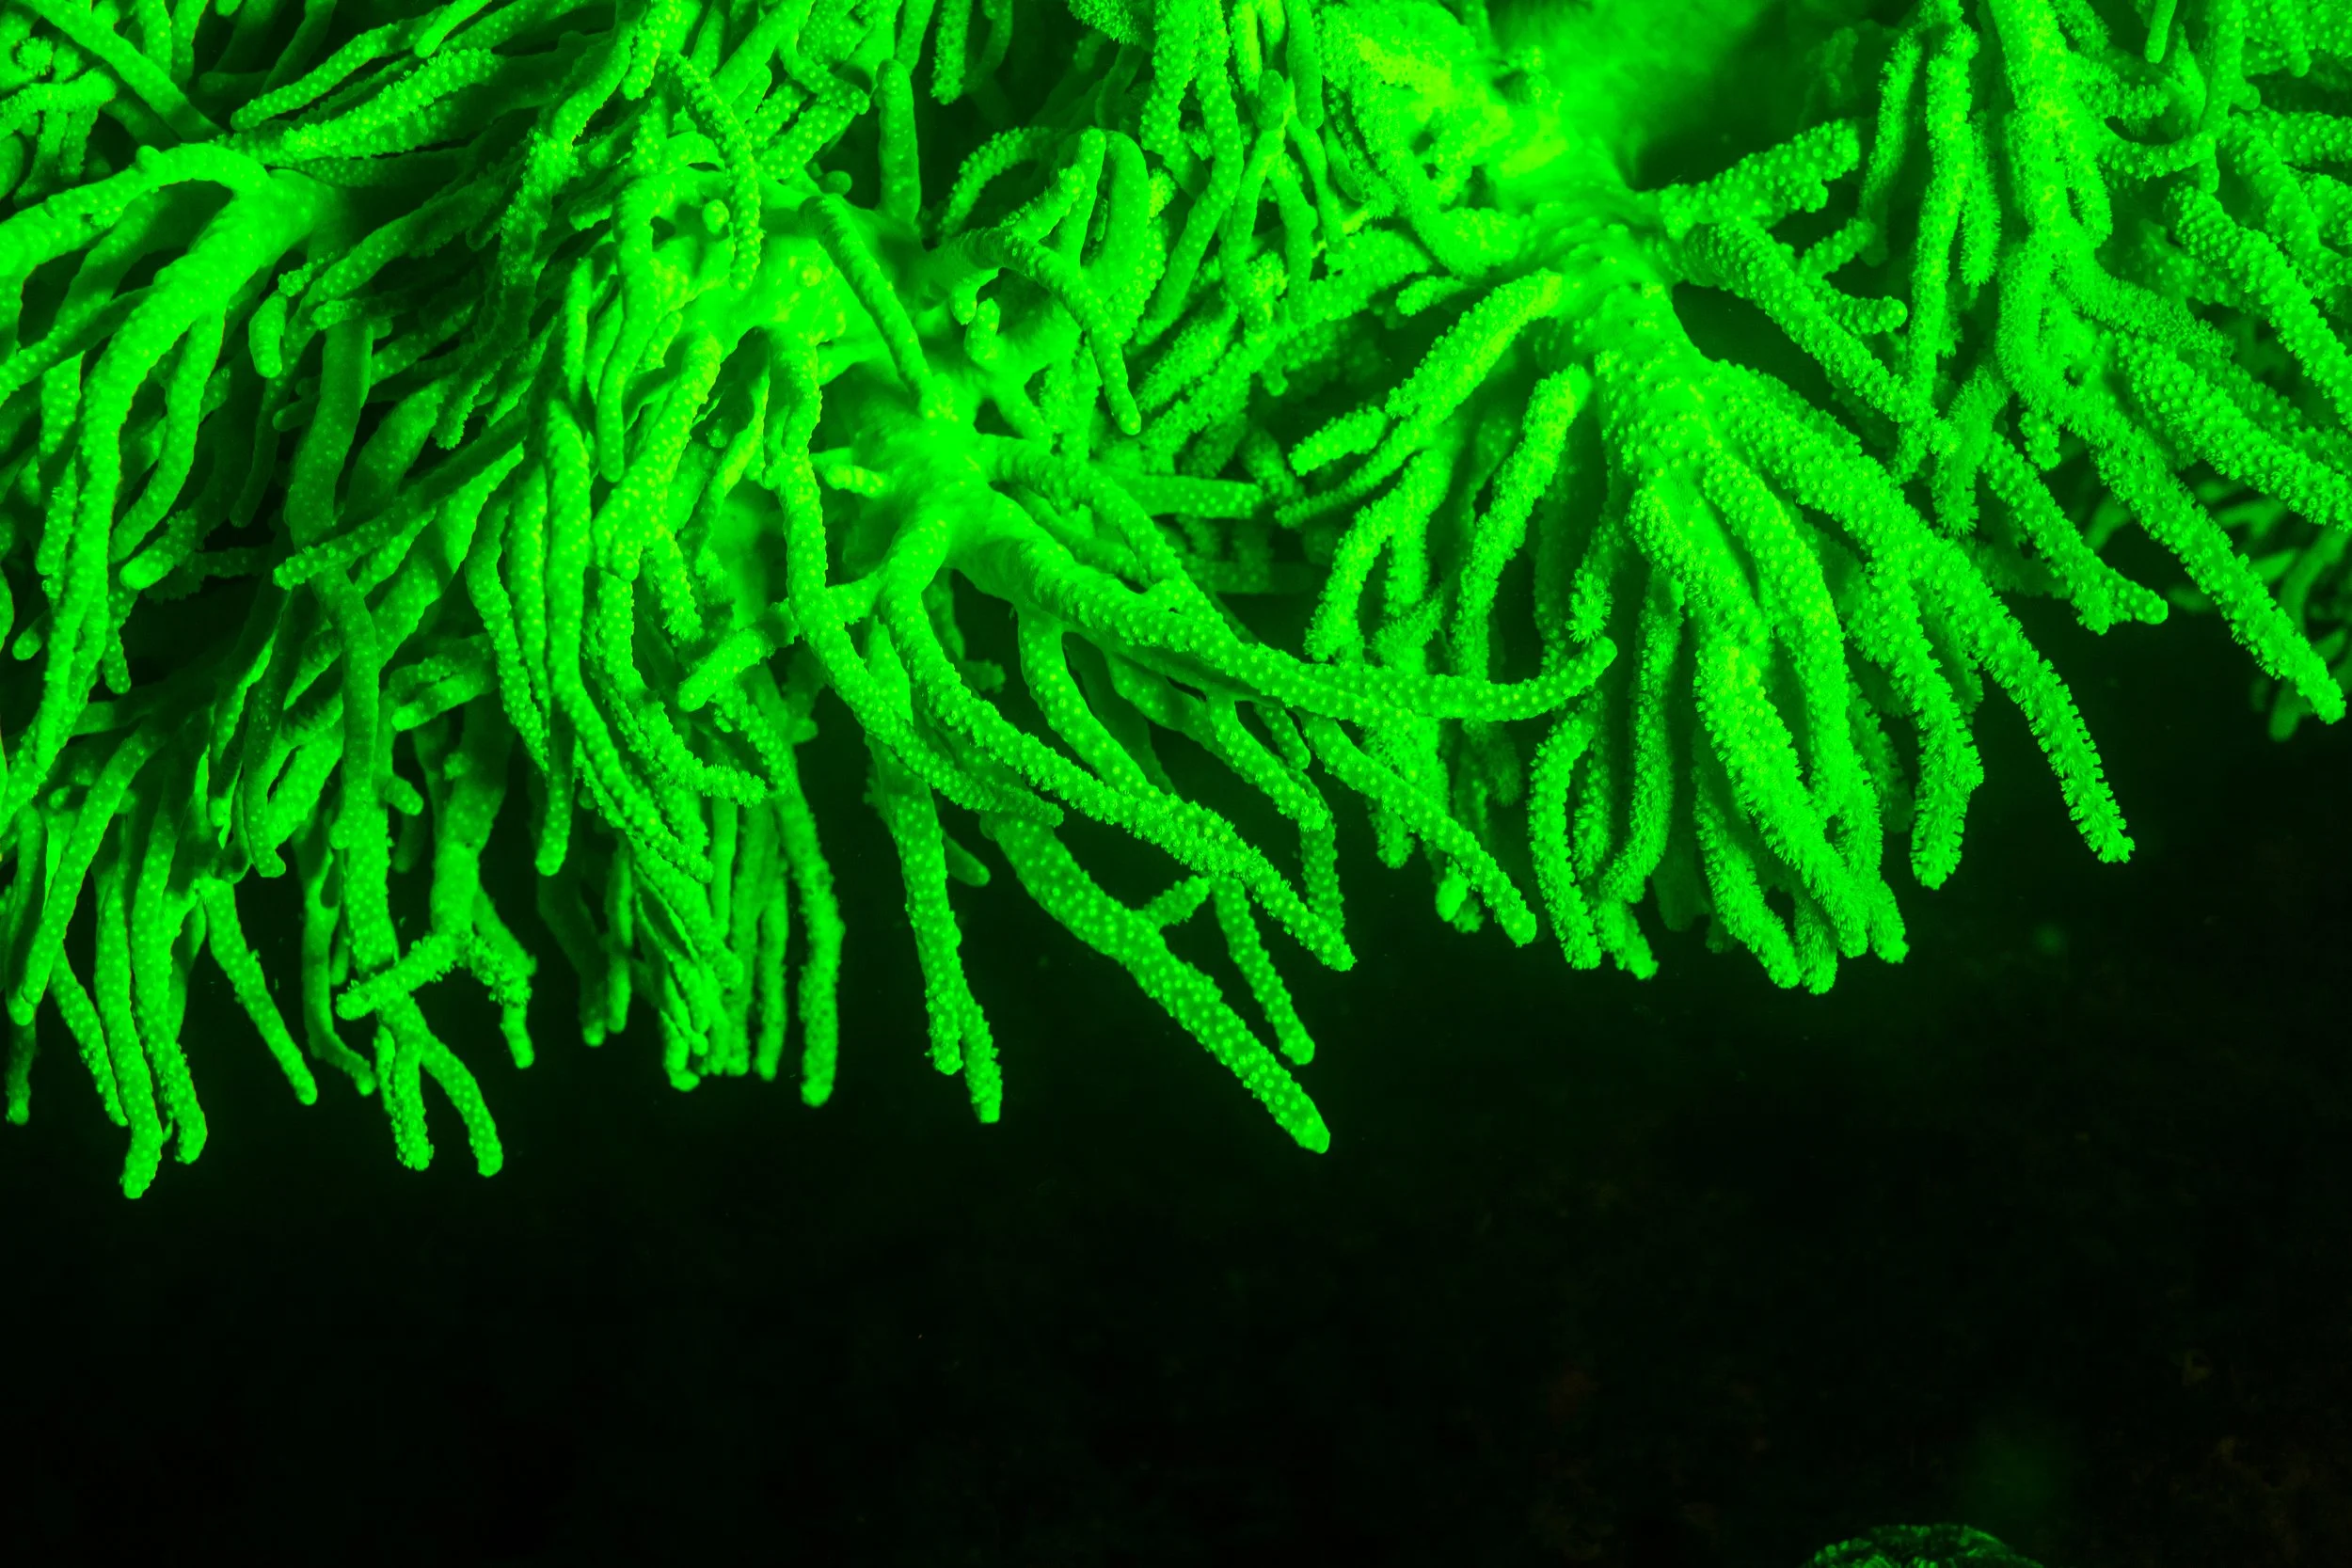
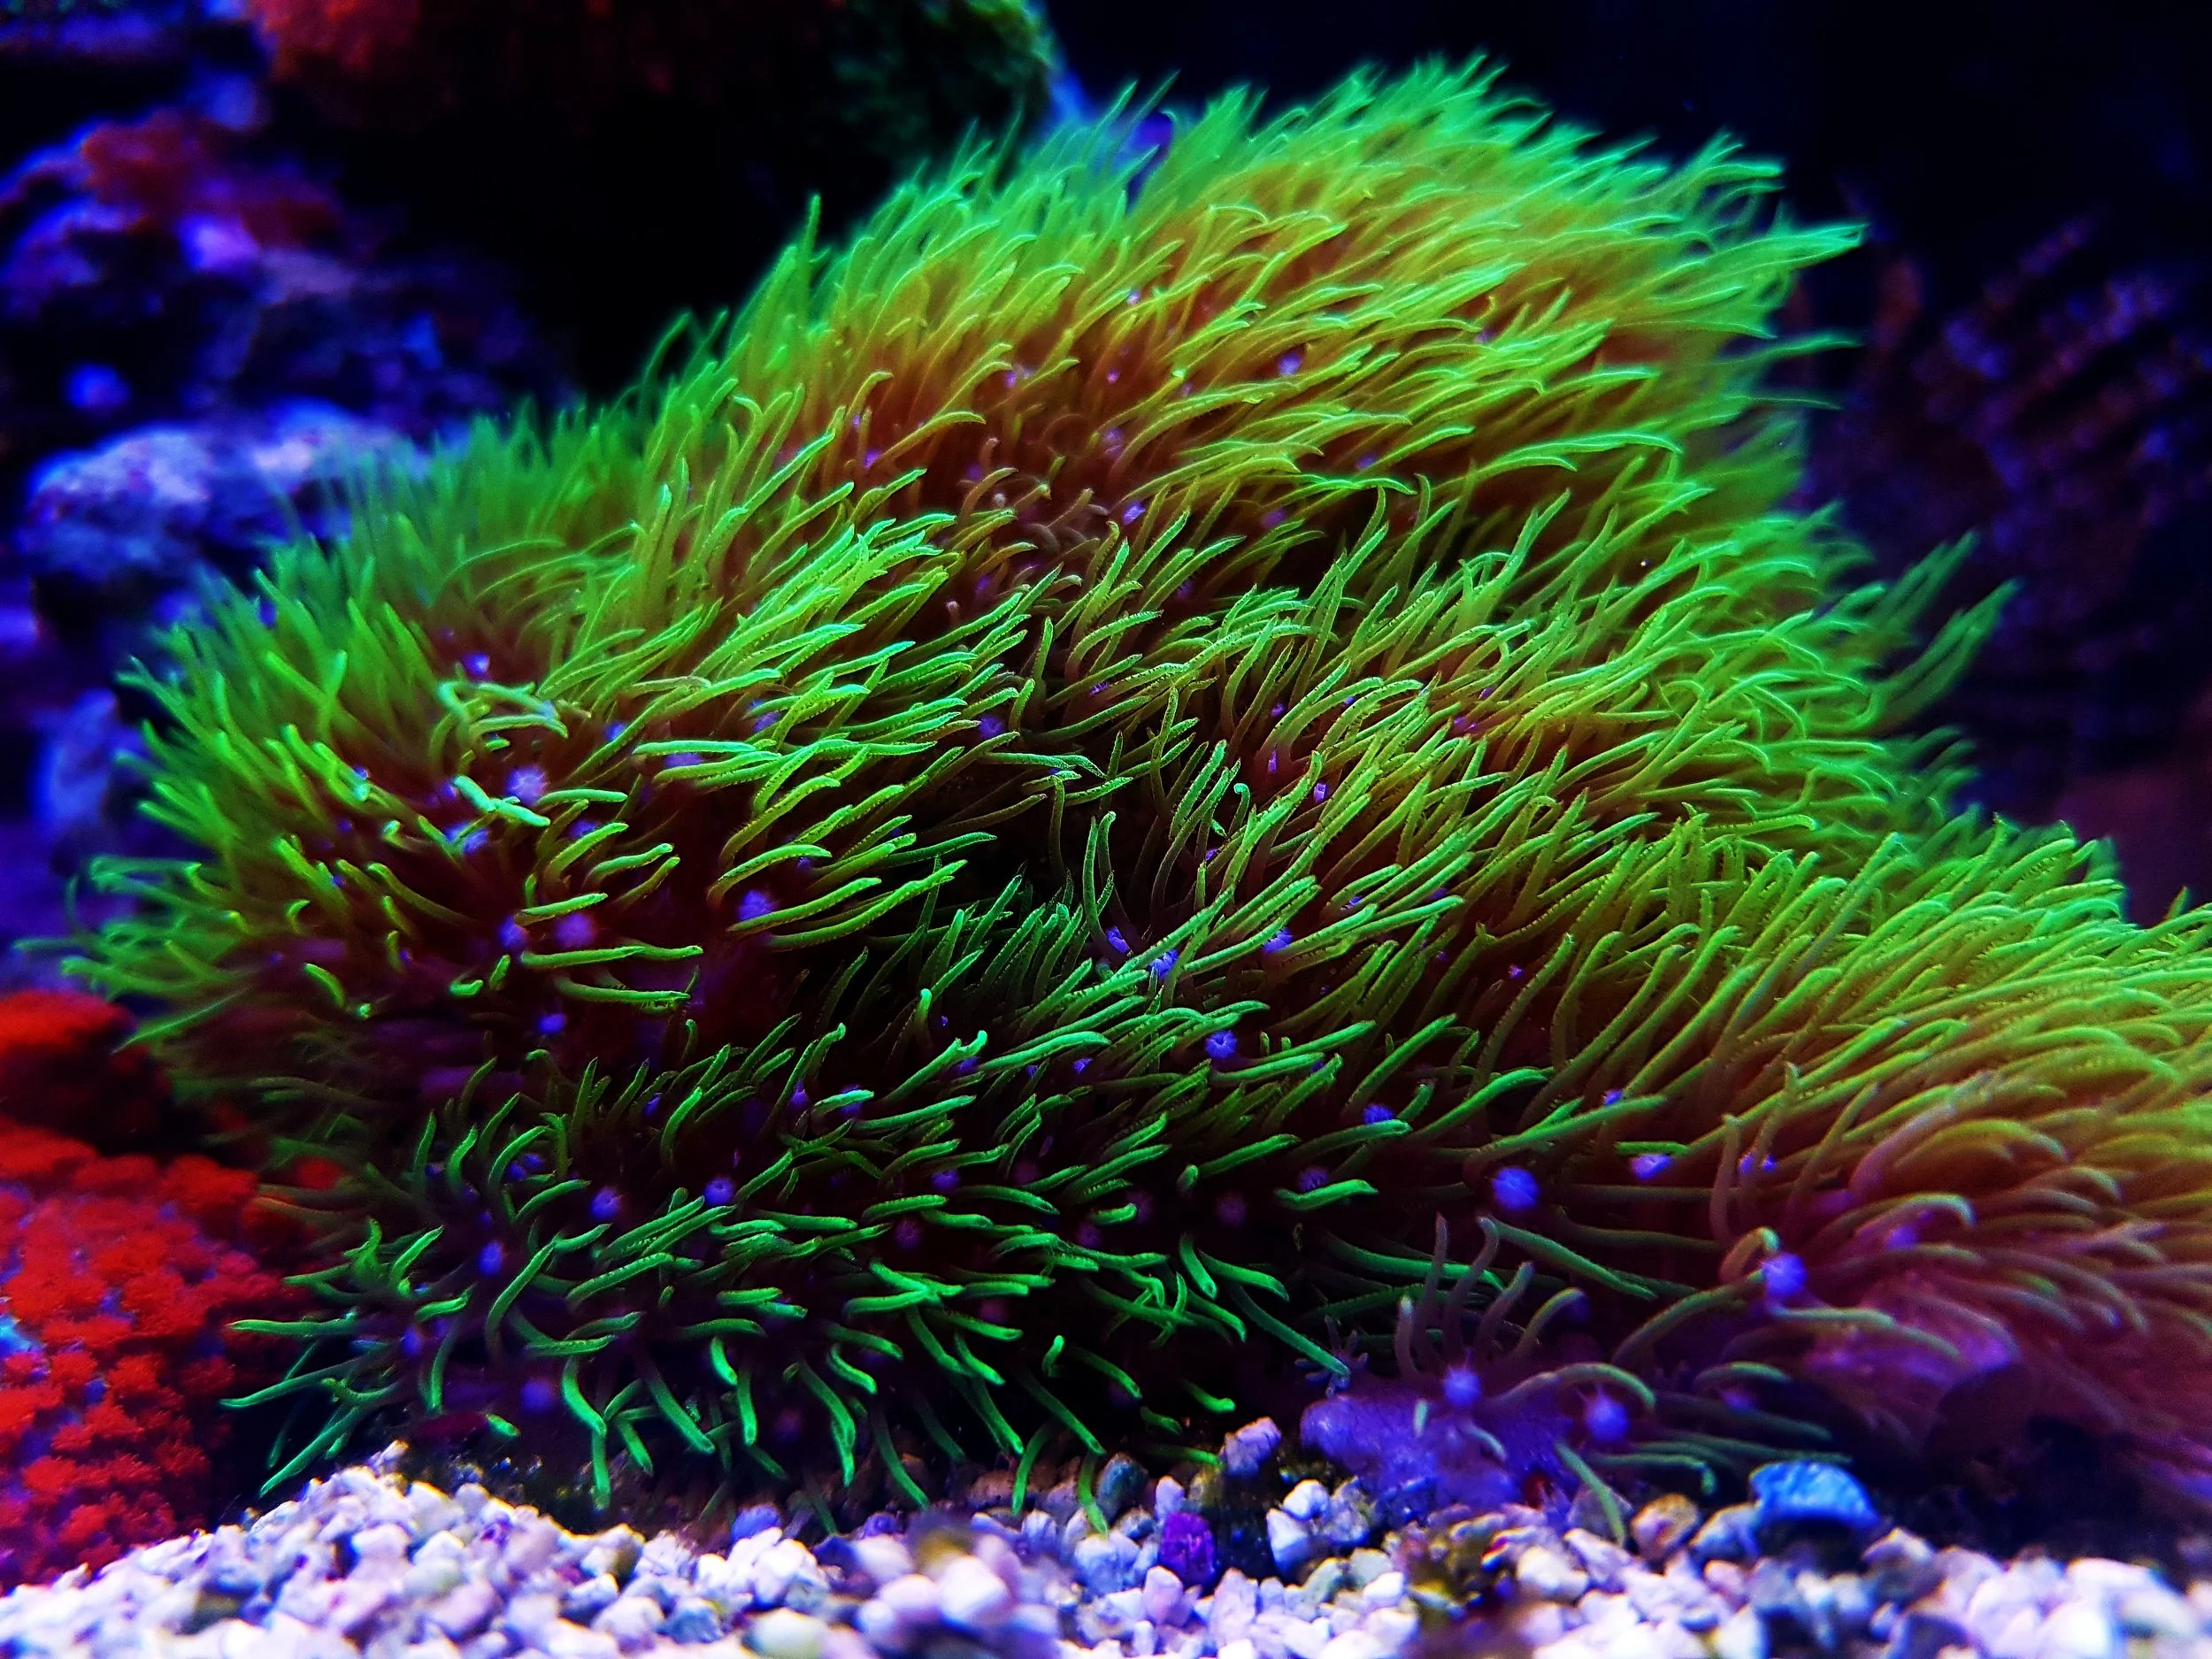
Selection: Soft Corals
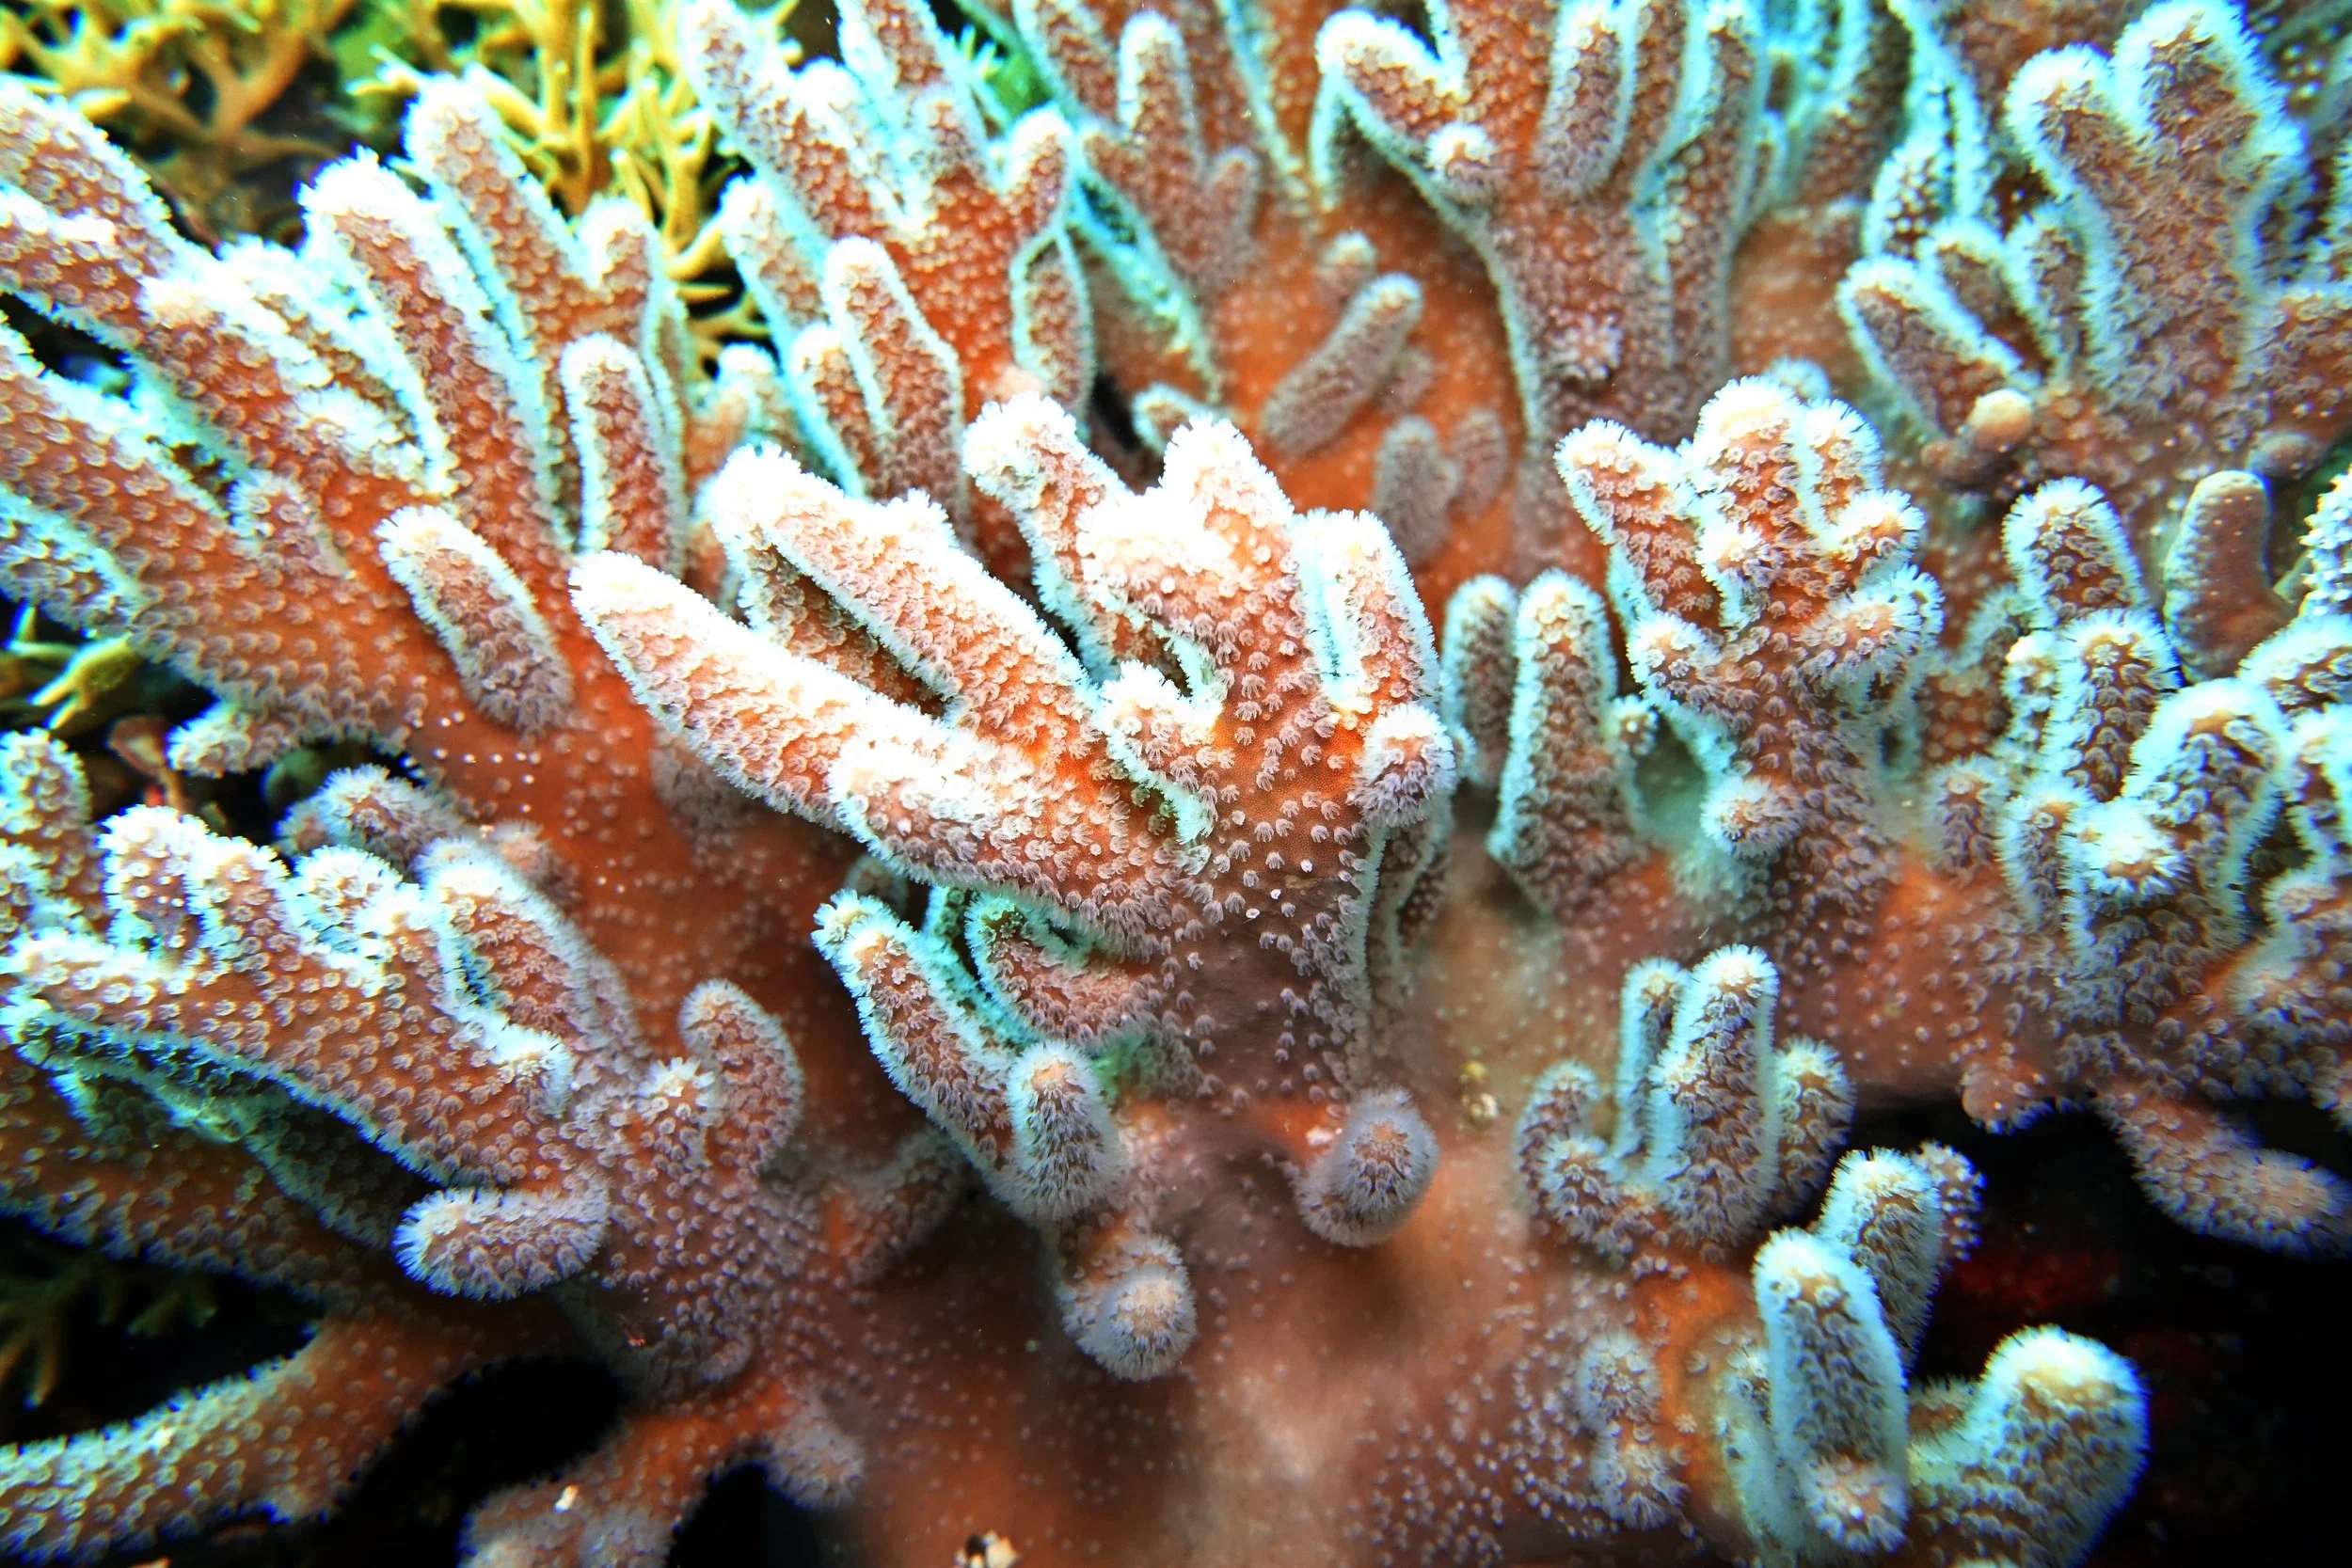
We selected a softy focused reef. Soft corals such as zoanthids, mushrooms, ricordia, leathers, pulsing xenia, and green star polyps—are fast-growing, forgiving, and cost-effective. Their quick growth, absorbs nutrients and hides a lot of beginner mistakes, they use less calcium and alkalinity, and many come with fewer hard to beat pests.
From a cost perspective, many soft corals are easy to farm and grow quickly, which keeps their prices low and largely insulated from “coralflation” over the last 20 years. Because they grow so fast, they can fill out a tank in a fraction of the time and reduce the number of corals you need. Softy tanks also tend to require less equipment, filtration, and additives.
If cost matters, you can save a surprising amount of money at the very first step, choosing the right type of reef tank.


Step 2: Select the right size tank
Selection: A 60 Gallon Breeder
We selected the 60 breeder because it is wide enough for some algae eating tangs and has enough volume to absorb the inevitable challenges of a new reef. It is still small enough that water changes remain a simple one bucket task. It also costs less than most nano all in one tanks and is thousands less than comparable sump based systems, which frees up budget for other desirable elements.
Size matters for stability and for fish choices. The 90/10 recommends tanks between 35 and 75 gallons, and we selected a 60-gallon breeder because it allows for utilitarian fish like moderate-sized tangs that clean the tank and greatly reduce algae. Tank size recommendations for fish like tangs used to be based on total gallons, but the modern approach focuses on linear swim path. A 60-breeder offers four feet of swim space or eight feet if you pull the aquascape forward and create a swim lane behind the rock.
Sixty gallons also hits a sweet spot between size and cost. At roughly $110*, it’s cheaper than many nanos and will serve you for years before you feel the need to upgrade. The added volume allows for more fish and coral than smaller tanks, and once rock and sand are in, a 10% water change is just a single 5-gallon bucket. The 60-breeder also has affordable stand options. We used the Aquatic Fundamentals which shares the same footprint. 75/90 stand. Considering the low cost the stand impressed us with both the assembly process and overall sturdiness.
*Budget tip: Buy when Petco runs their regular sales. You can often get a 60-breeder for around half the listed price, and in our experience it’s on sale more often than not.


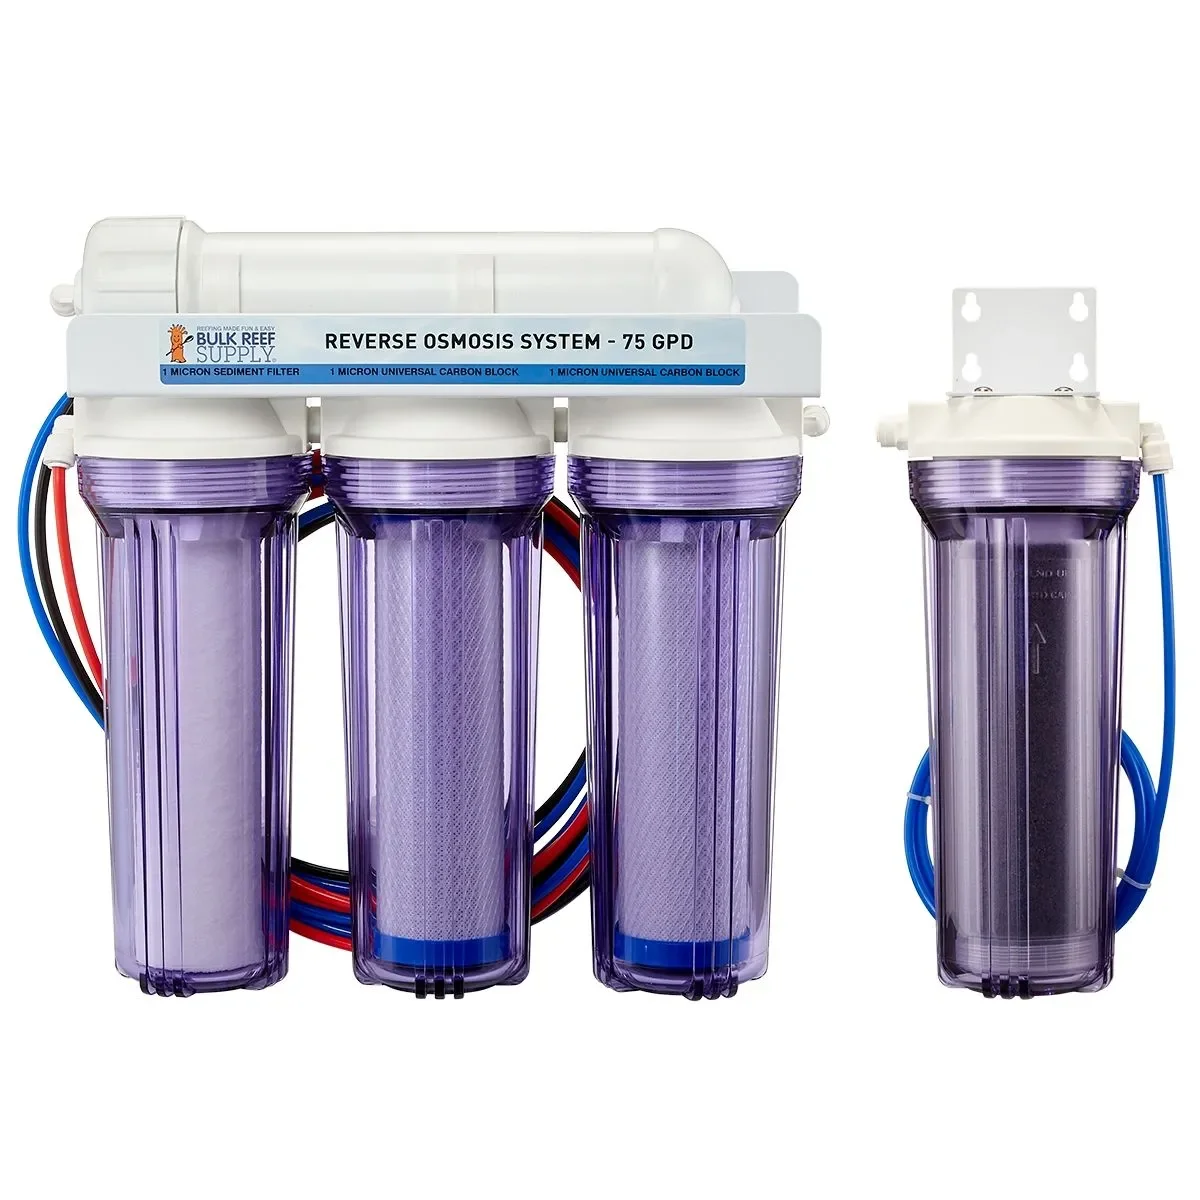
Step 3: Secure clean, predictable source water
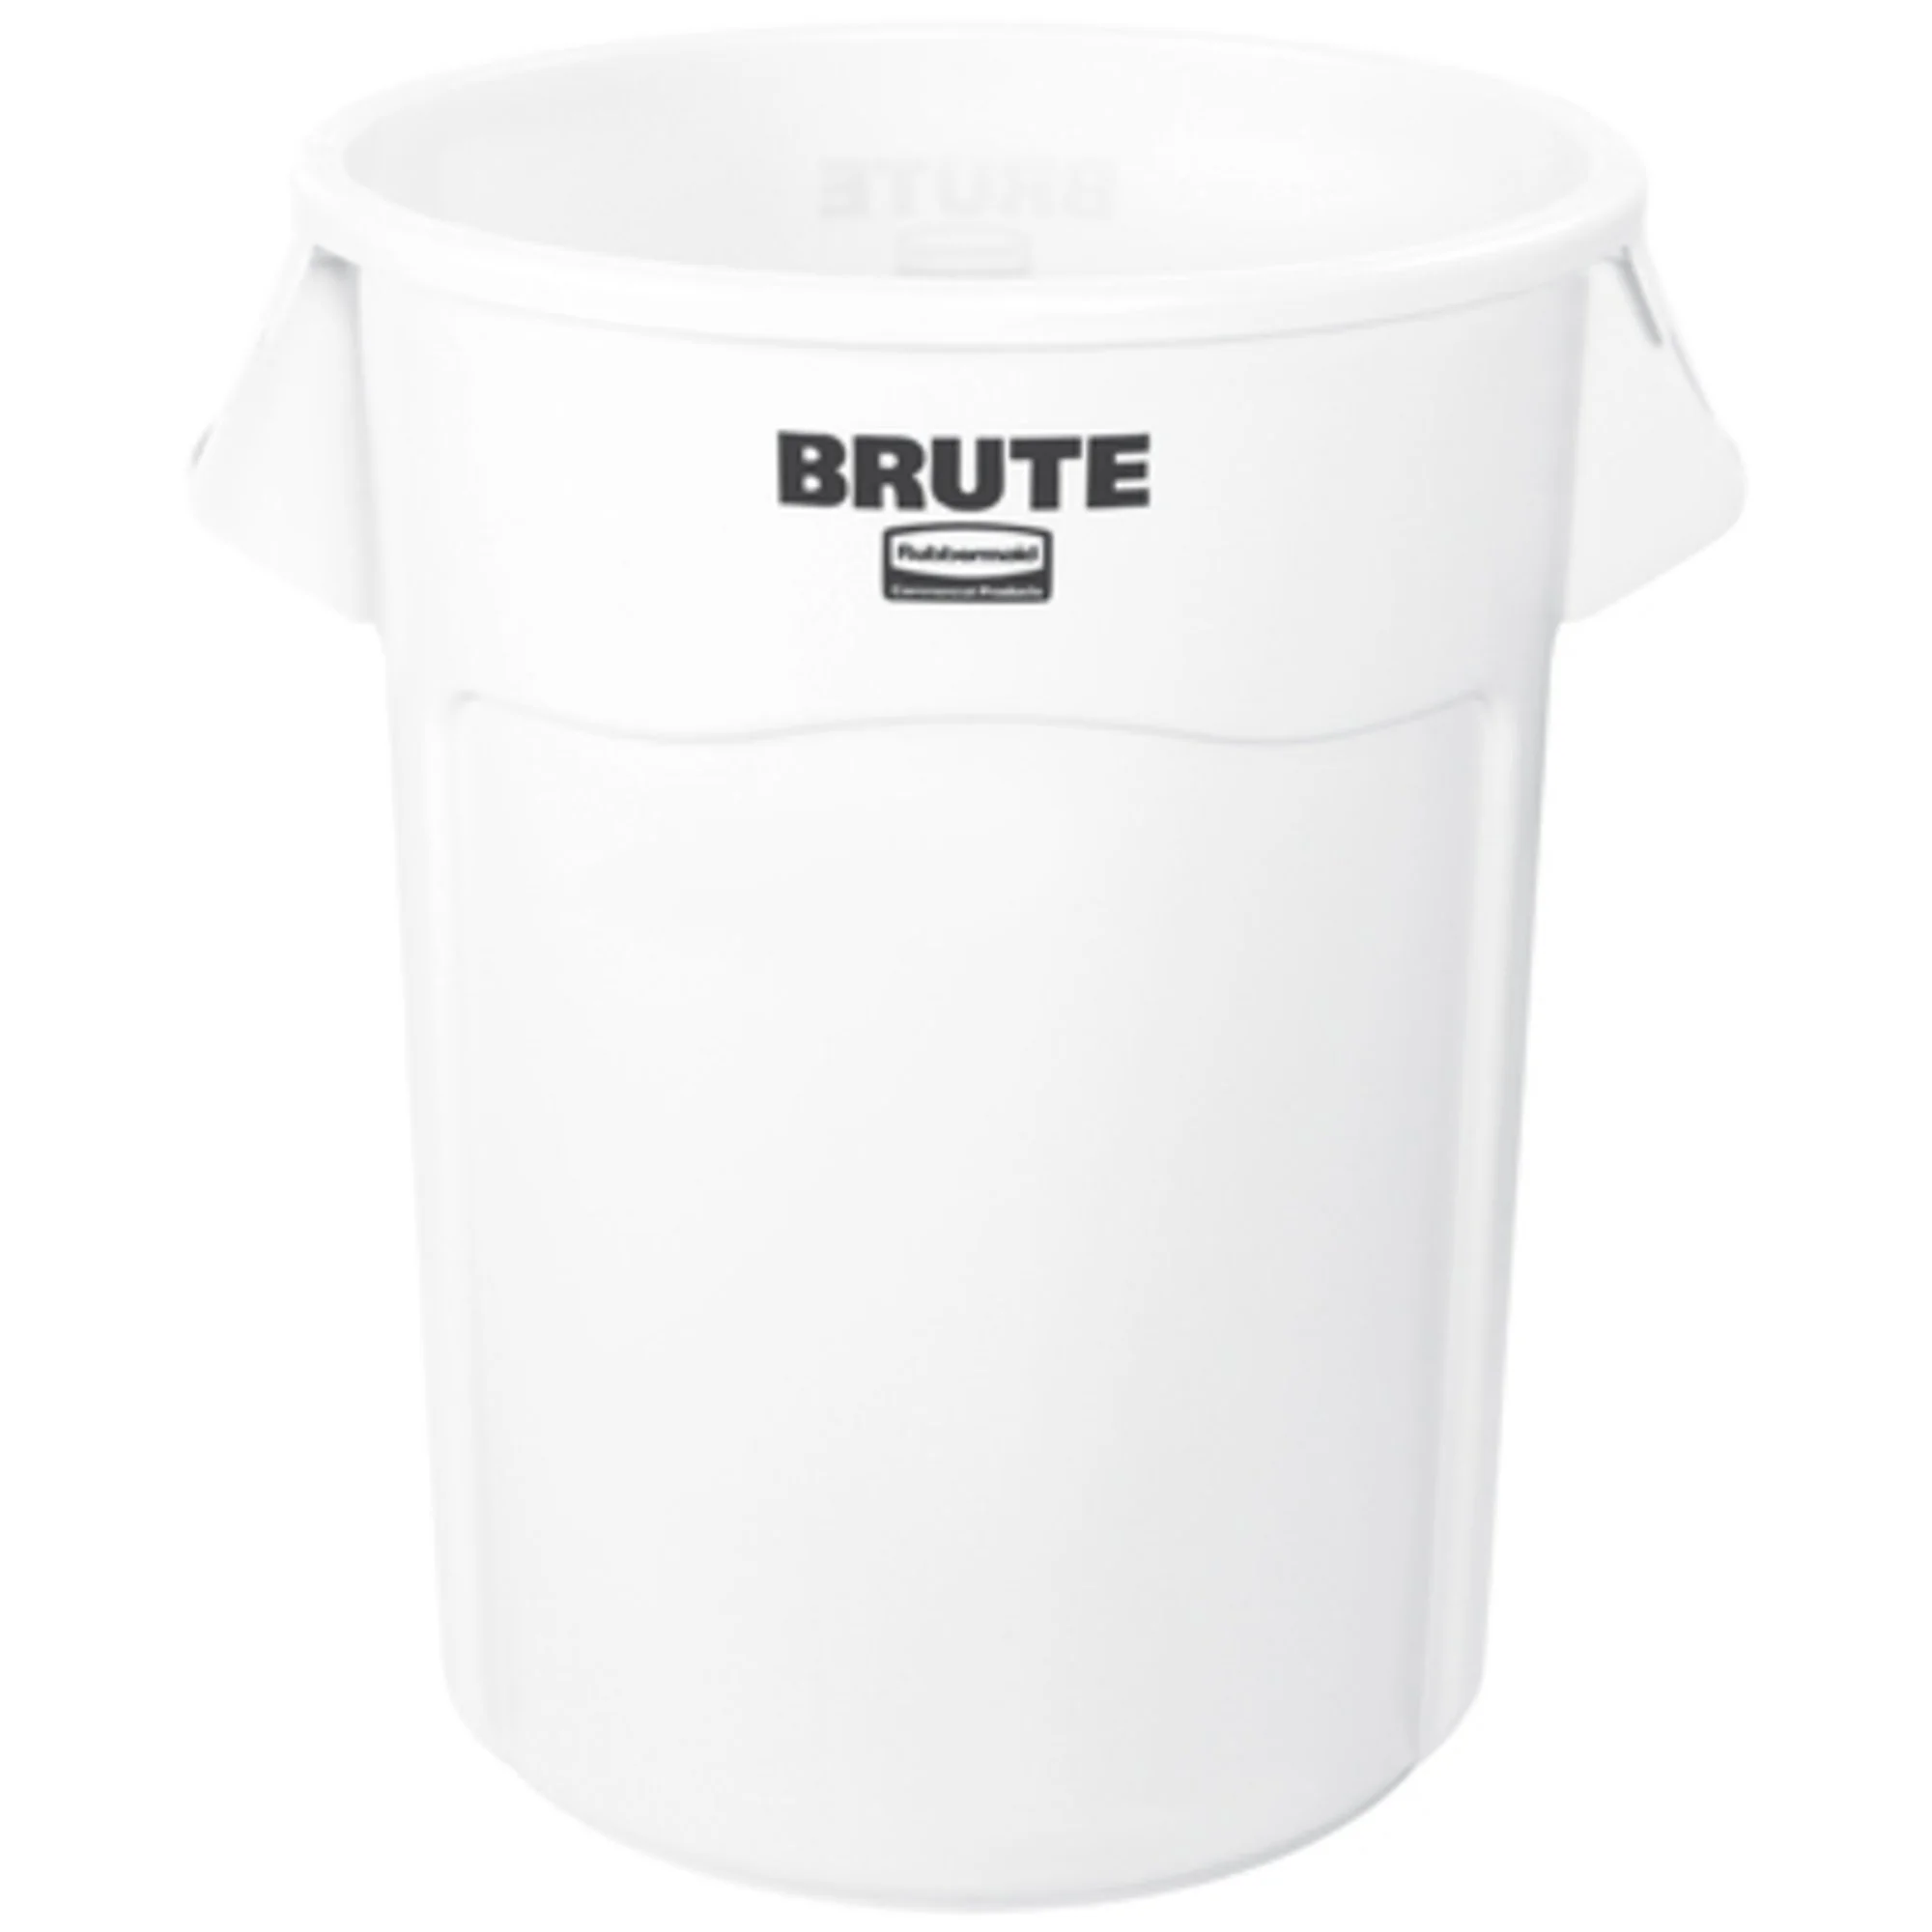
Selection: 5 Stage RODI, White 55g Brute w/lid, Hygger mixing pump, 300 watt Eheim heater, & Tropic Marin Pro reef Salt.
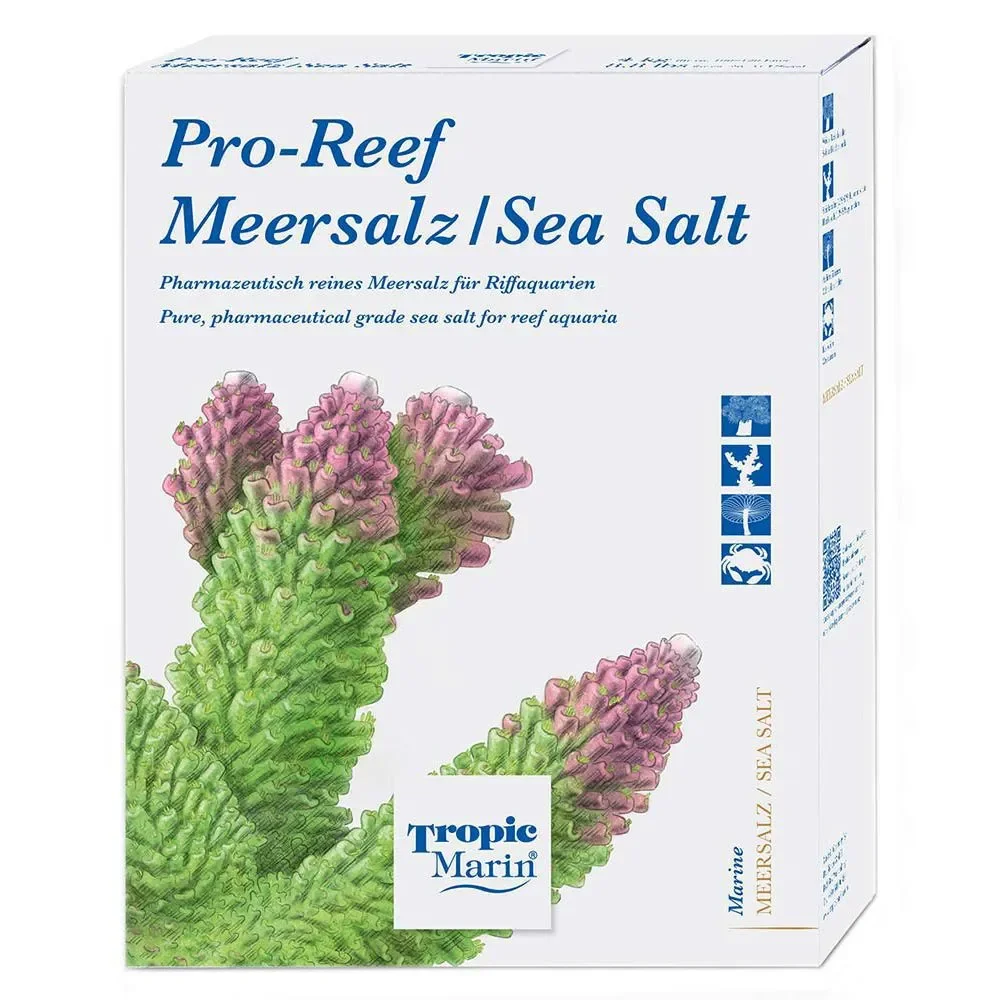
We selected the five stage system because Minneapolis has near legal limits of chloramines. We chose a 55 gallon white Brute because it is easy to see when it is clean and it holds eleven ten percent water changes. We used a Hygger gyre to mix the saltwater because it is inexpensive and creates a strong vortex in the bin. We selected the Eheim heater because it is reliable and low cost. We use TM Pro reef salt because it’s clean.
Start with water that is free of toxins, metals, excess nutrients, and dissolved minerals. Salt mix manufacturers assume you begin with pure water, so leaving minerals in tap water can lead to serious chemistry errors such as ultra high alkalinity.
Use an RO/DI system. A four stage unit fits the “good enough” category for most reefers. A five stage system with a second carbon block is worth the extra cost if your municipality uses chloramines. If you do not know what disinfectant your city uses or do not want to research it, dual carbon blocks are a smart choice. Universal carbon blocks remove disinfectants that standard blocks struggle with.
For salt, we used Tropic Marin Pro Reef, but any popular reputable brand is fine. Higher quality salts do have benefits, but they are not likely to dramatically change the results you achieve. The cost difference between the best and the cheapest for a tank this size is only a few dollars a month.

Step 4: Sand and rock — natural, functional, and mobile
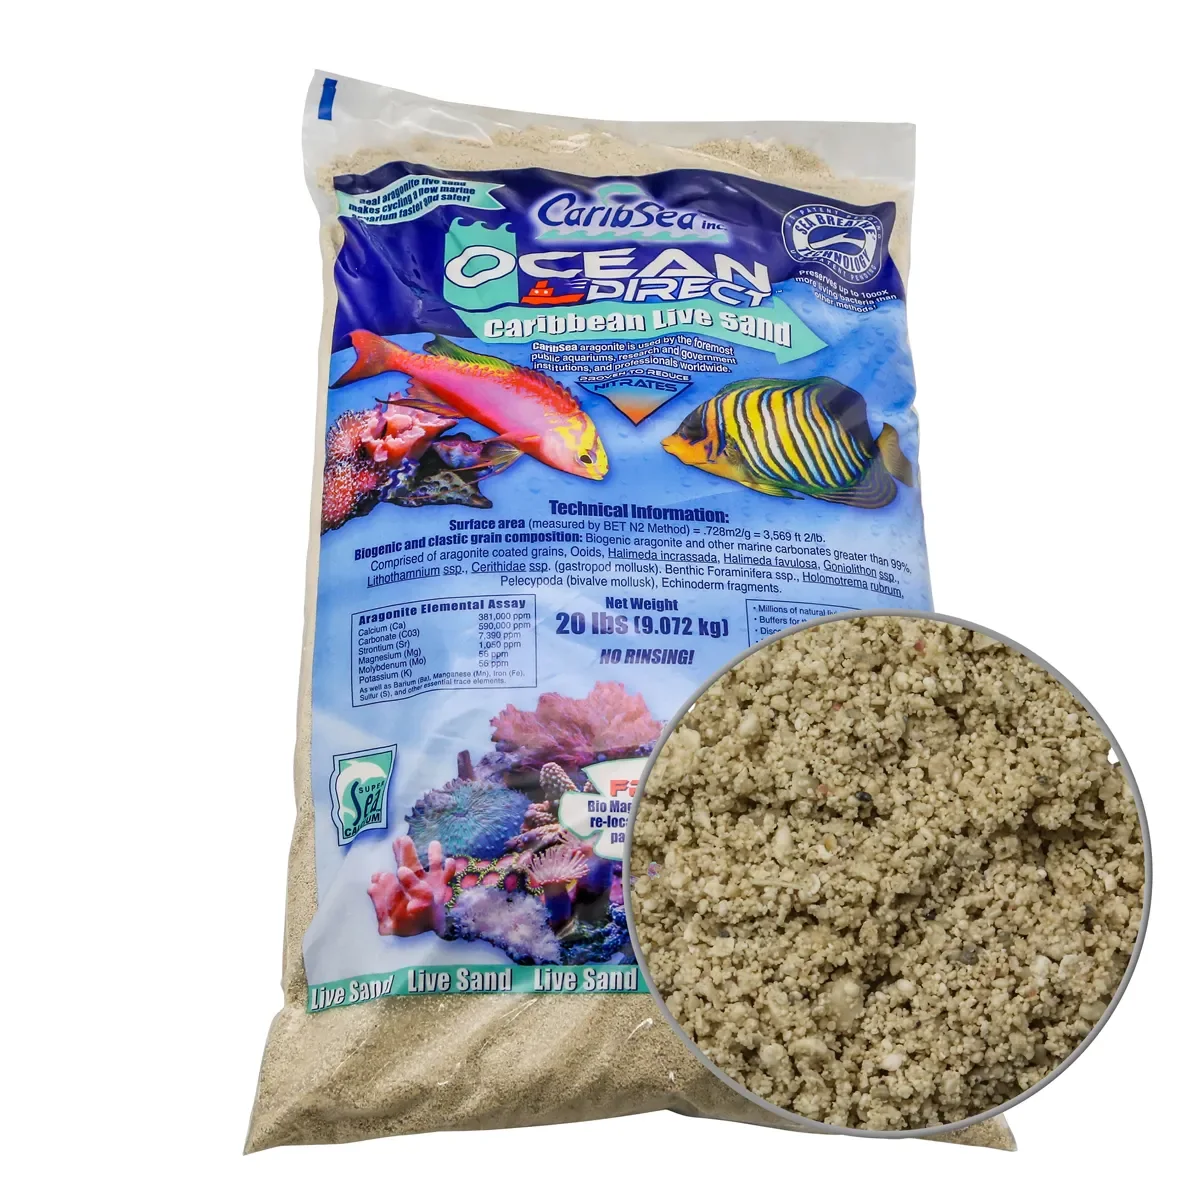
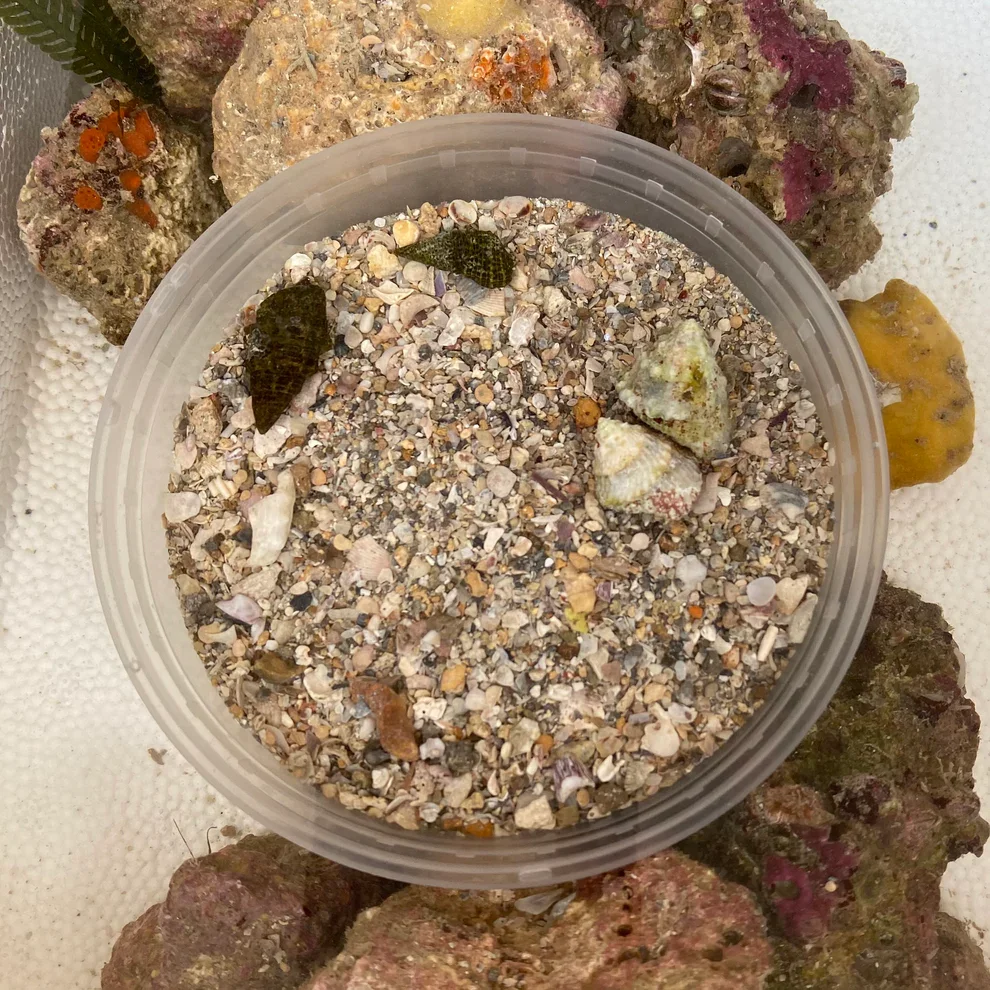
Selection: 40 Pounds of ocean direct, 15 pounds of TBS ultra live sand, 60 Pounds of Marco Mr coralline rock, MR Coralline Dry Rock Colorant.
We selected Ocean Direct because we have used it before and DNA testing has confirmed that it carries the biome of the sea. We use TBS sand as the primary biome donor because it is as close to true ocean biome as most reefers will ever get. We chose Mr Coralline rock because it is low cost and the purple coloration helps hide some of the early stage uglies.
For sand, favor minimally processed, ocean-sourced sand with live biome. Live sand brings natural bacterial diversity and tends to stabilize the new tank faster. We combine a small amount of very live TBS sand (for biodiversity) with a larger bag of moist ocean direct sand.
Rule of thumb for depth and pounds of sand per gallon is just a guideline. Base sand volume on tank footprint and desired depth with a calculator rather than blindly using one pound per gallon.
Build a dry aquascape that is functional and pulled off the back of the tank. The goals are: eliminate detritus traps, create flow paths, and keep the whole structure modular so we can remove or move the aquascape without a total teardown. Use darker rock if you want less visible algae and slimes; purple or darker rock hides early green growth and looks cleaner for everyone in the house. We want everyone in the house to think the tank looks great not complain about algae and slimes.
Glue and epoxy strategically: use a dark epoxy to blend joints and a large tub of cyanoacrylate for quick bonds. Use MR Coralline Dry Rock Colorant if you break a piece and expose white interior rock.


Step 5: Heaters, redundancy, and replacement strategy
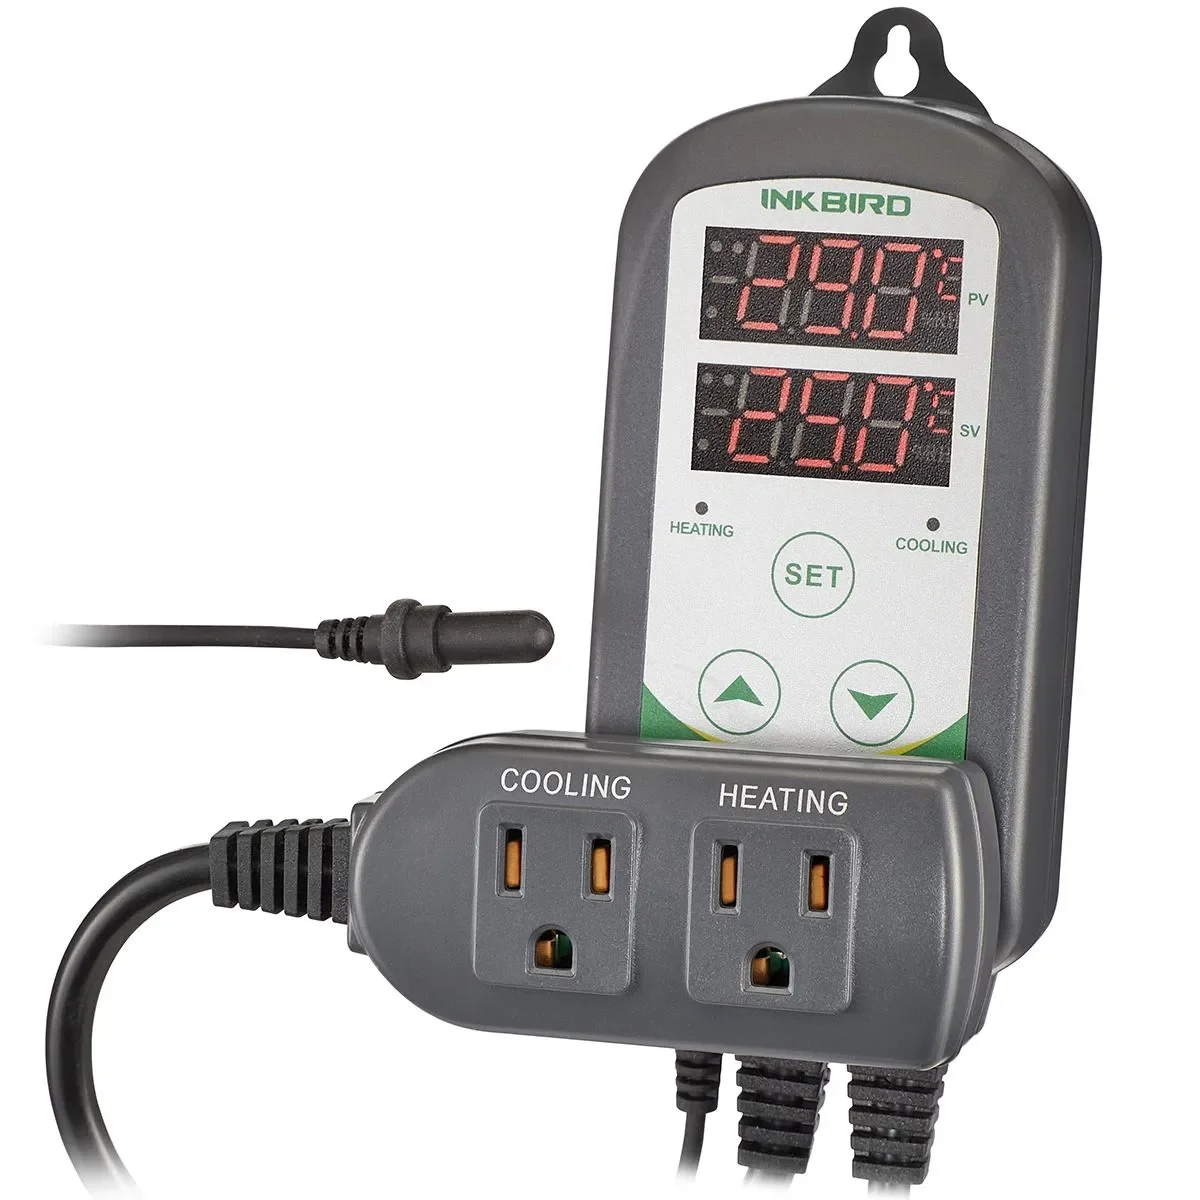
Selection: Finnex HMC-200S heater, Inkbird back up controller.
We selected the Finnex HMC because it is black and blends into the background of the tank, which is important if you are not planning to run a sump. It also has an integrated thermostat instead of an external control box, which reduces the number of cords. We paired it with an Inkbird controller because it is low cost and meets the “good enough” standard.
Heaters are one of the few single failures that can rapidly kill a system. The primary problem is when they get stuck on and rapidly overheat the tank. Our approach is simple and inexpensive: use a properly sized heater, back it up with an external temperature controller, and plan to replace heater annually.
The downside of fancier heater-only solutions is cost. A reliable glass heater in a protective shroud plus a cheap Inkbird controller gives both redundancy and peace of mind without a big up-front investment. Replacing the heater yearly is one of the wisest pro moves you can do.

Step 6: Auto top off and simple filtration
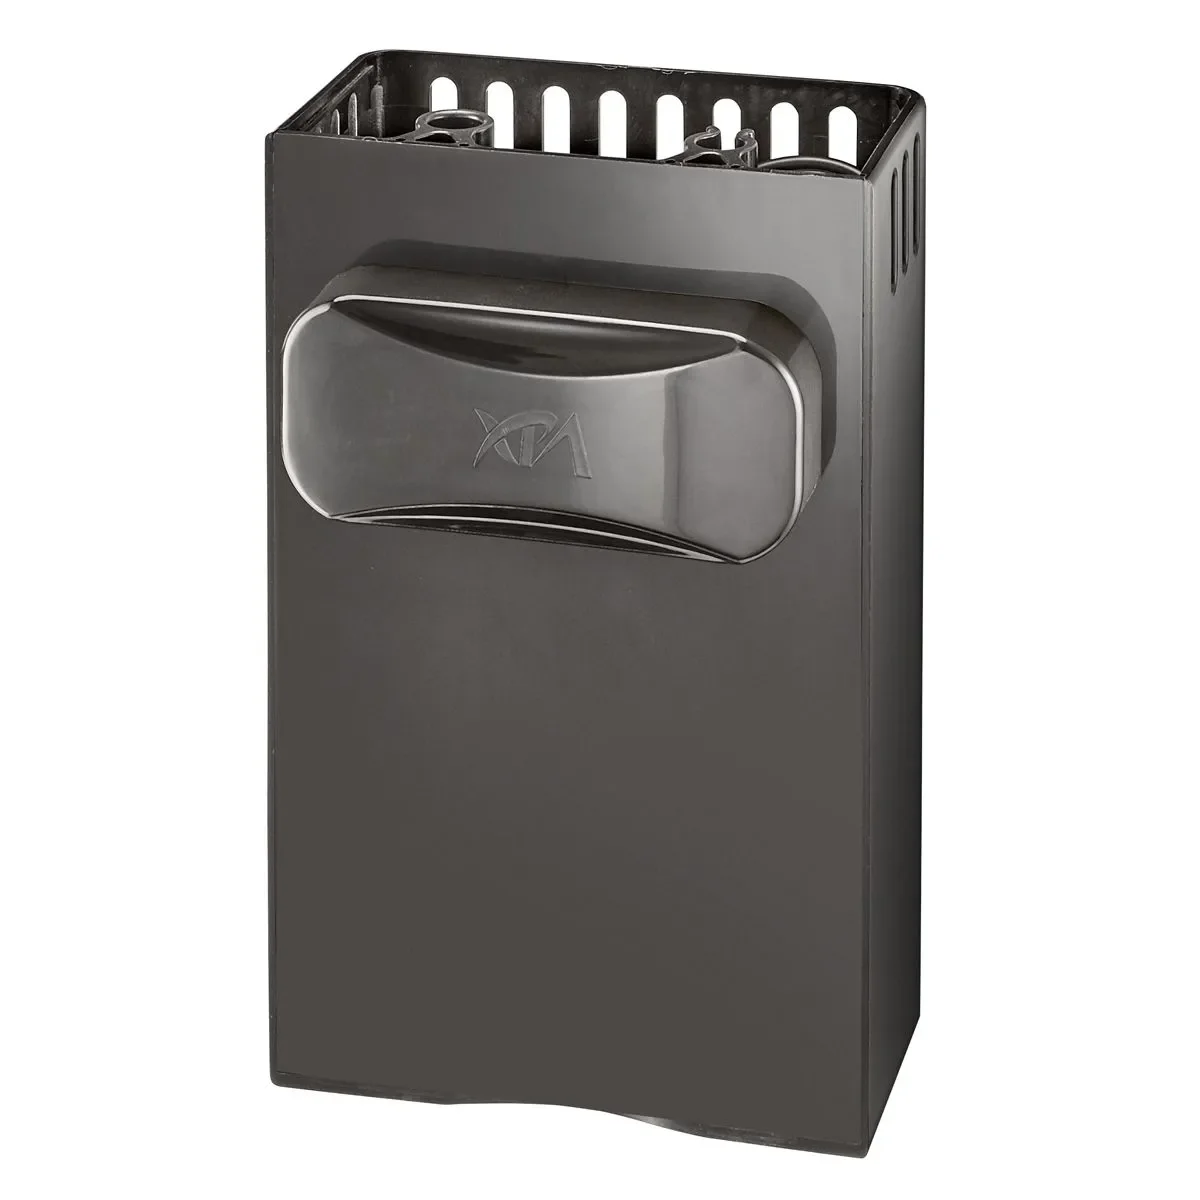
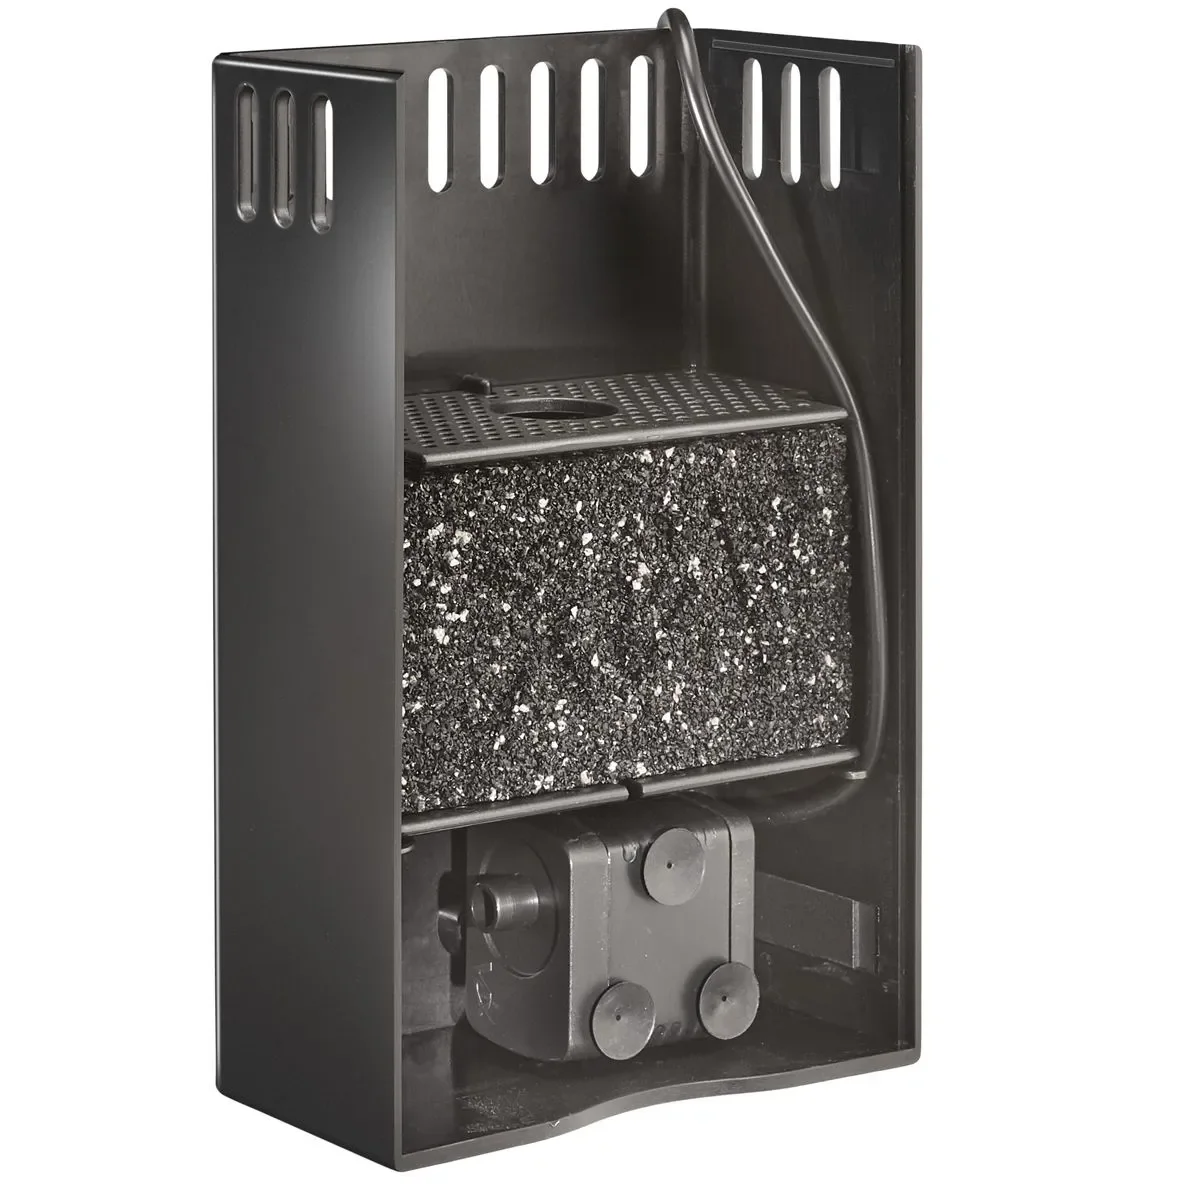
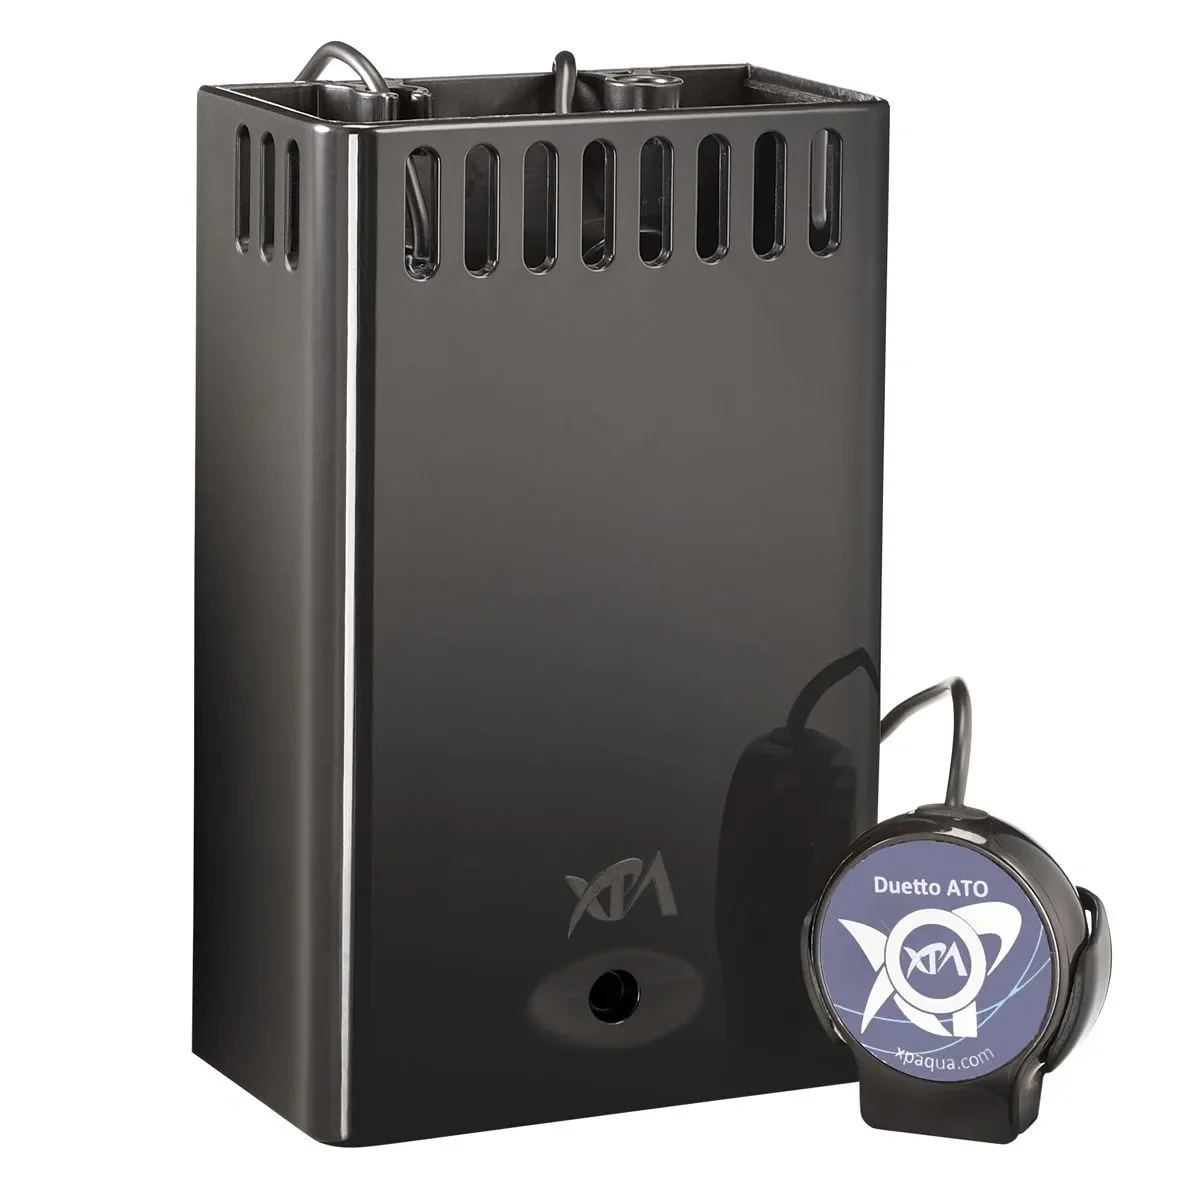
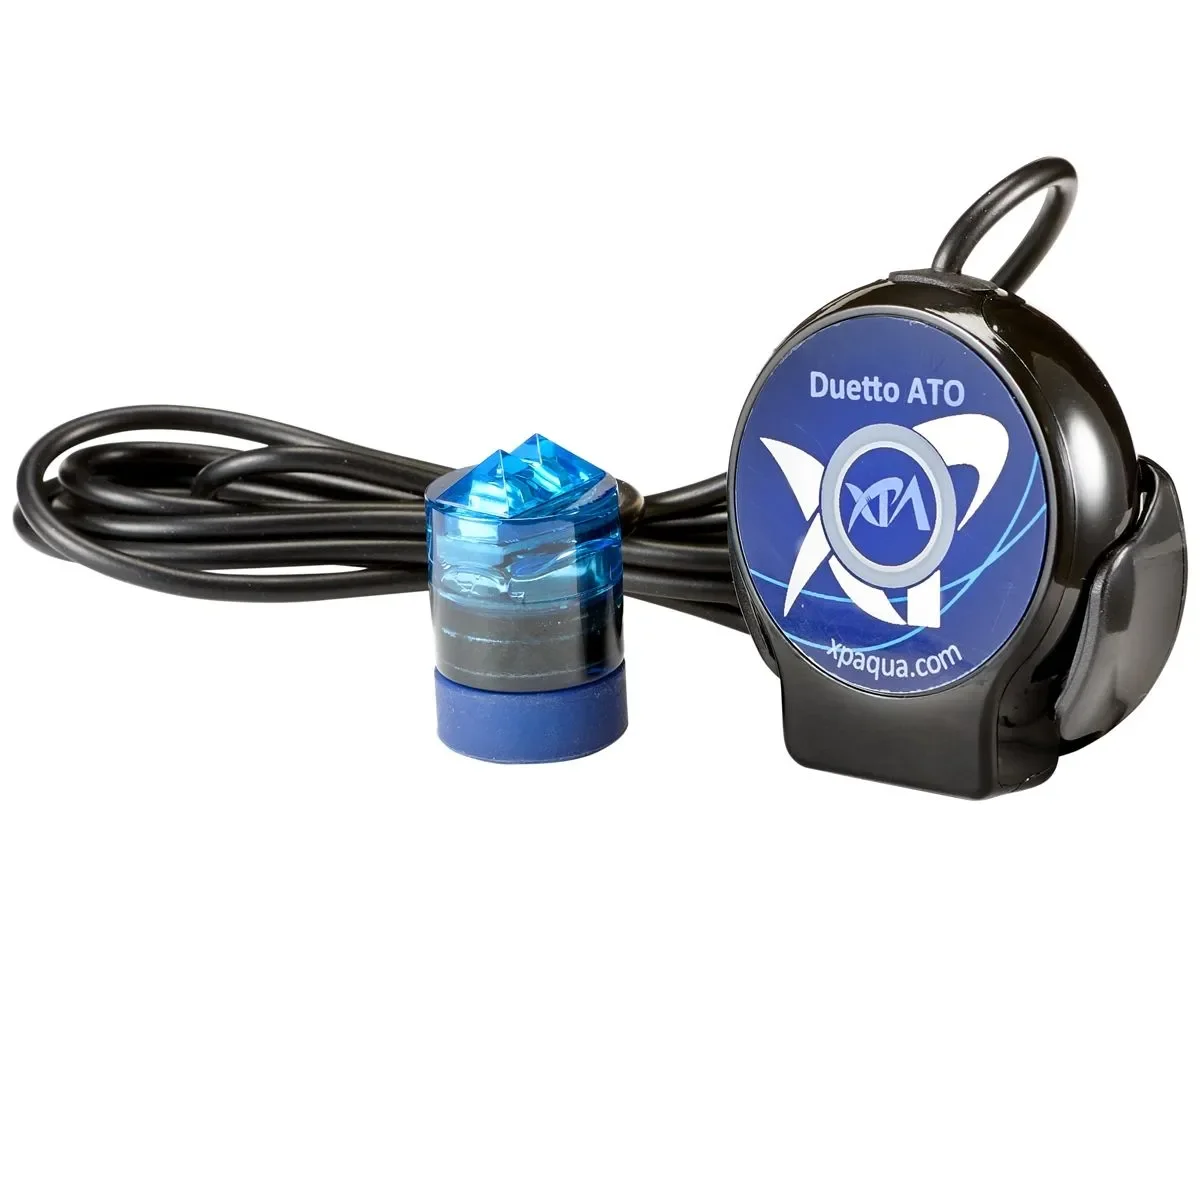
Selection: XP Aqua Sumpless ATO
We selected the XP aqua sumpless ATO because it has a with a small overflow box gives a stable sensor environment and includes a cartridge area where we can add carbon or phosphate-removing media.
90/10 suggests Installing an auto top off on day one. Evaporation concentrates minerals and swings density. Stability is what reefing is all about, so keep the water level steady.
Step 7: Chemistry — two-part dosing with a reliable pump
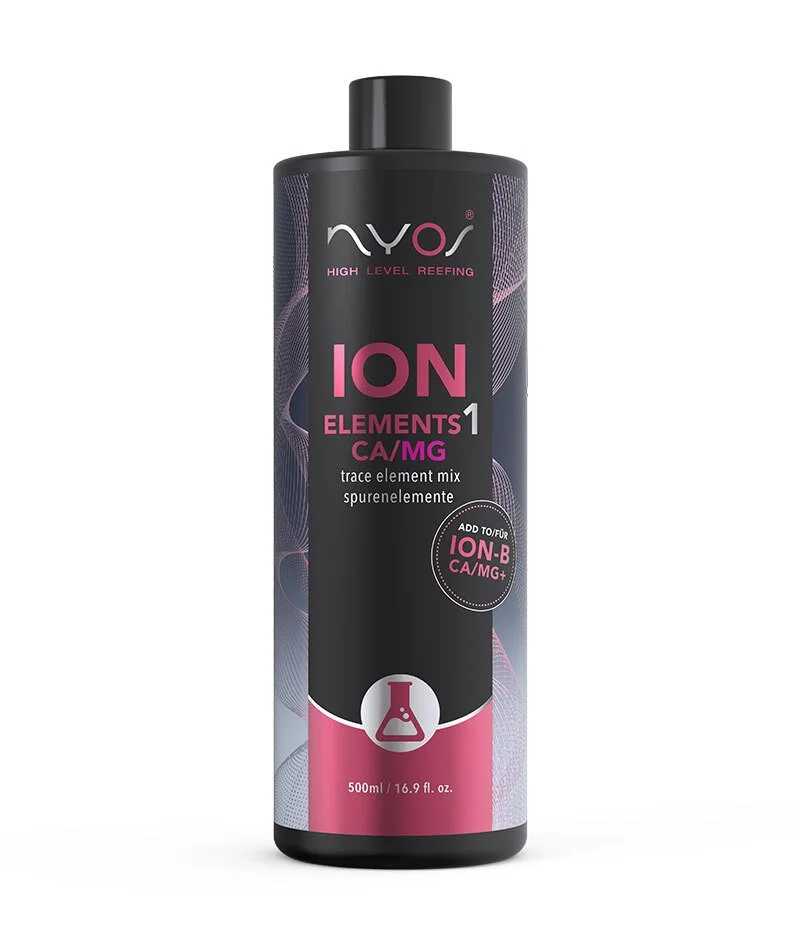
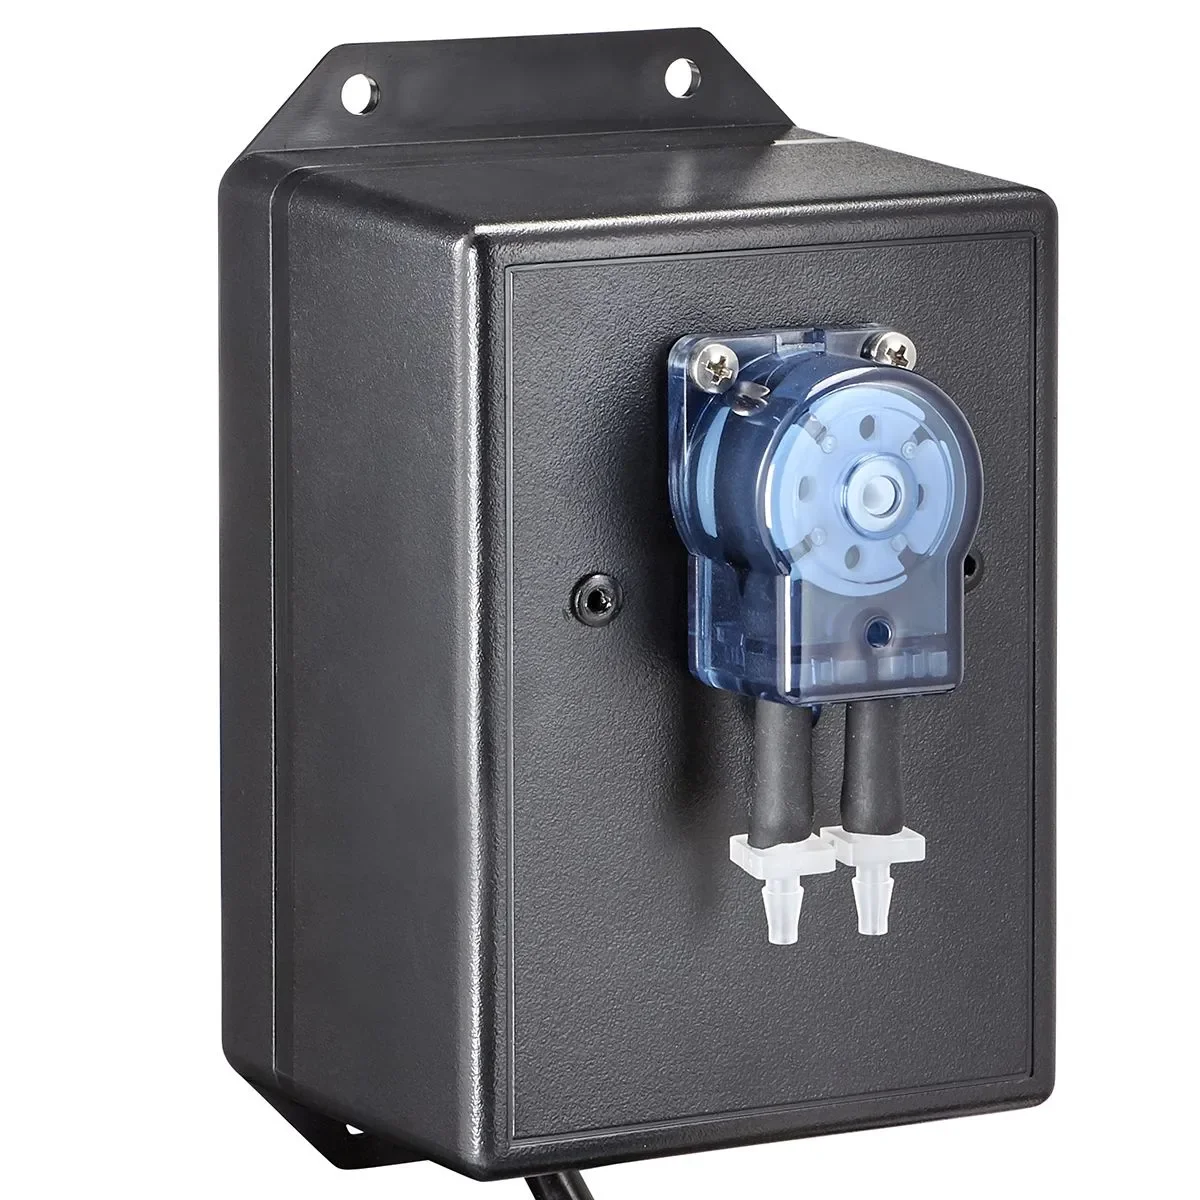
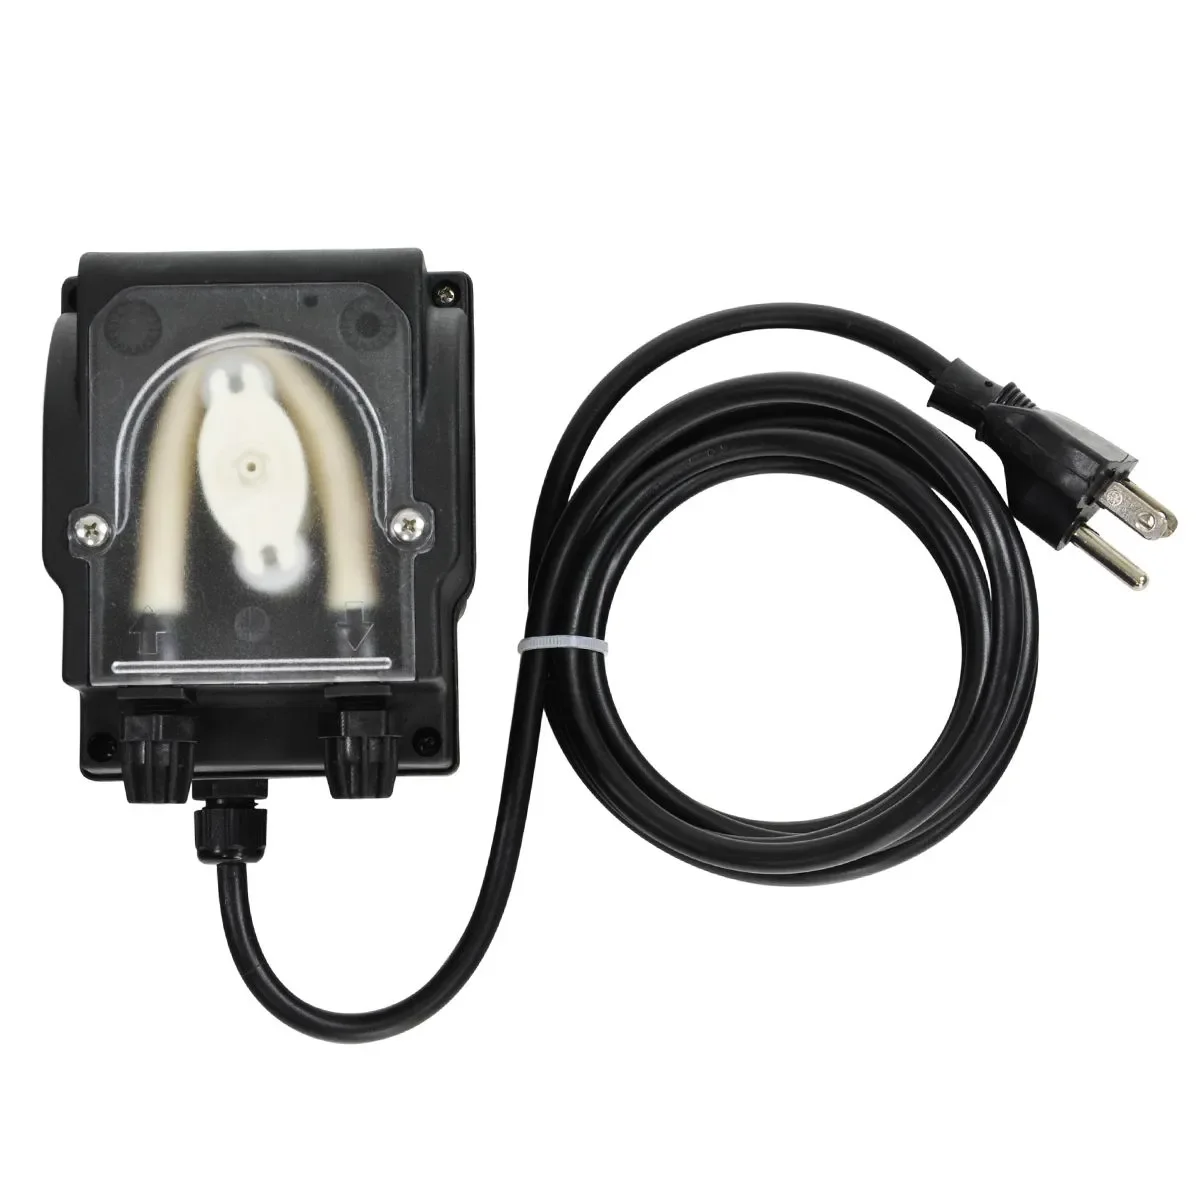
Selection: Nyos Ion B two part, BRS 1.1 ml/min dosers
We selected Nyos Ion-B because it uses only two jugs for daily dosing, costs about half as much as other two part systems, and offers one of the most well thought out and flexible approaches to trace elements. We chose the BRS doser because low cost and reliability are the priorities for this build.
The 90/10 approach uses two part dosing because it gives us control and the ability to measure calcium and alkalinity independently. It teaches newer reefers how each parameter is consumed and allows them to make informed corrections while learning how and why all of this works.
Choose a two part formula that fits the budget but also offers good trace element support. Use a simple and highly reliable dosing pump rather than brand new feature heavy models. The mechanics and tubing of low cost AC pumps on a timer are often superior to low cost options with digital control displays. It is a trade off of reliability over convenience. The BRS 1.1 milliliter per minute dosers run slowly and consistently, and they are less fragile and easier to troubleshoot than many low cost DC units.

Step 8: Flow — shifting currents over crashing waves
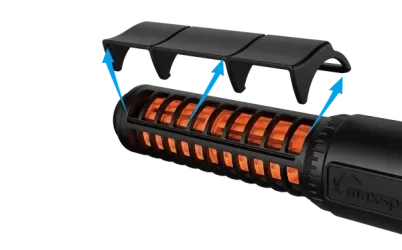
Selection: Two (2) Maxspect Gyre Jump GF308s
We selected the Gyre Jump pumps because the linear cross flow creates strong currents across the front or back of the tank without directly blasting corals with turbulence. Maxspect is the inventor of gyre pumps and OEM manufactures many of the popular gyre and cross flow models for other brands. The Jump line is very low cost and bridges the quality gap between the cheaper DC copies and the more expensive flagship models.
Soft corals and many LPS prefer shifting currents like those found around 30 feet in the ocean rather than high-turbulence wave action. Aim for currents that change direction and intensity without constant crashing turbulence.
Two compact gyre-style pumps mounted high and aimed across the tank give broad sweeping currents, minimize visible equipment, and recreate natural flow. Expect to service gyre pumps about every three months; a brief soak in citric acid and a rinse brings them back nearly like new.


Step 9: Lighting — tune to one watt per gallon and choose by priorities
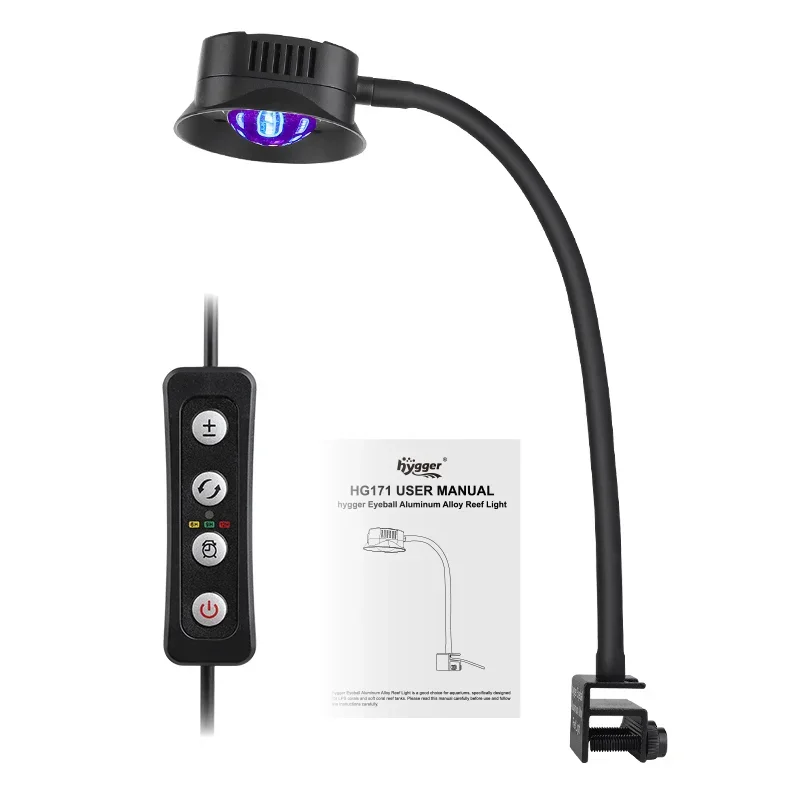
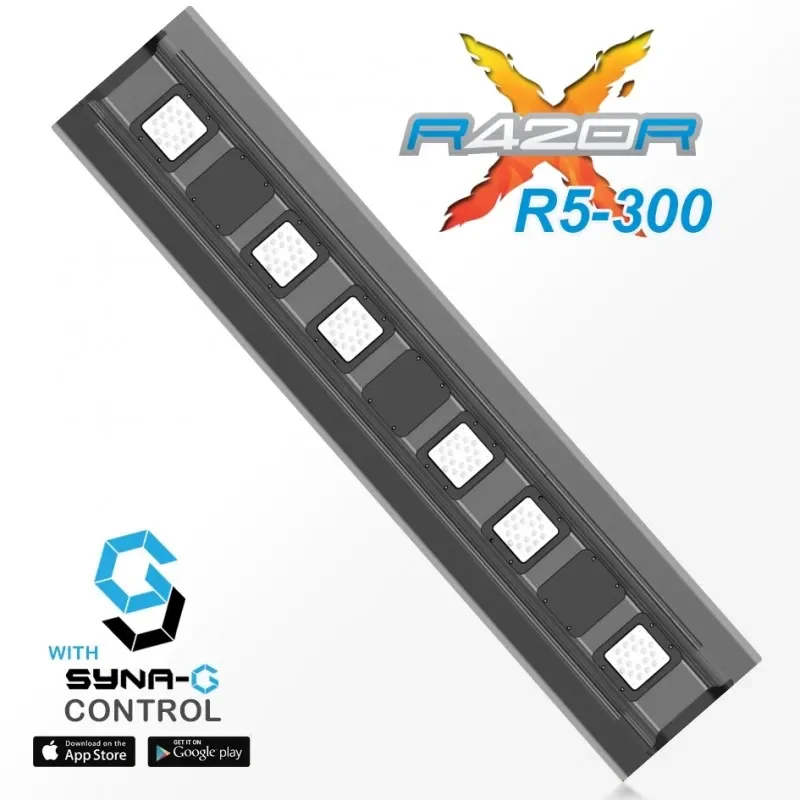
Selection: Kill-A-Watt watt meter, Maxspect Razor X R5 300W LED Fixture
Do not guess the light. Use a watt meter to tune intensity to roughly one watt per gallon for soft coral systems, then adjust based on how the corals respond. Distribution matters more than raw PAR on a shallow four foot wide footprint. Focus on eliminating shadows and spreading the light evenly. Be mindful of the crossbar shadow on the 60 breeder and avoid placing a single light directly over it.
We show a few different lighting options, and none of them will dramatically outperform the others. We selected the Razor X R5 300 watt fixture because the four foot sleek profile provides even illumination, and the real reason is that it simply looks good on the tank. The fixture, the black trim tank, and the black stand all look intentional together and create a polished, cohesive appearance. Note that this light is grossly overpowered to the application but that’s the reality of using higher end light. The extra wattage can future proofs the decision.
Options:
Budget: ~4 small 36W hygger eyeball models. Cheap and simple, good for beginners when placed to avoid shadowing.
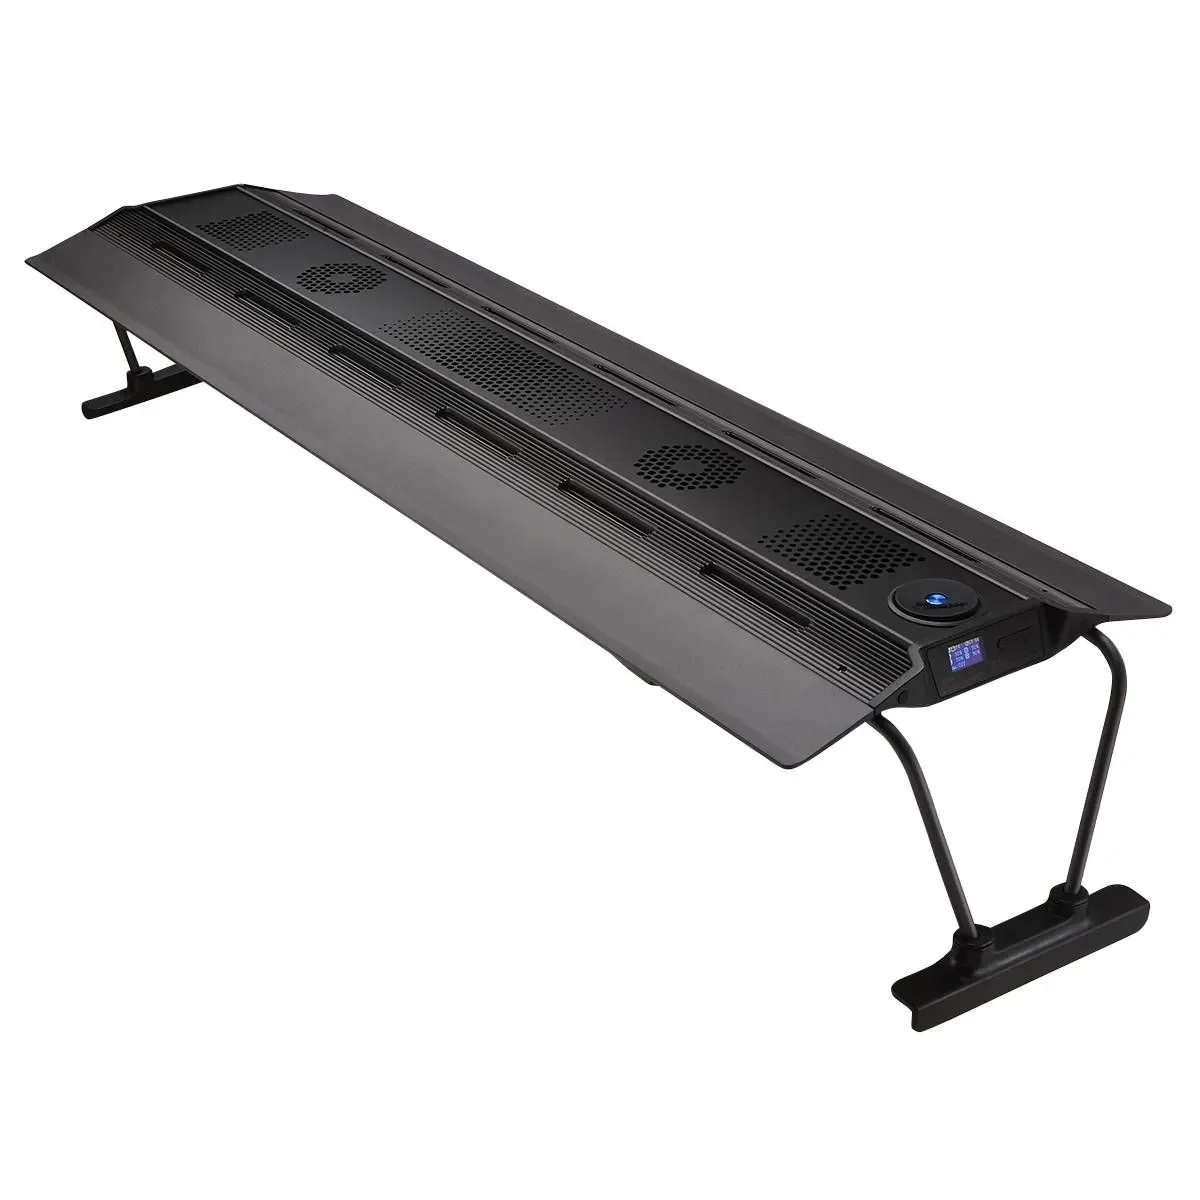
Midrange: Two 65W Nicrew modules that mount easily and give good coverage without expensive controllers.
Higher End: The Maxspect Razor fixture with multiple pucks for even spread. Even if we run it at 15 to 25 percent for a softy tank, the spread and aesthetics are worth the investment when appearance and even light distribution are priorities.
If appearance in the room matters, consider saving money elsewhere in the system design. A well chosen fixture can make the entire display look intentional and polished. In this case we are avoiding the one to two thousand dollars that can come from adding a sump, plumbing, a return pump, a skimmer, and related gear, and allocating that budget elsewhere.

Step 10: Cost philosophy and practical checklist
Selection:
The 90/10 method is less about frugality and more about value. Avoid shiny objects and gear we were told we needed but rarely use. Buy durable, high-value items where it matters, and simplify everything else. Buying smart saves money over time and prevents repeated replacements.
Practical checklist:
60-gallon breeder tank and stand
5-stage RO/DI (with second carbon if chloramines are present)
55-gallon white Brute mixing bin, mixing pump, bin heater
Tropic Marine Pro Reef or similar quality salt
Live sand plus ocean-sourced sand
Modular dry rock aquascape, epoxy, super glue
Primary heater and Inkbird controller backup
Sumpless ATO with cartridge media option
Two-part dosing solution and a reliable AC dosing pump on a timer
Two gyre-style flow pumps
Lighting tuned to one watt per gallon with a watt meter (pick based on budget and aesthetics)
The Answer: 2004 vs 2025 Cost
We said we would review the cost of this system. Part of that is because the SR team needs to keep reasonable costs in mind with builds like these, and part of it is because many believe reefing has become much more expensive. A gear and price review of what I (Ryan Batcheller) used in 2004 gives a clear window into how first time reefers view tech and costs more than twenty years apart.
The answer is that the 2004 tank cost $3830, and the 2025 tank, which is six inches shorter but effectively similar displays, comes in at $2561- $3565 depending on the light choice. This does not account for the seventy one percent inflation since then which is more interesting.
The reason is simple. The existence of High end gear has pushed the cost of entry level gear down. Modern methods prioritize budgets more intelligently than older guidance that treated equipment like skimmers as mandatory. Hobbyists now make more informed purchases as well.
No one would describe any of this as cheap but If an awesome tank built for success and reasonable cost is the goal, it can still be done for less than what many of us spent in 2004 by making intentional choices.
2025: 90/10 60 Breeder
Total $2426.00 - $3,465
60 breeder $110.00
Stand $269.00
RODI $225.00
Salt $105.00
(2) White 55g Brute $190.00
Salt bin heater $39.00
Hygger Gyre (salt) $69.00
15# TBS Sand $147.00
40# Ocean Direct $42.00
Tank Heater $38.00
Inbird Temp Controller $36.00
60# Marco Rock $257.00
Epoxy $45.00
Glue $37.00
Purple rock dye $6.00
(2) Gyre Flow $347.00
Nyos 2 part $40.00
Nyos trace $51.00
2x brs doser $144.00
Timer $25.00
ATO $204.00
Lights $135-$1,039
Total $2561- $3565
2004: Ryan’s First Tank.
Total $3830.00
90 Wave/Stand $1200.00
TBS Sand/Rock $1000.00
(4) Maxijet 1200 $100.00
(4) Hydor Reflectors $80.00 Wavemaker
$50.00 4x 96w PC Light $400.00
eheim heater $30.00
Kent Marine RODI $200.00
IO Reef Crystals $50.00
(2) Grey Brute $70.00
Red Sea Skimmer $200.00
CPR fuge W/Light $200.00
(2) APT Dosers $150.00
2 Timers $50.00
DYI Çhems $50.00
Total $3830.00
FAQ
Is a 60-gallon breeder large enough for tangs?
Tangs primarily swim horizontally and not vertically. A 60-gallon breeder gives four feet of linear swim path, which is the key dimension for tangs. If you design the aquascape to add more continuous swim lanes—by pulling rock off the back—you can effectively increase swim path and support tangs in this footprint.
Can we skip a protein skimmer?
For a softy-focused 90/10 system, weekly 5-gallon water changes and careful feeding often keep nutrient levels in check. A skimmer is a tool you can add if fish loads or feeding increase, but it's not mandatory for a low-maintenance softy tank. consider in tank models that look like overflows over hang on options which can be ugly or flood onto the floor.
Can we skip a refugium?
Yes. However, if you run into a nutrient problem that you cannot manage with water changes, coral growth, and feeding, we suggest adding a hang on refugium with a good light. They are not pretty, but with the right light they are very effective. We find hang on refugiums to be lower maintenance, quieter, and more effective than hang on skimmers.
Pro Tip: Consider adding mangroves to make the refugium look like an intentional component of the display.
How often should we change the heater?
Plan to replace inexpensive glass heaters annually and back them with an external controller. This small recurring cost dramatically reduces the chance of catastrophic heater failure. We can’t stress this enough, it will be why you are here in 5 years rather than have an empty tank in the garage.
Why choose two-part dosing over a one-part solution?
Two-part dosing lets you measure and correct calcium and alkalinity independently, and teaches you how each parameter is consumed. It also often provides better trace element control for reef systems. If you have that knowlage already use to select the perfect solution for your tank.
How much sand do we actually need?
One pound per gallon is a guideline, not a rule. Base sand volume on tank footprint and desired depth. A 60 breeder, 75, and 90 all have the same footprint and require the same amount of sand. Taller tanks will require less sand per gallon than short tanks.
What’s Next?
Acknowledgments
Thank you to Than Thien for sharing his knowledge with the SR community. Thank you to Ryan Thompson for summarizing the video and making it available to everyone.
Thank you to the Serious Reefs community. Your membership funds the creation of articles and videos like this one.
Support Serious Reefs
Patreon is the best option If you…
Want to discuss with the SR community and ask questions.
Want immediate notifications of every release.
Listen with phone screen off. Patreon app works with phone closed
Want 25% off via annual discounts.
YouTube members is the best option If you…
Watch SR videos on a TV via youtube App
Want to watch videos natively here on seriousreefs.com - (You must use chrome browser and be logged into google account with youtube membership)
Are a YouTube power user.
Tell a friend. Best option if want more (and faster).
If you like what we’re doing, give SR a quick shout-out on your favorite forum, YouTube, Facebook, TikTok, or Instagram. Let your local fish store know SR is helping you explore the hobby and keep it fun. Thanks for the support!
Disclaimer
Full Disclaimer HERE. This is the gist of it.
Content is based on personal experience, not professional advice. Do your research and reef responsibly. Serious Reefs should not be your sole sorce of information on any topic.
By watching, you agree that Serious Reefs and its creators aren’t liable for how you use this info. Please don’t utilize our information if you are not ok with this.
Serious Reefs has no sponsors, doesn’t accept product or payment for reviews. We do use affiliate links in articles that earn a small commission to support our work. Shop wherever you like, we won’t be offended.
This build shows how to use the 90/10 recipe as a baseline and make smart adjustments that fit your time, budget, and environment. For this hybrid tank we are following the 90/10 principles, but bending a few of them to meet the unique needs of the studio.