How to Biome Cycle A Reef Tank - 90/10 Part 4:
A simple roadmap for a trouble‑free reef start
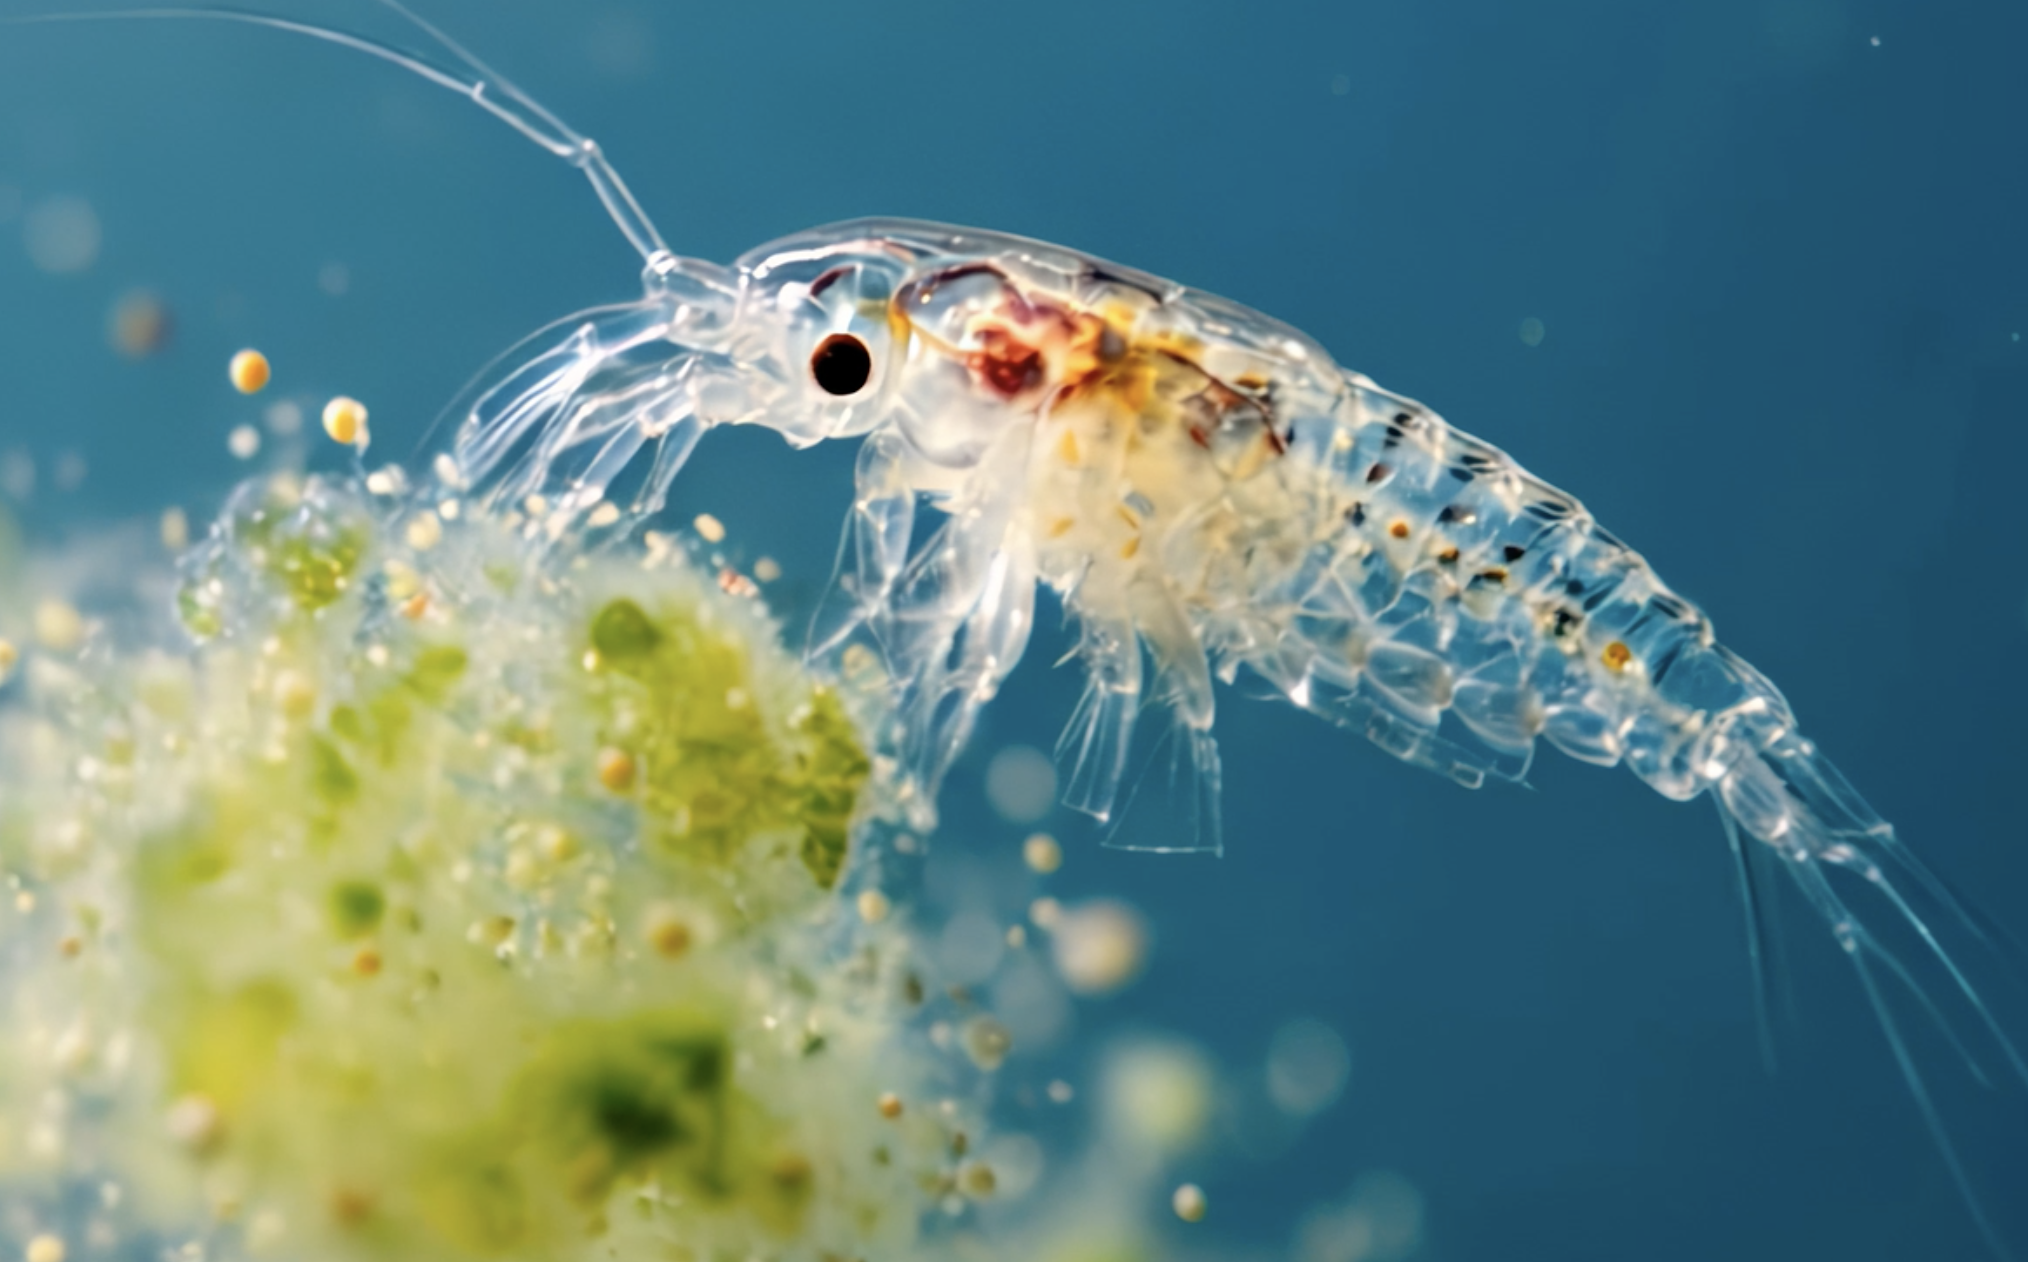
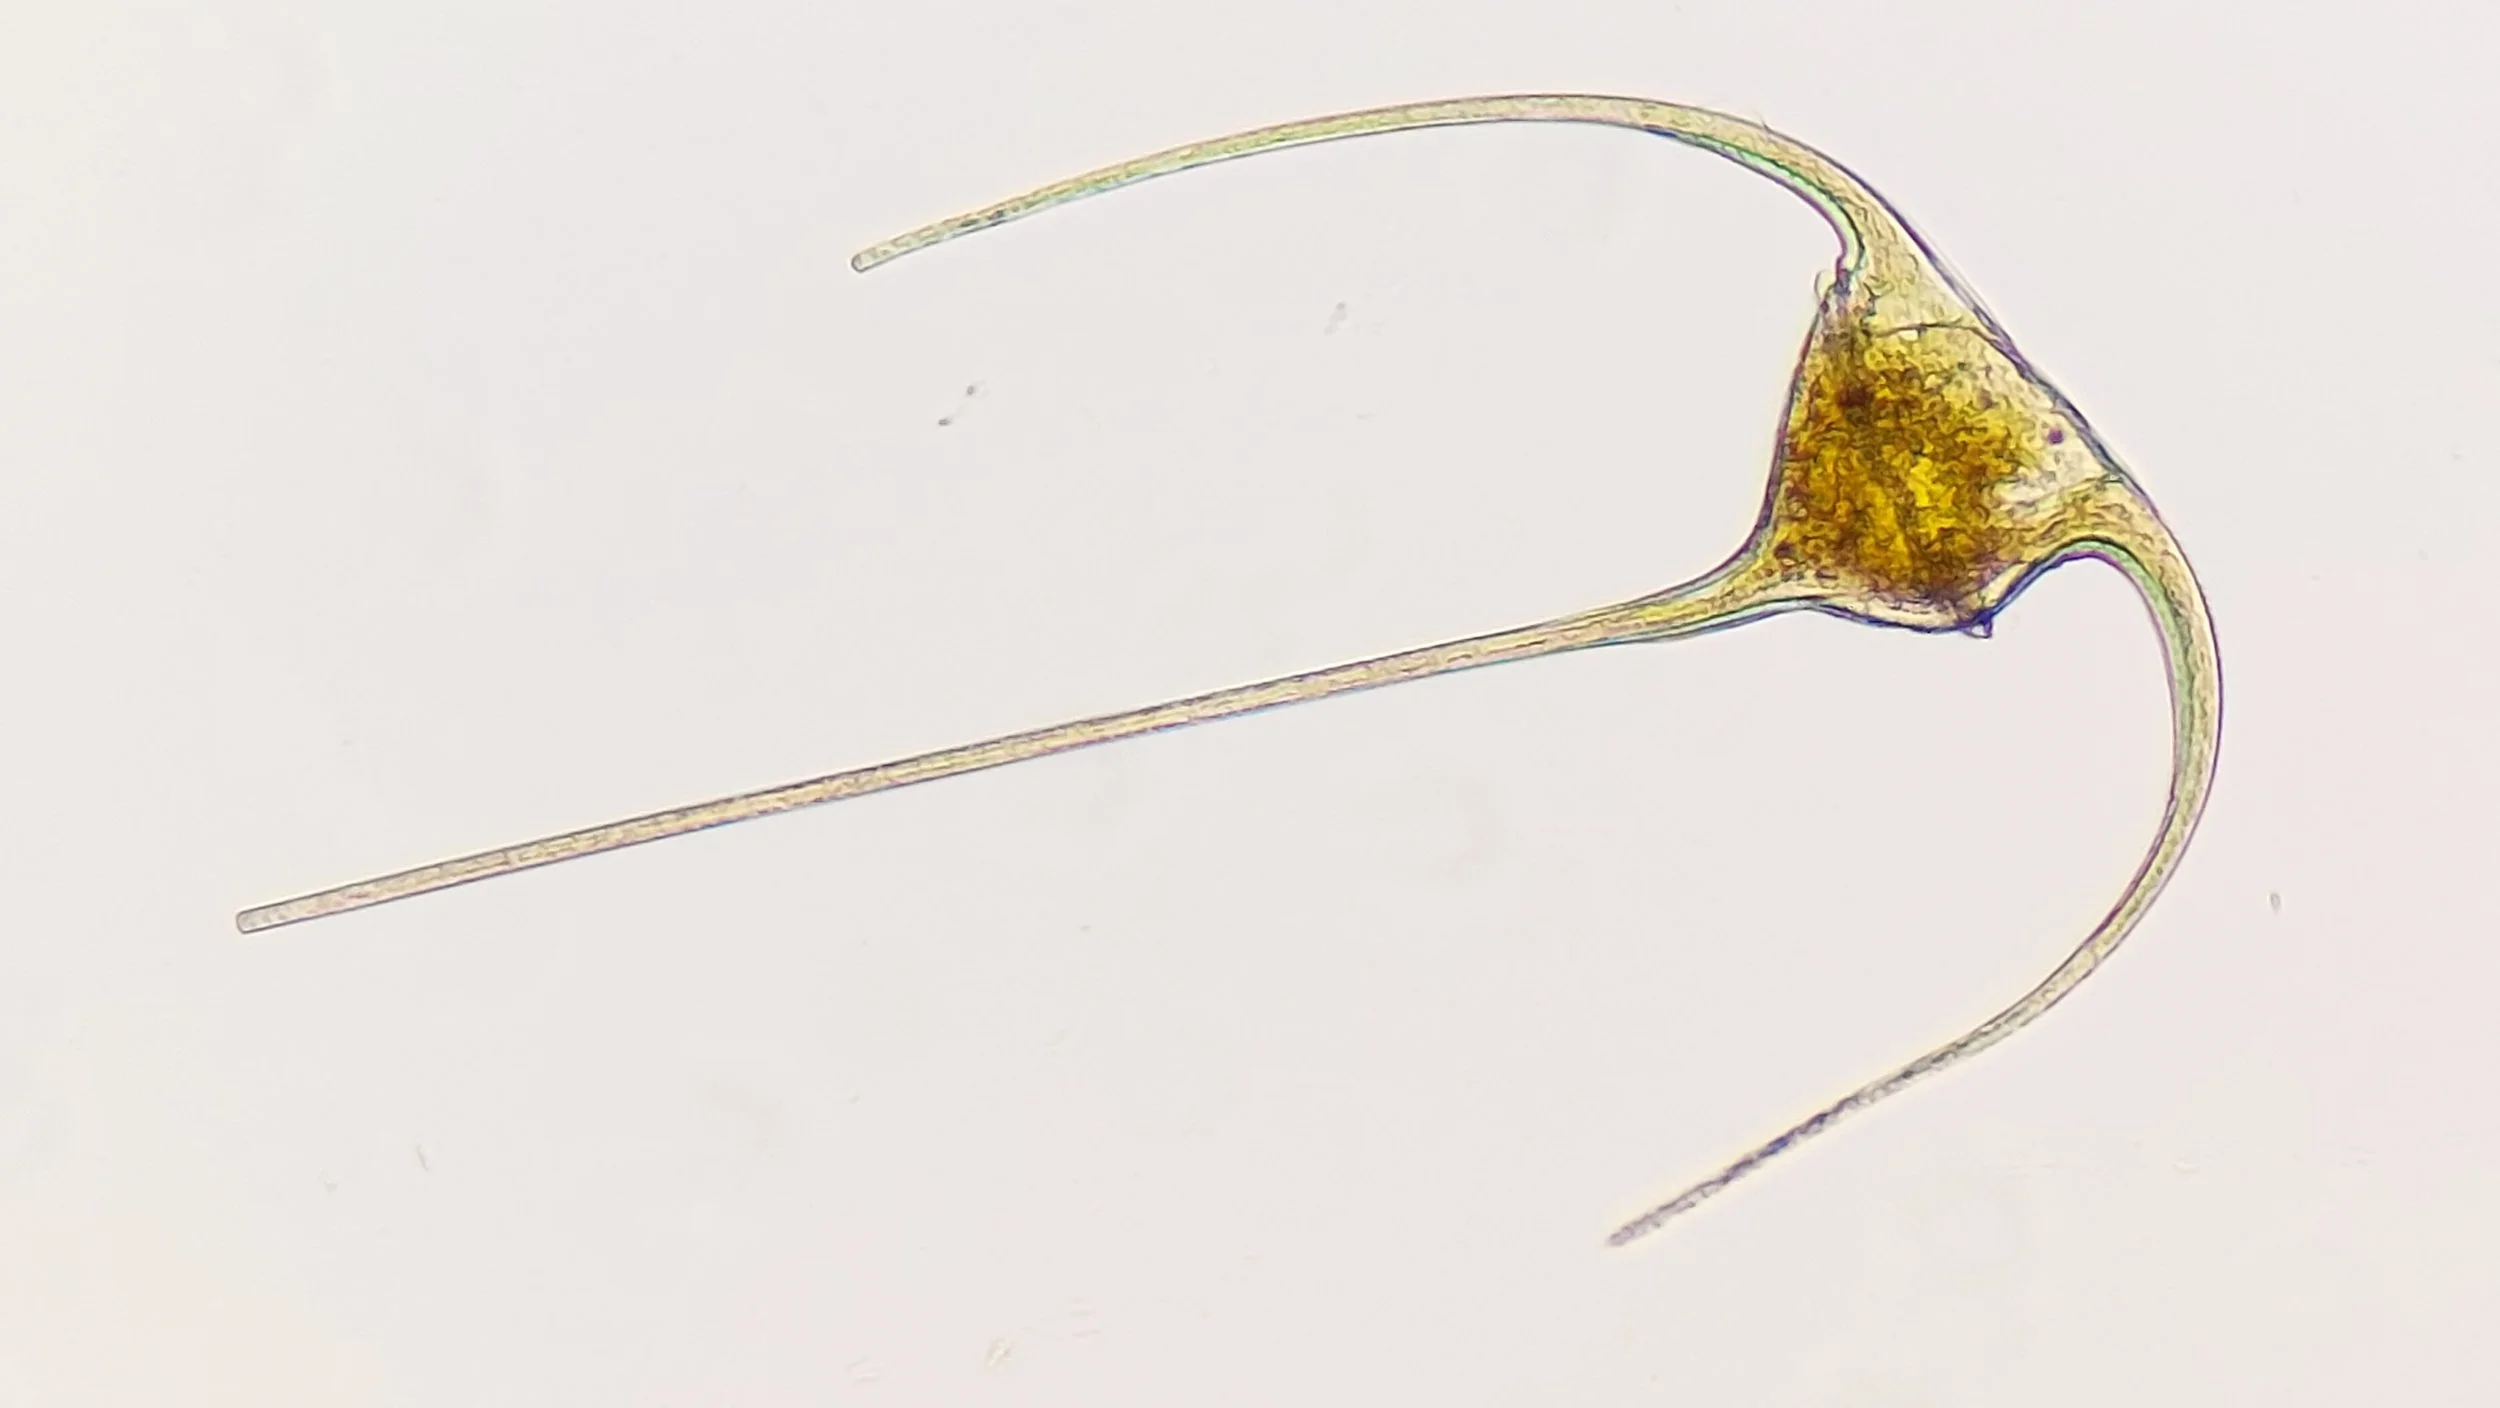
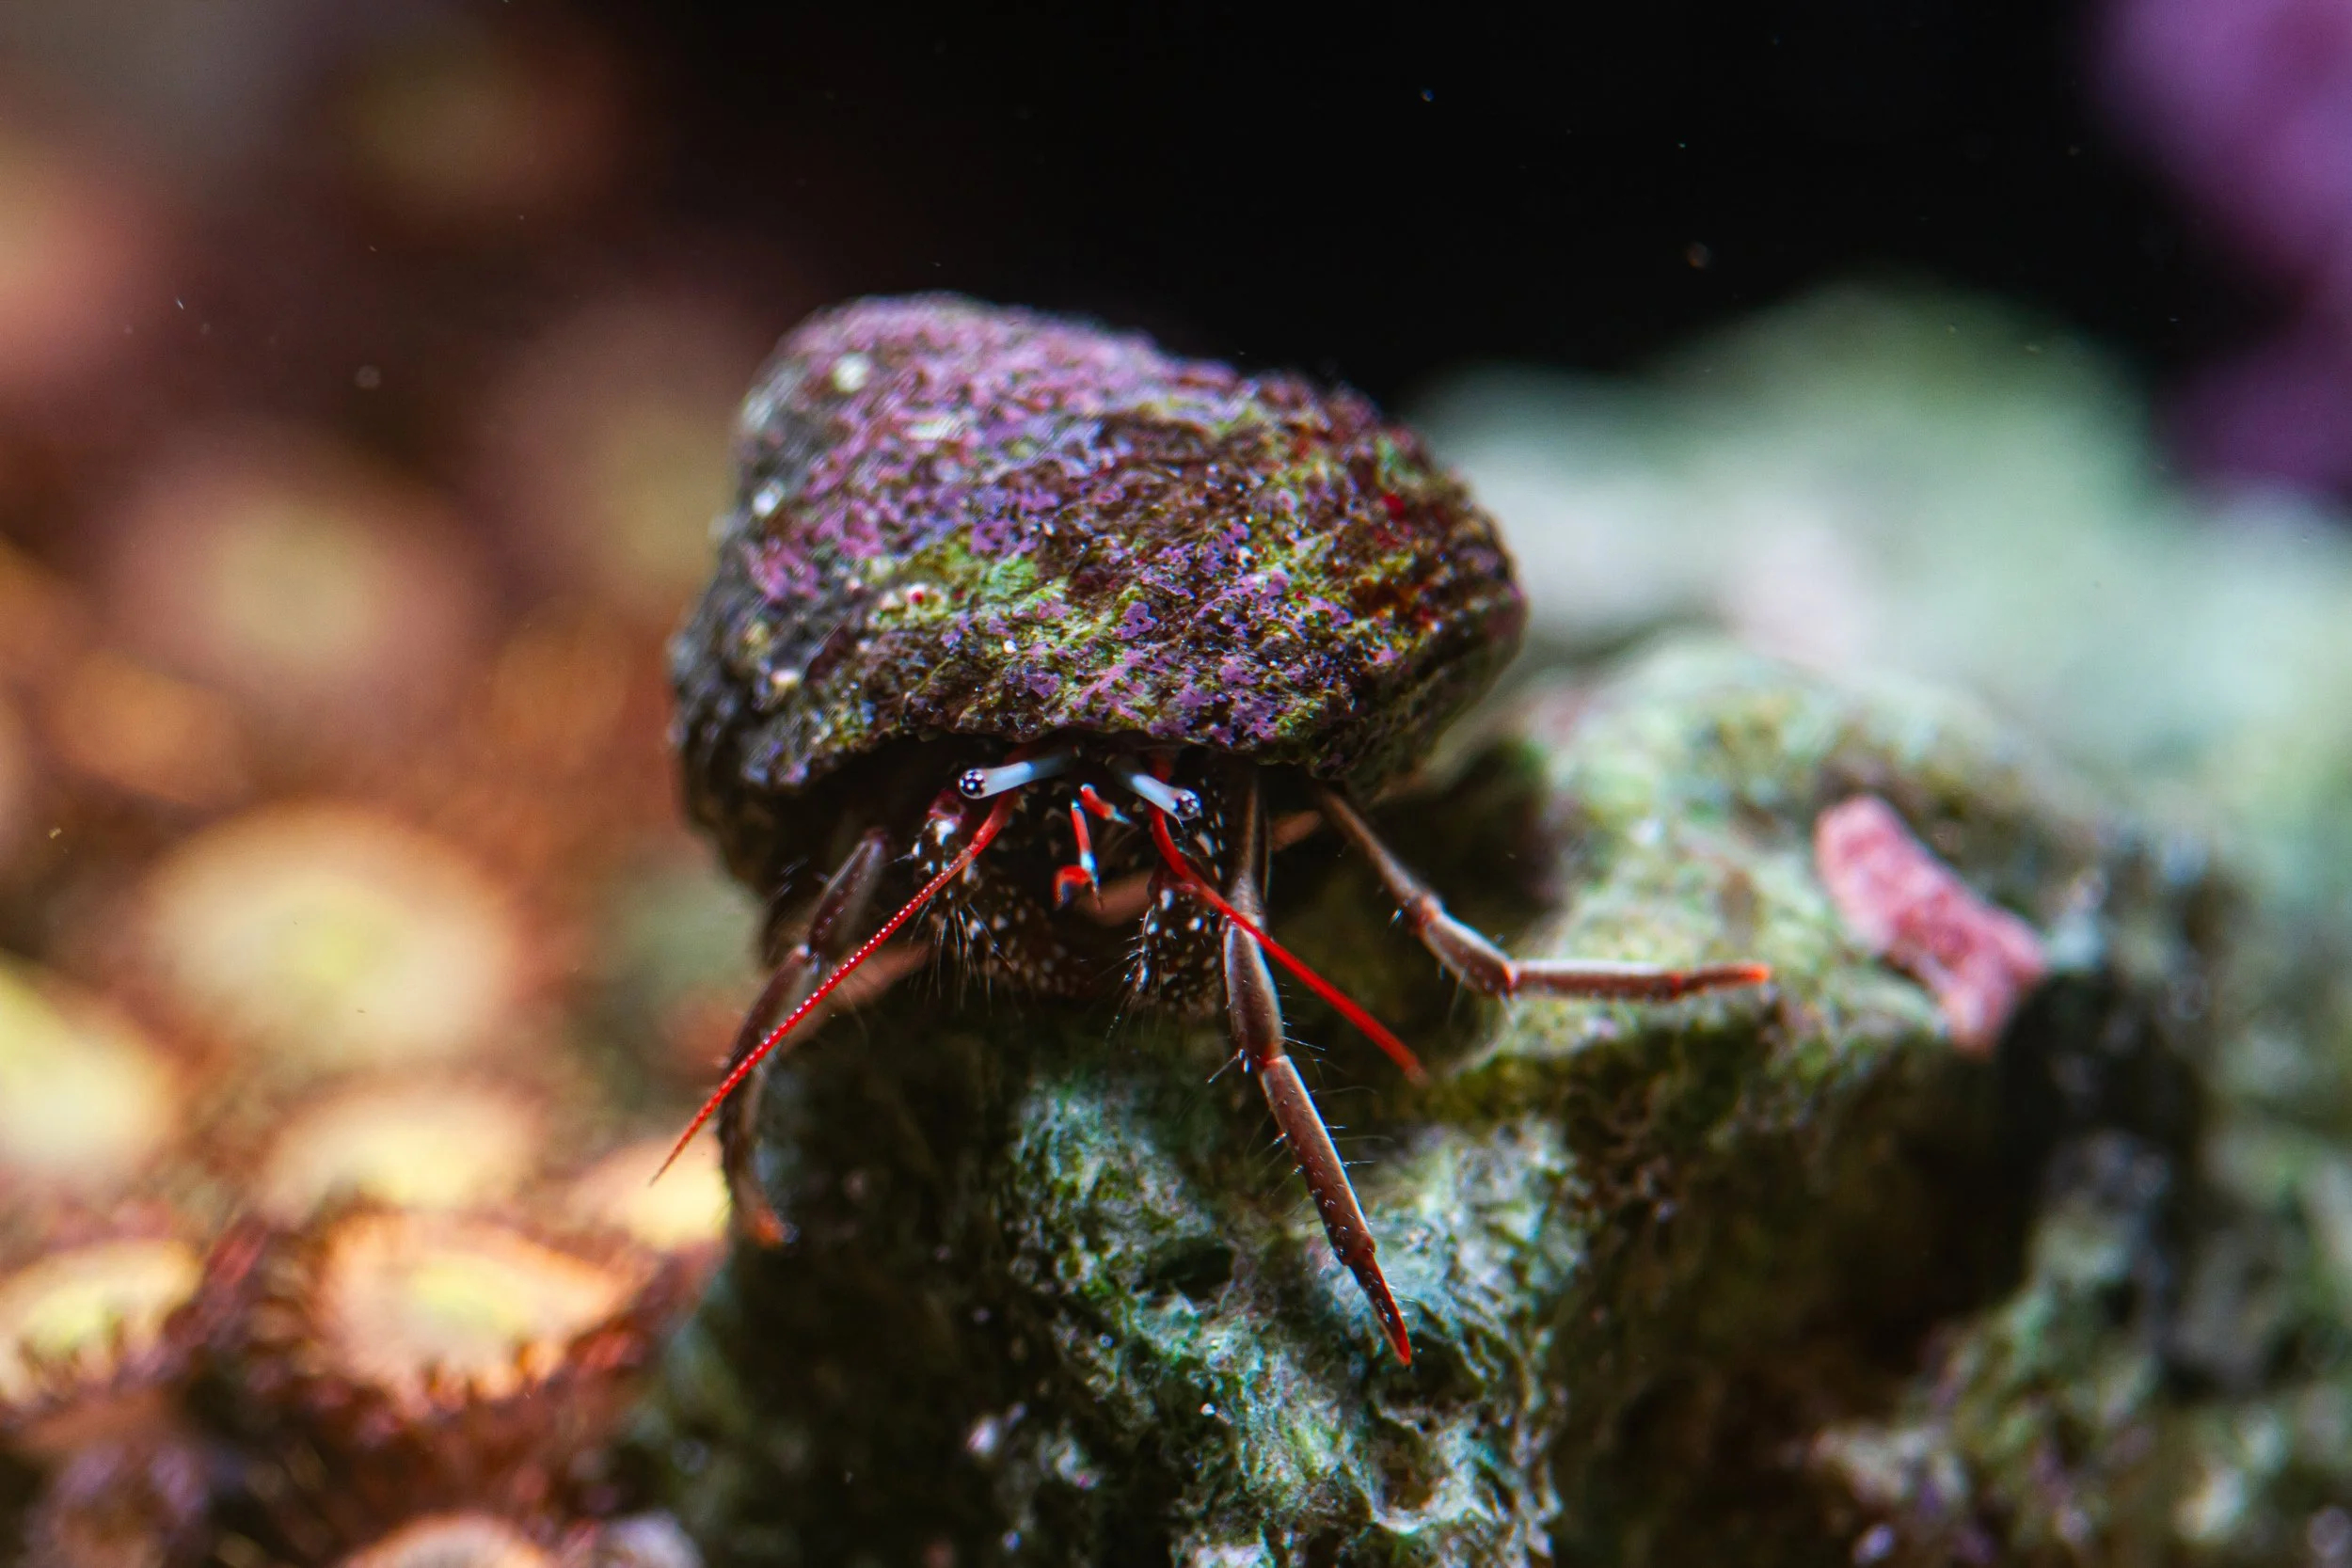
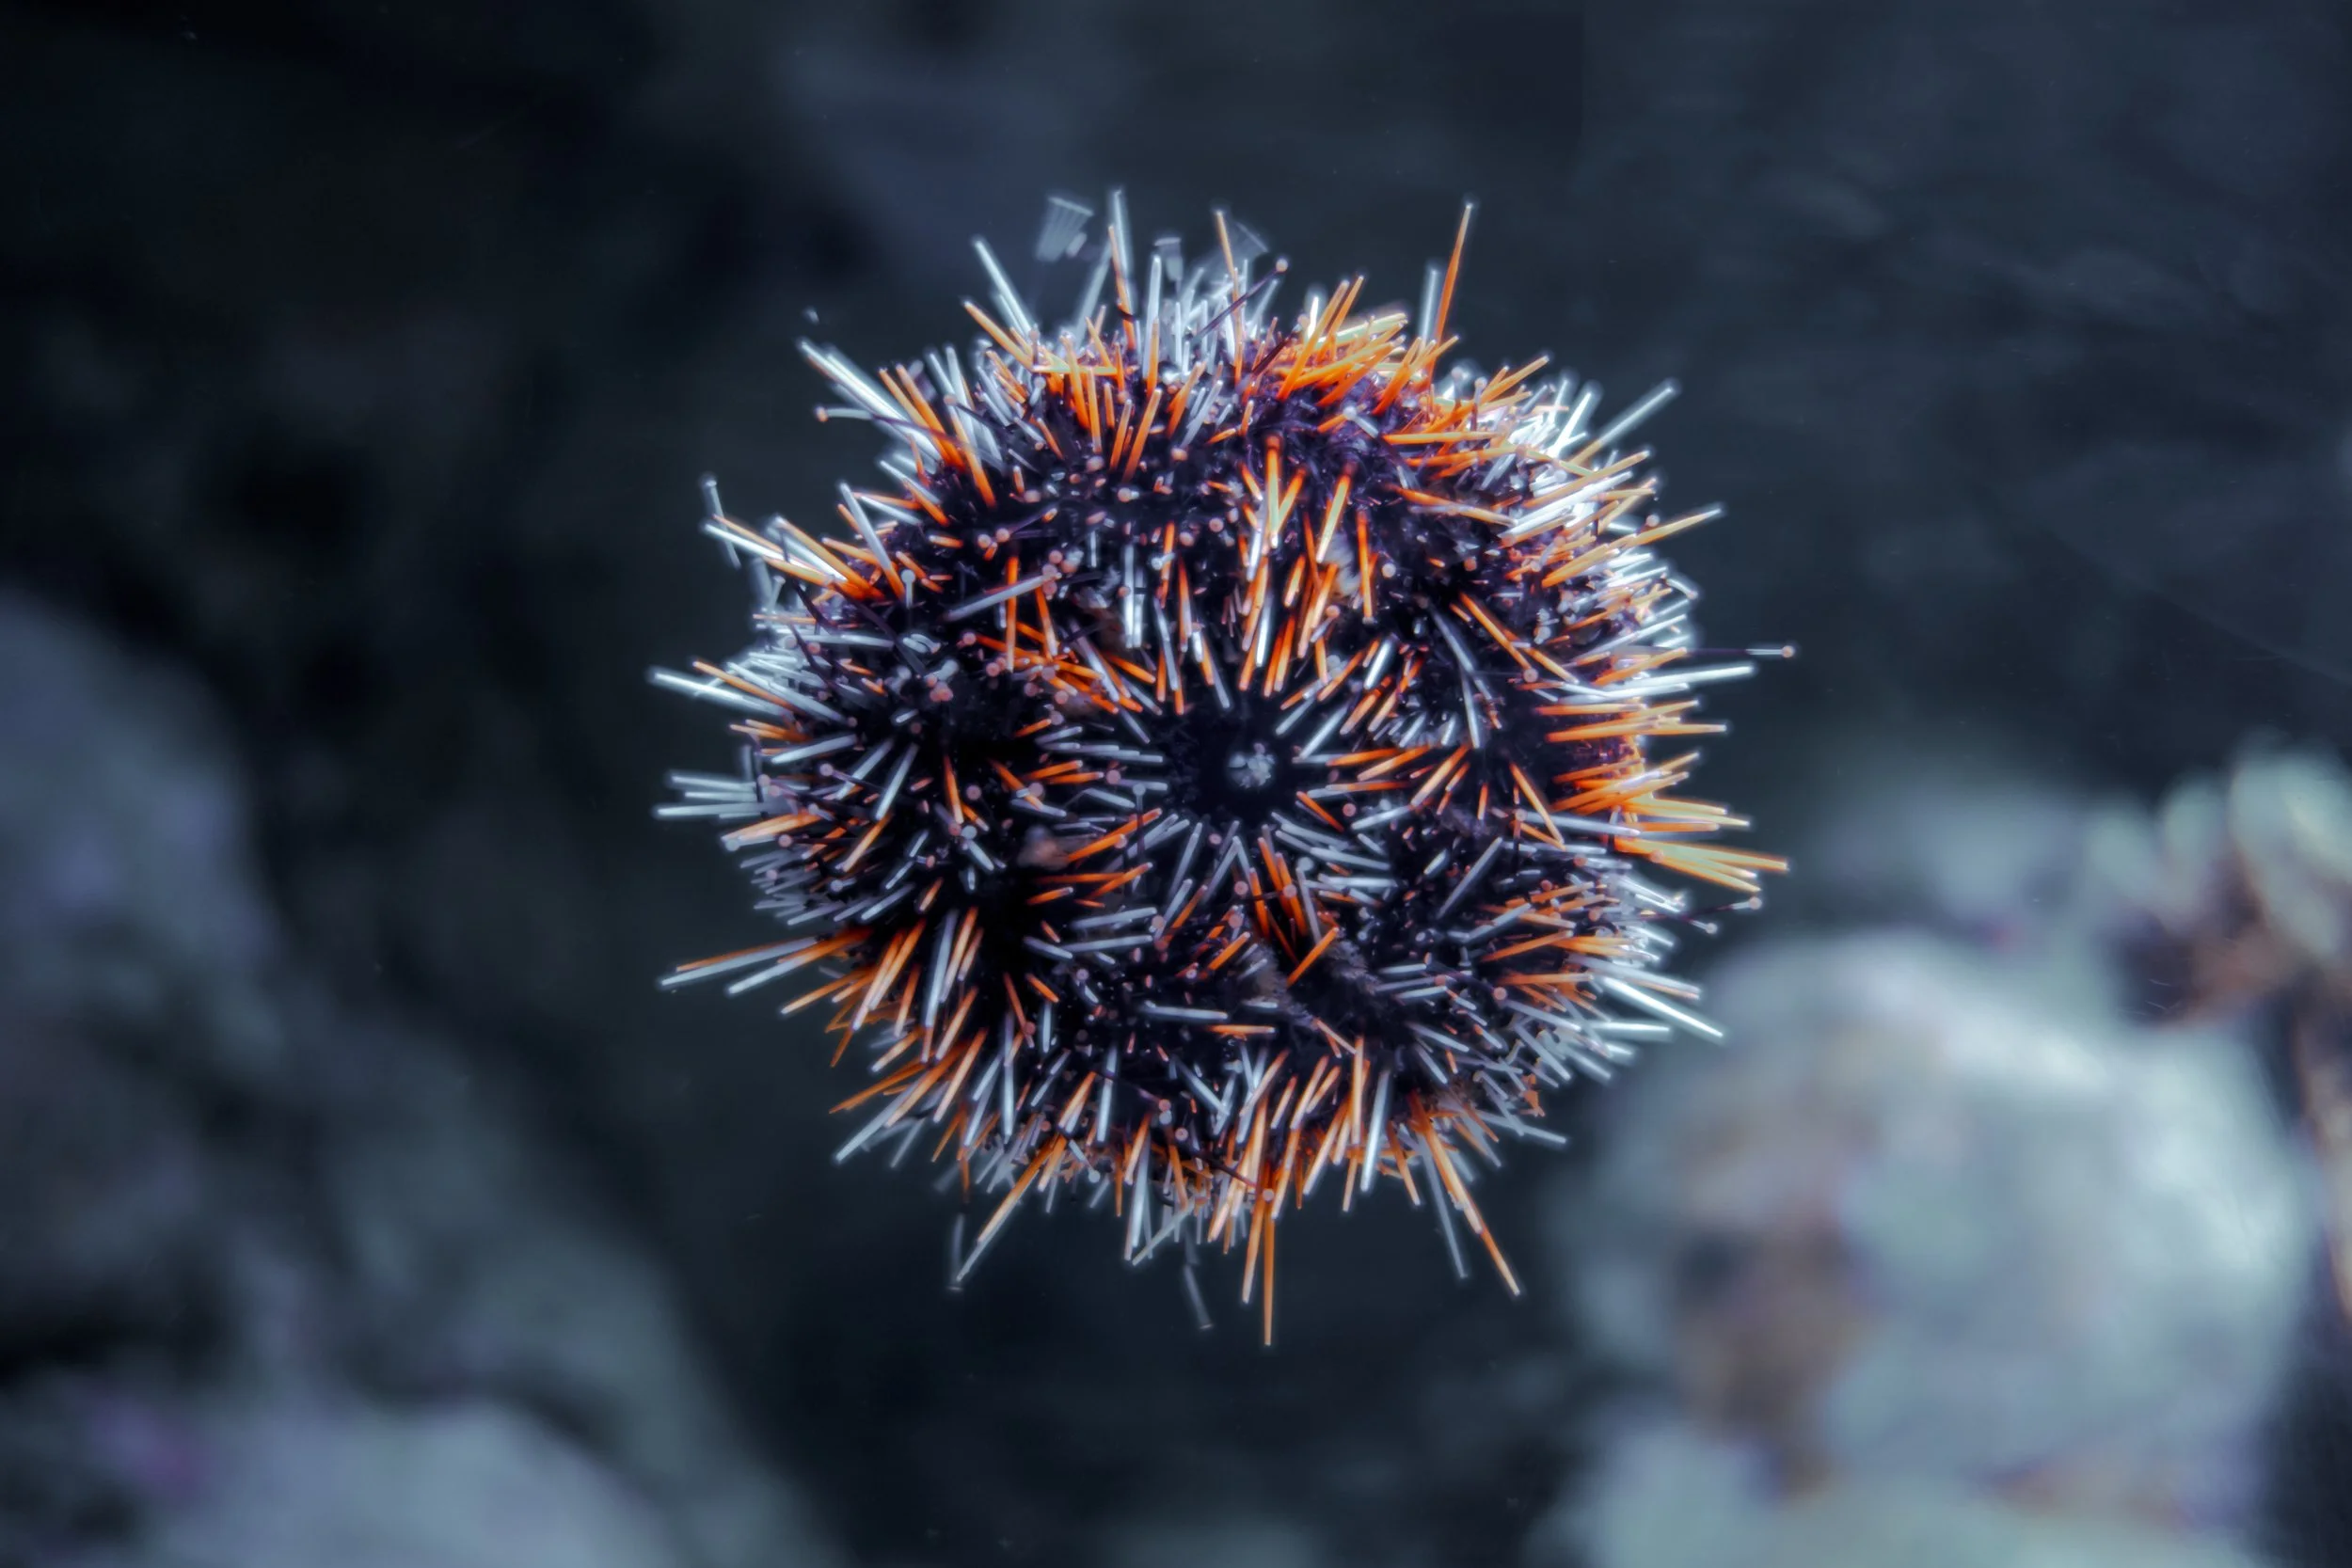
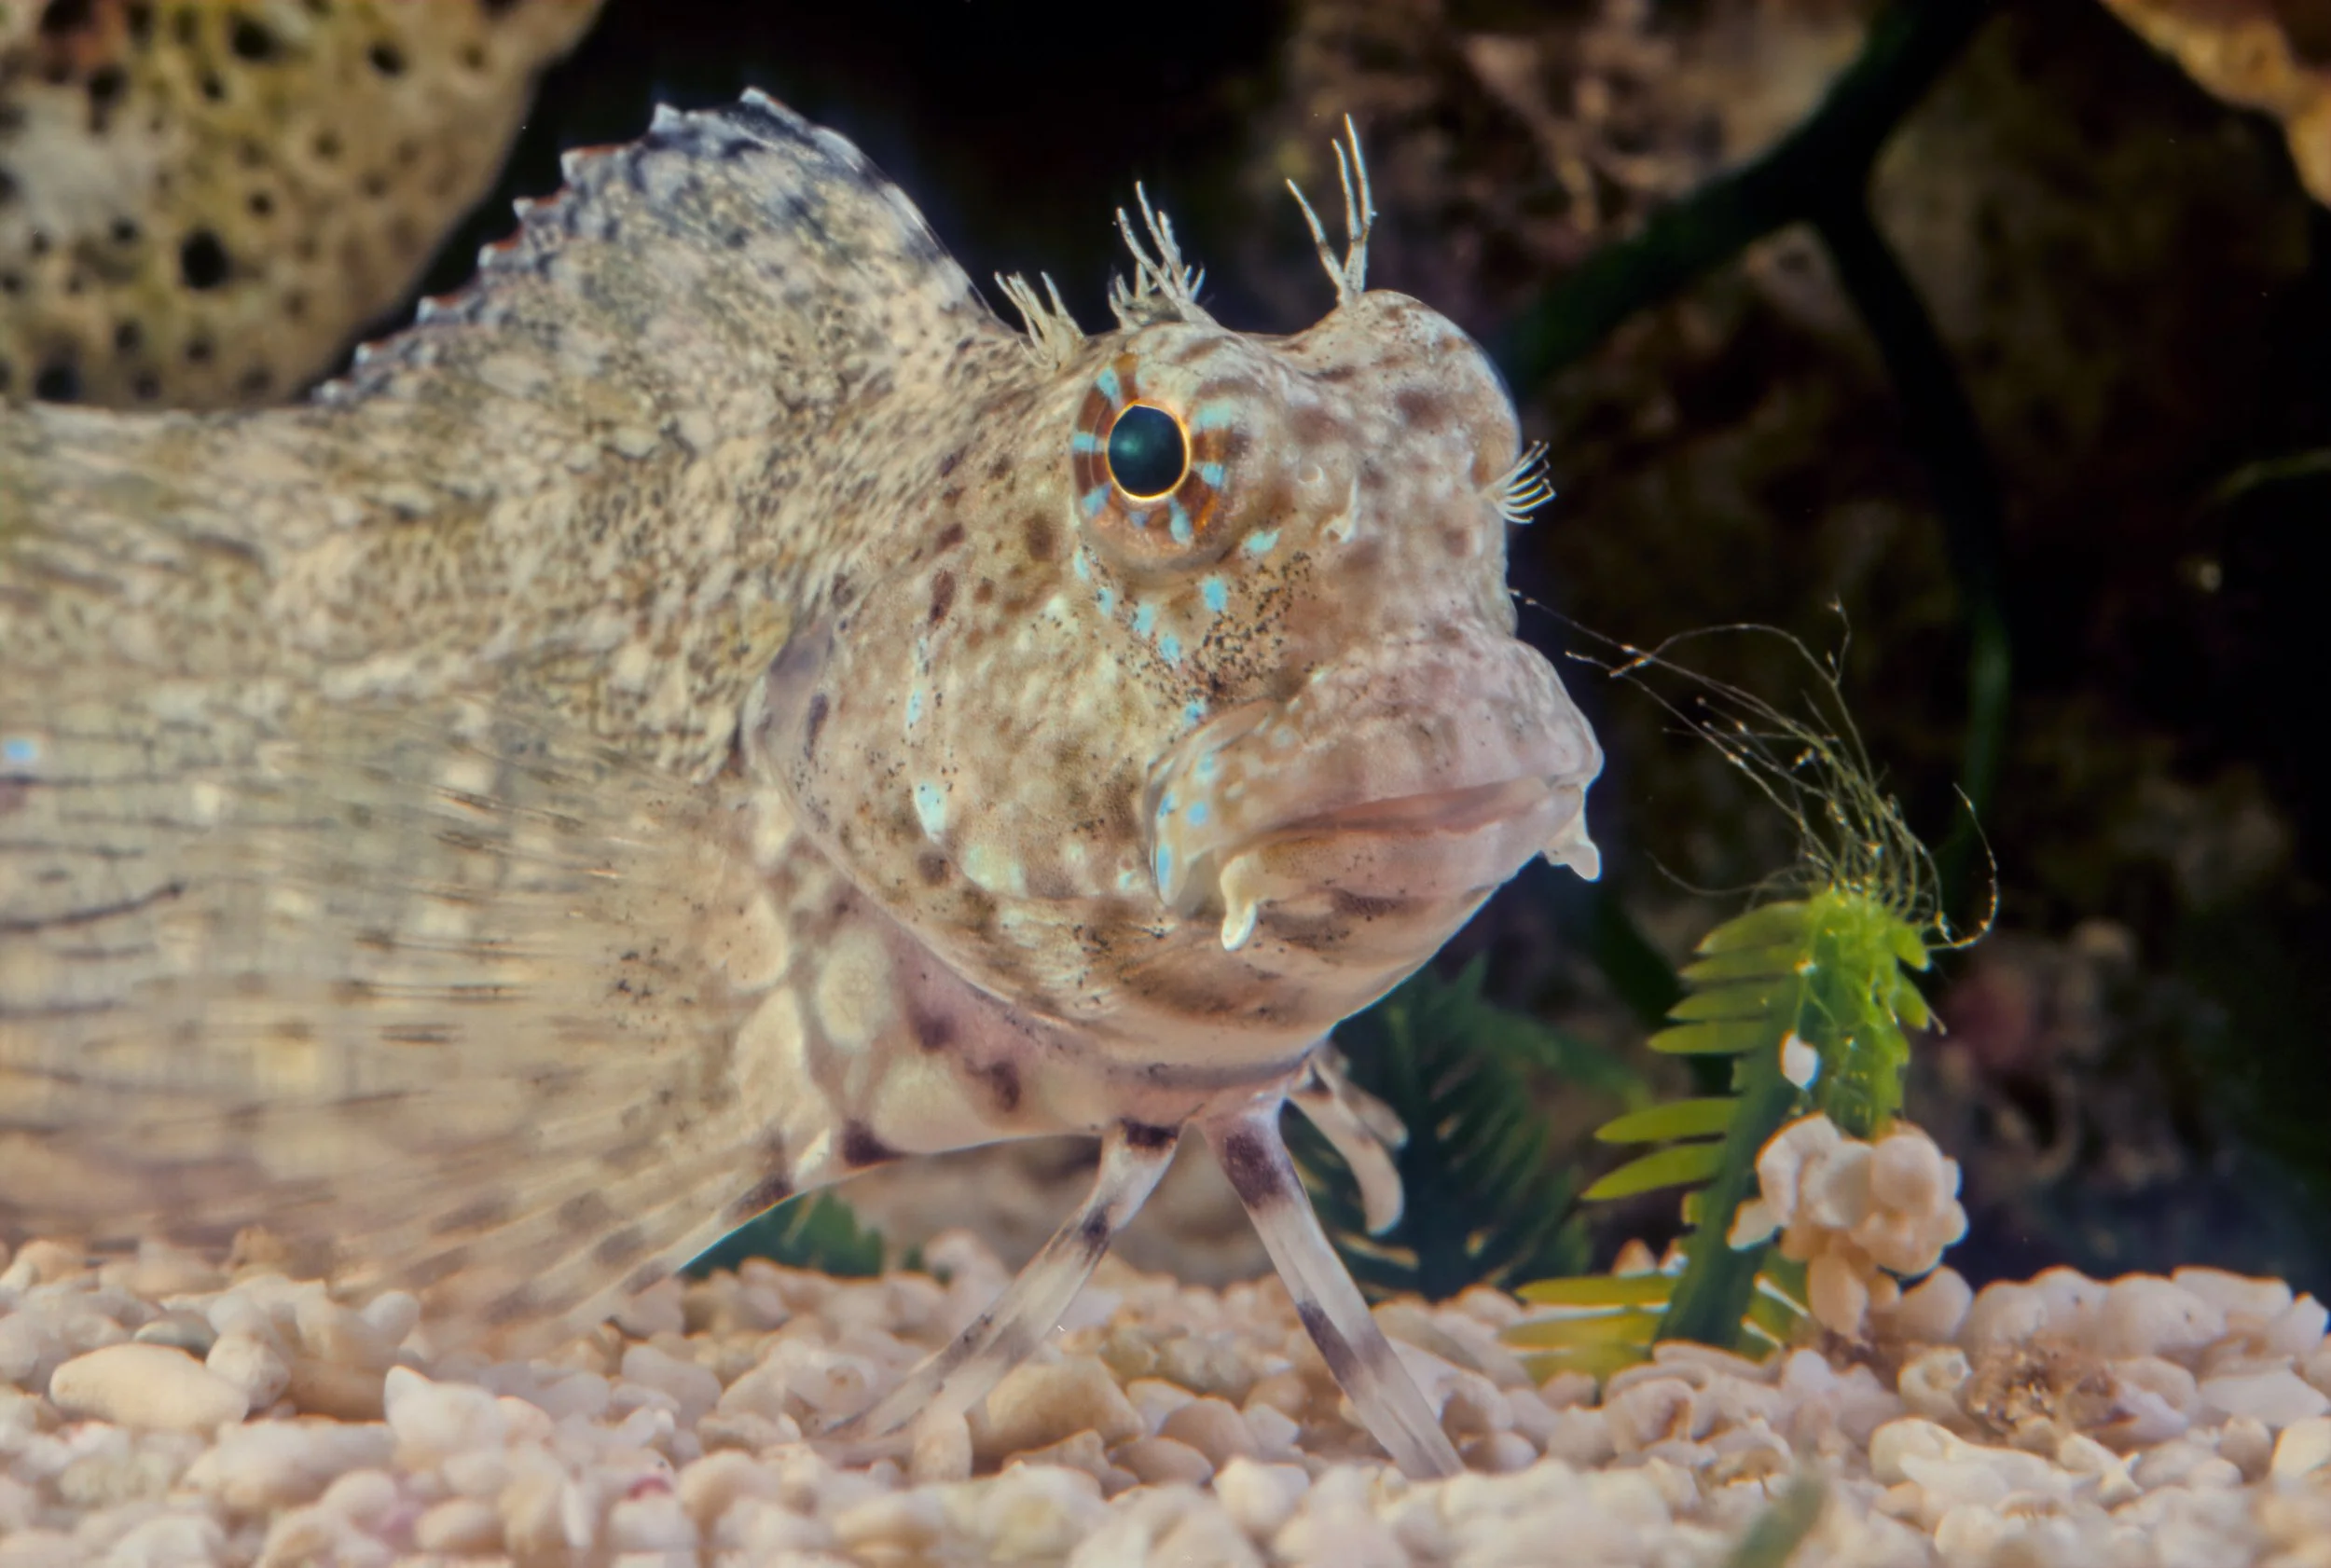
Helpfull Microcrustaceans
Starting a reef tank doesn't have to feel like playing roulette with algae, slimes, and unexplained coral losses. The 90/10 Biome Cycle gives us a low-effort, high-reward approach: do the right small things in the right order and we capture about 90 percent of the success with roughly 10 percent of the fuss.
Note: Paid YouTube SR Members Using A Chrome Browser can watch videos natively above on Seriousreefs.com. Sign up HERE
SR videos are a community funded member only resource. Serious Reefs buys everything we review, accepts no sponsorships, and your memberships make it possible to keep every review truly unfiltered.
What the biome cycle is — and why it matters more than the old nitrogen cycle
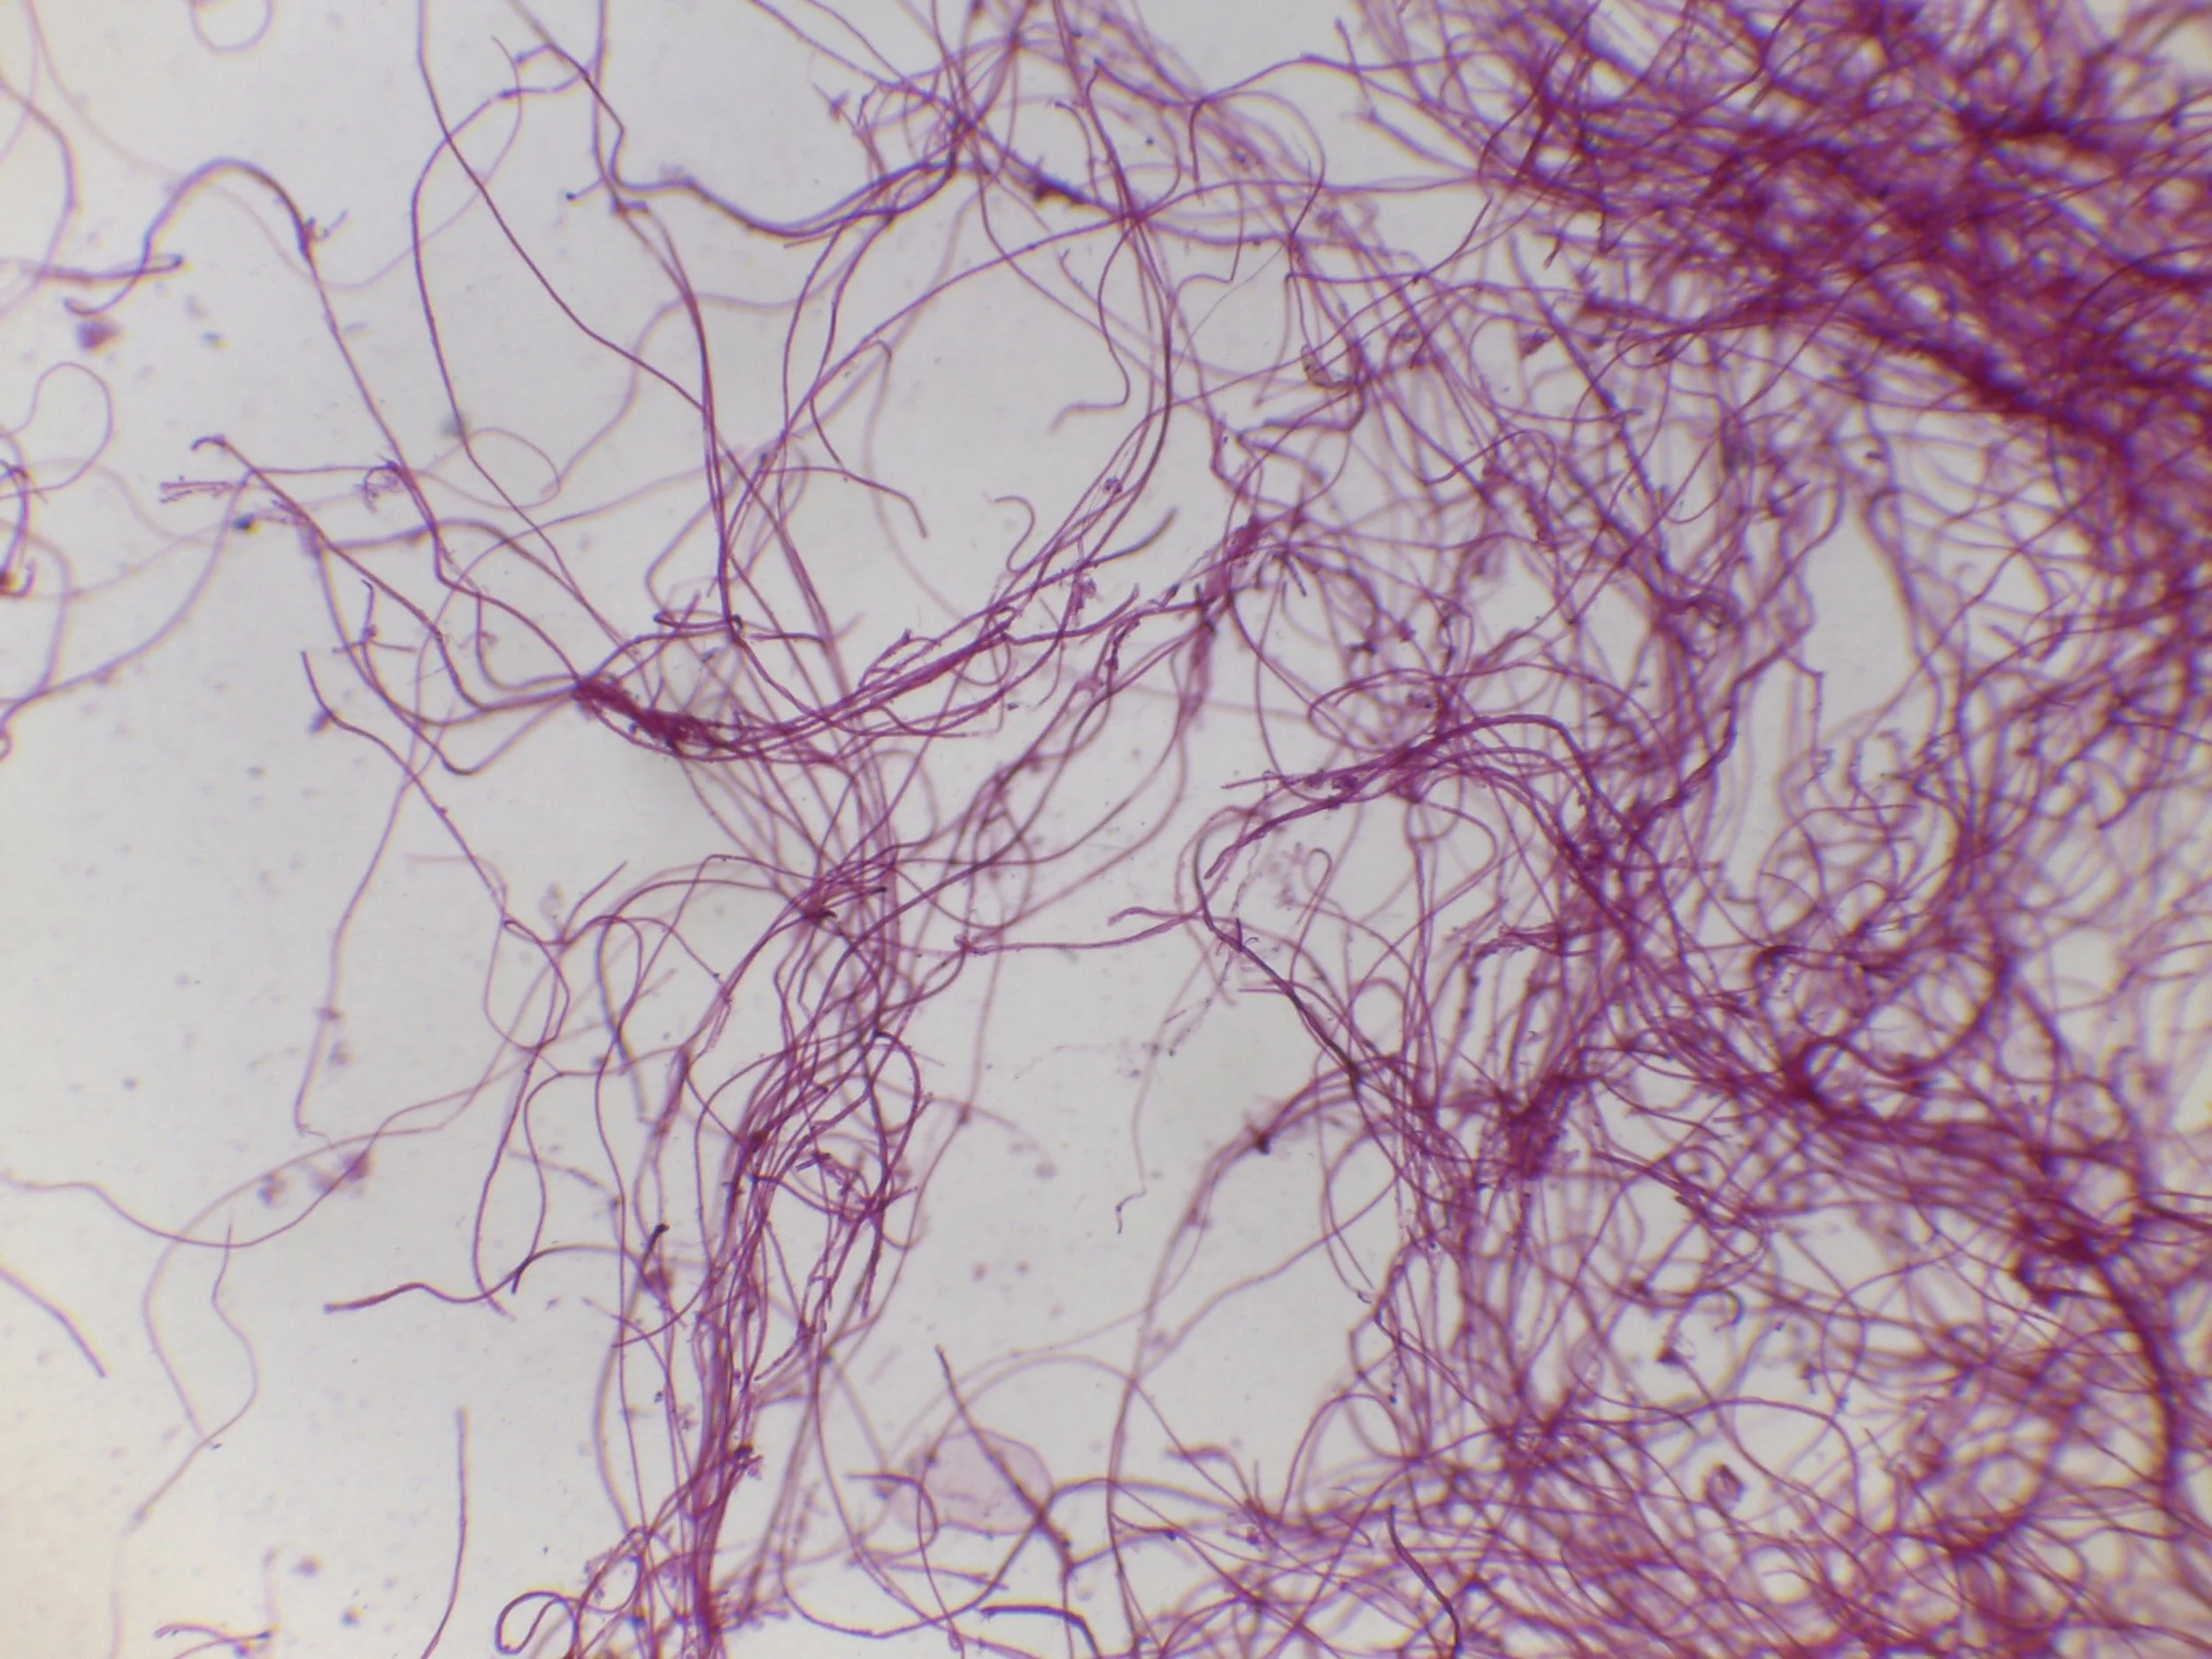
The traditional view of cycling a reef tank was focused almost entirely on ammonia and the nitrifying bacteria that convert it to nitrate. That approach worked well when hobbyists commonly used ocean-harvested live rock. Live rock imported a diverse community of bacteria, microcrustaceans, and other beneficial organisms that formed a functioning microbiome without us ever thinking about it.
Today most reefers start with dry rock and processed sand, which lack that natural community. The result is a sterile foundation with fewer bacteria, microcrustaceans, and slime grazers than a mature reef needs. Because of that, we now have to take a more deliberate approach and find ways to introduce and cultivate these organisms in the tank.
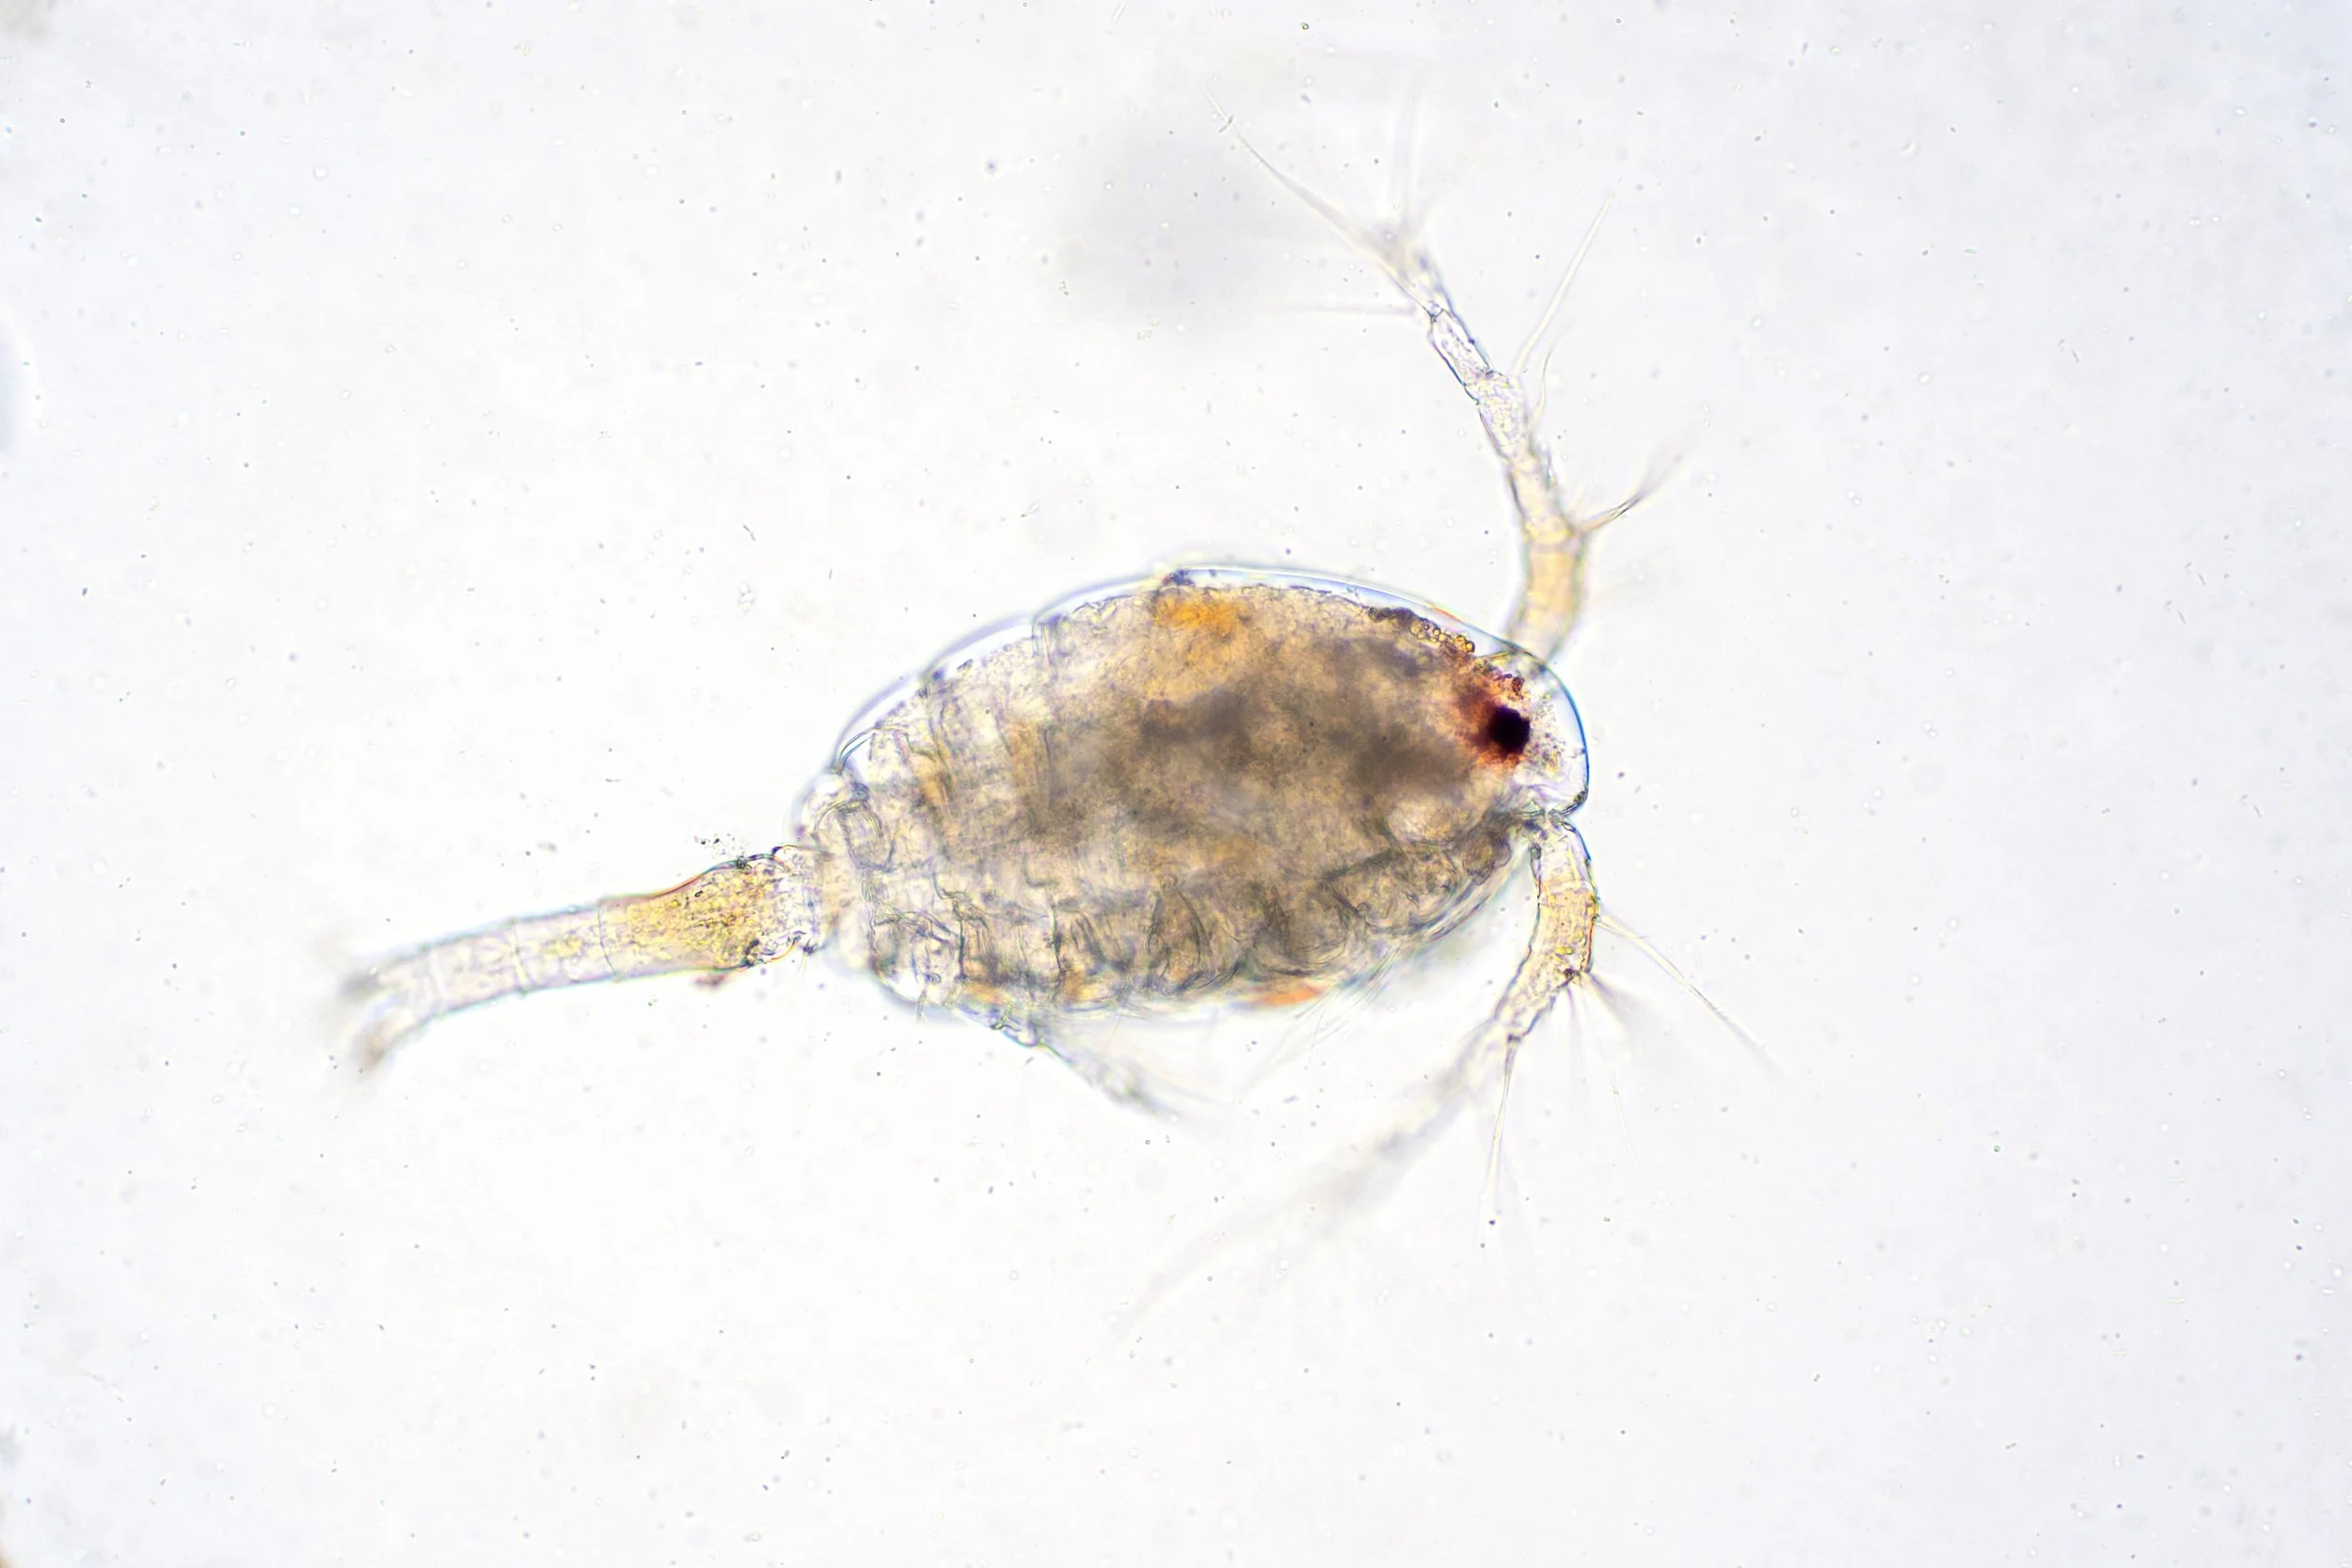
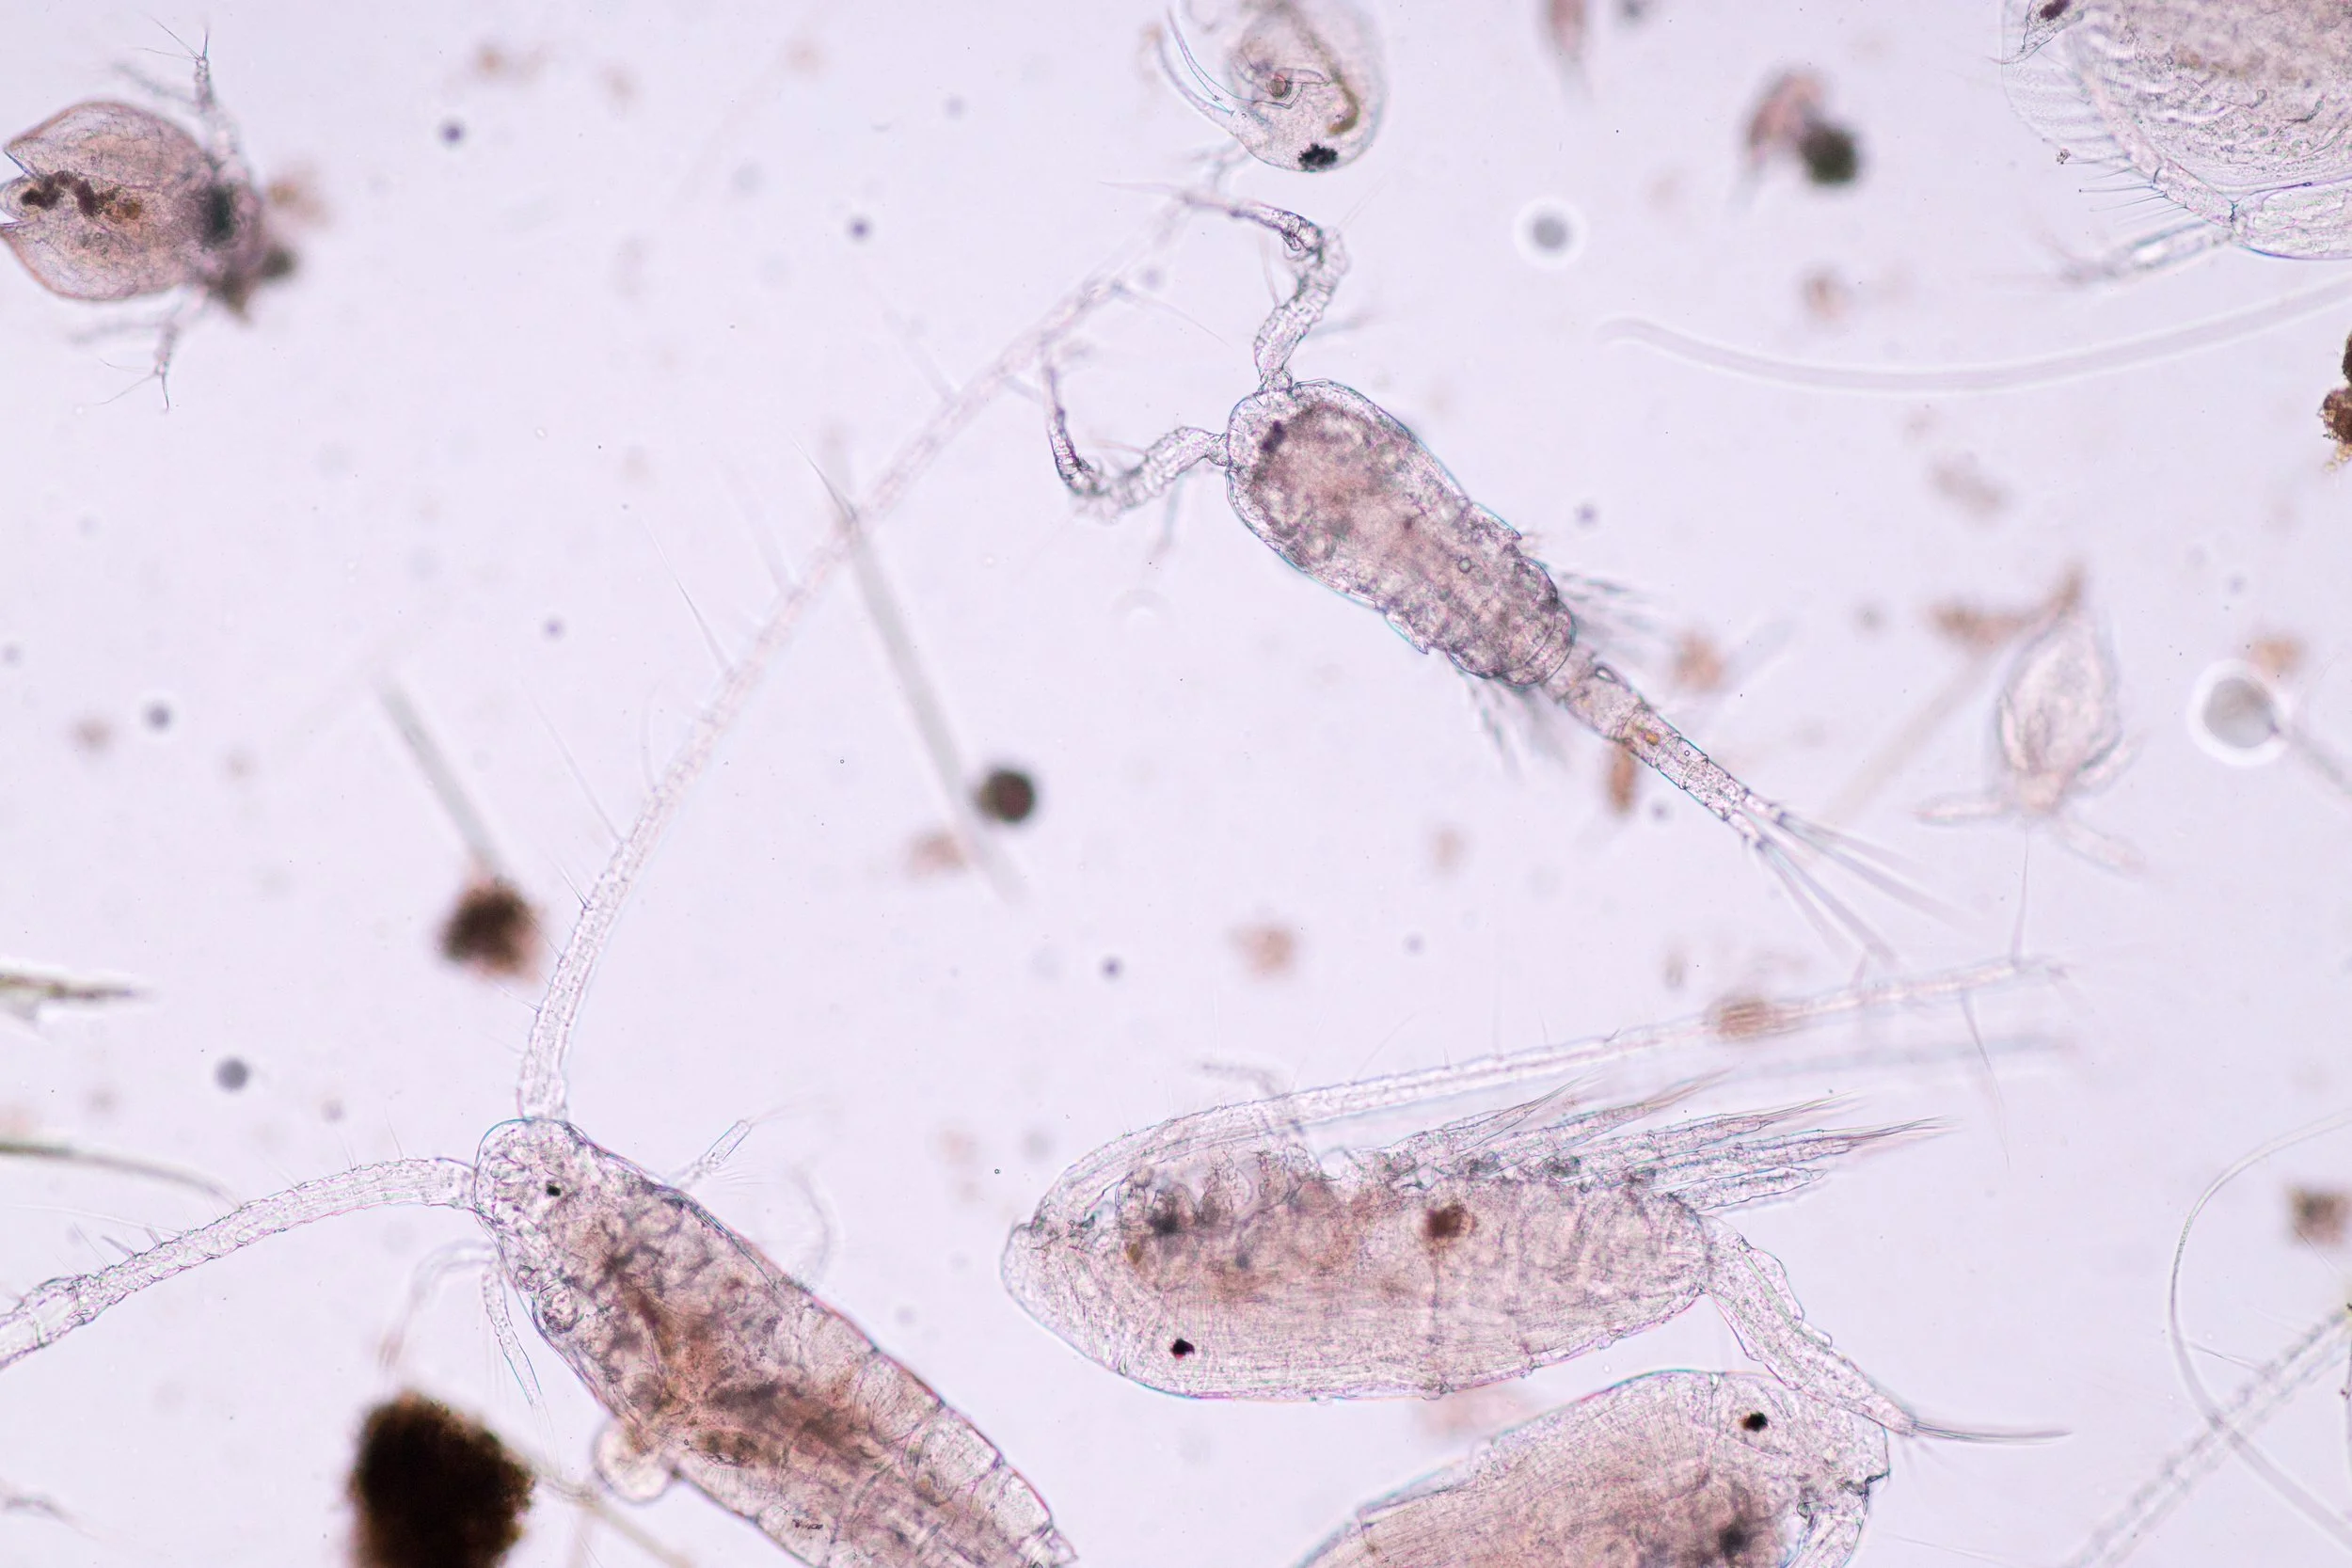
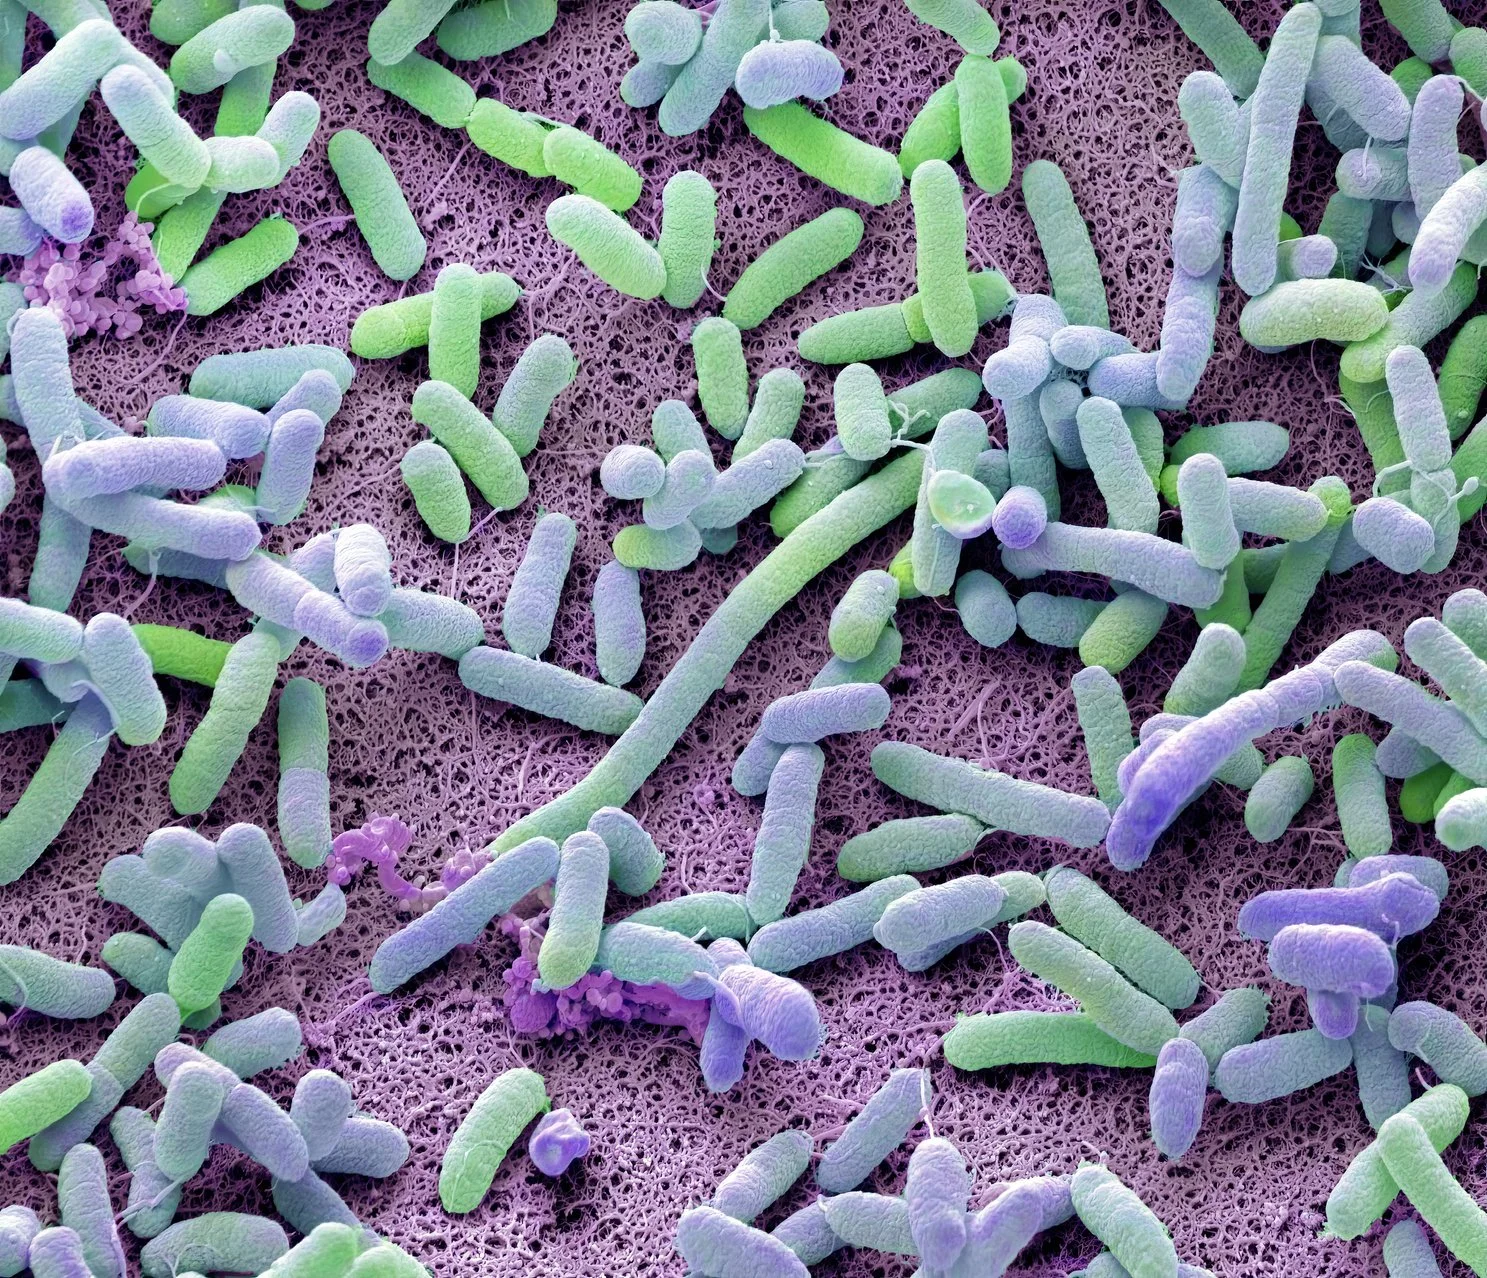
The biome cycle intentionally introduces a natural ocean biome into a new tank so beneficial organisms can keep photosynthetic “uglies” — algae, cyanobacteria, diatoms, dinoflagellates — in check. Instead of trying to outsmart nature with endless additives, we seed a tank with real ocean life and let ecological balance work for us.


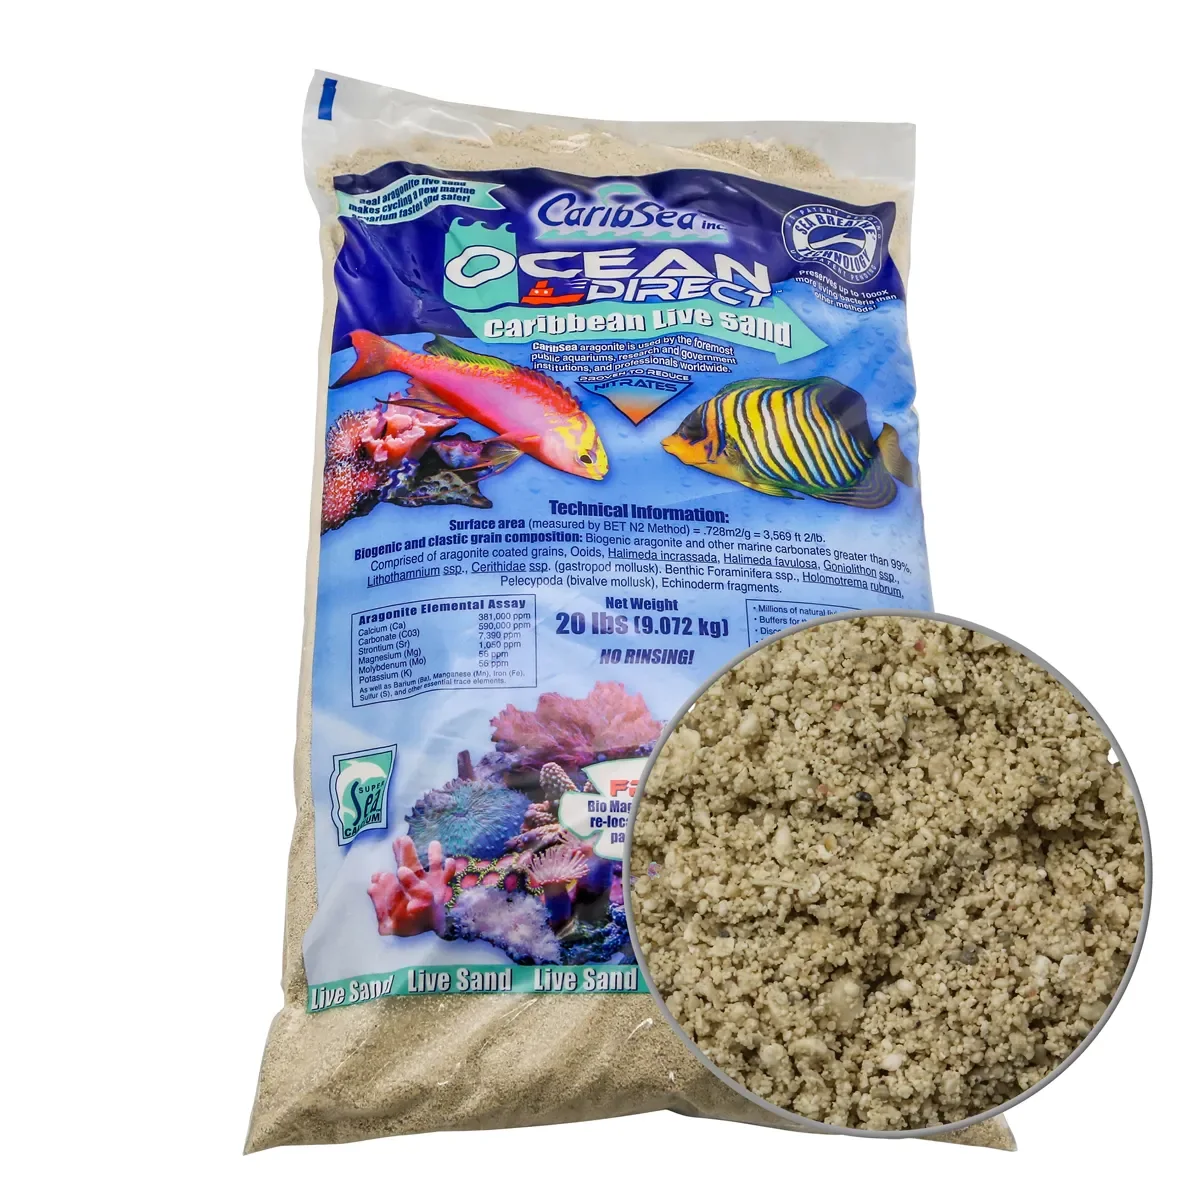
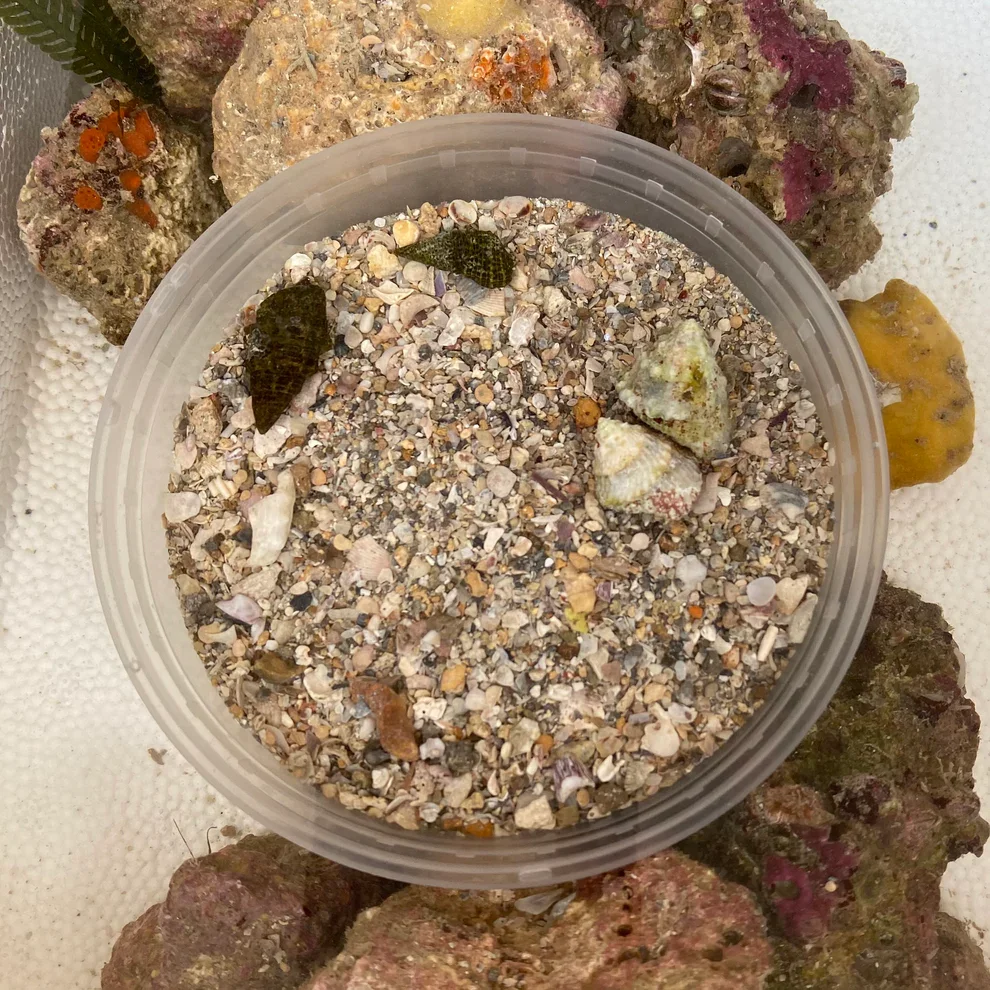
Core approach: use ultra‑live sand as the biome donor
The simplest, most reliable way to seed a natural biome is with ultra-live ocean sand from the ocean. It brings bacteria, microcrustaceans, and slime predators that help establish a balanced community. Compared to live rock, live sand:
Introduces fewer algae and parasites because sand in the ocean is constantly turned over.
Is more affordable and widely available than good live rock.
Delivers the essential microfauna we want without a heavy load of unwanted hitchhikers.
If budget is a concern, use an affordable ocean‑direct sand base for most of the substrate and layer 10 to 20 percent ultra‑live sand on top. Keep the live sand on the surface rather than mixing it in; it will slowly migrate through the bed and seed the rest of the sand.

Materials and quick checklist
Ultra‑live sand (or mix: ocean‑direct base + 10–20% live sand on top)
Heater, pump, filtration components in place
Ammonia test kit
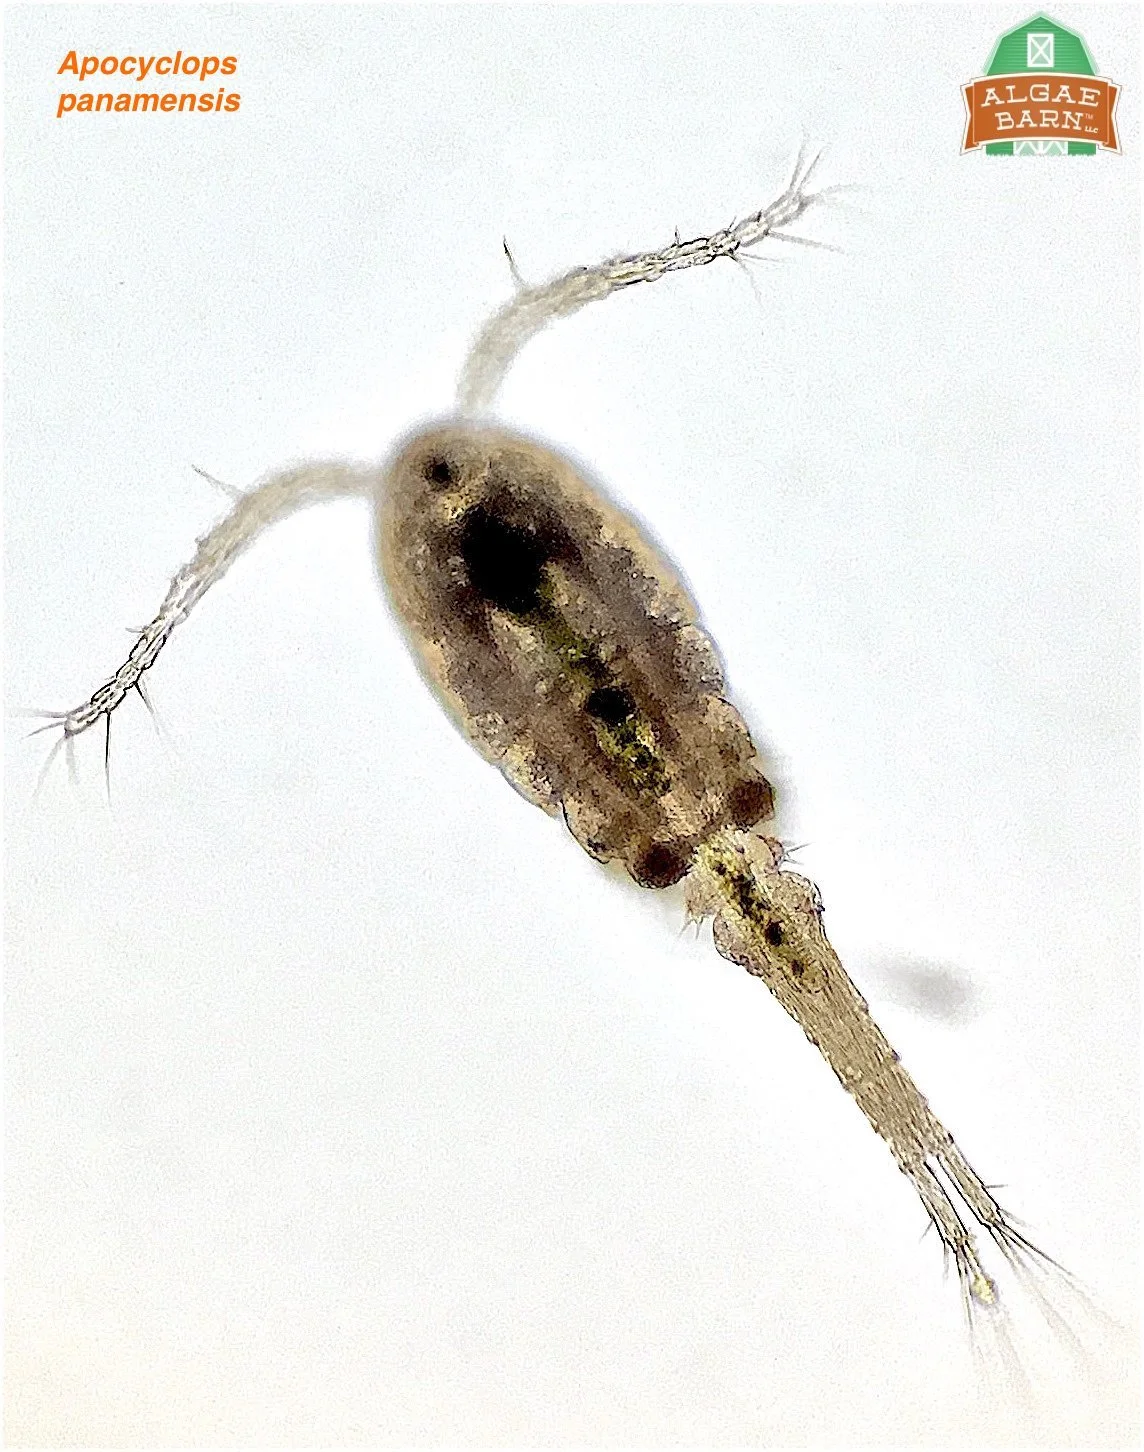
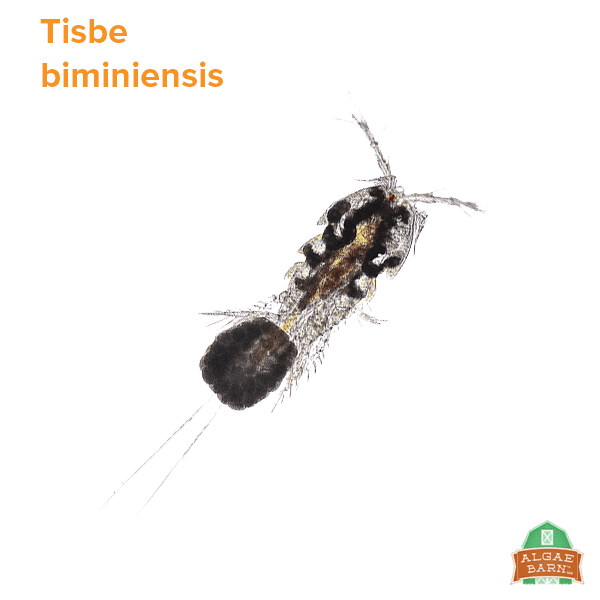
Copepods (live pod culture)
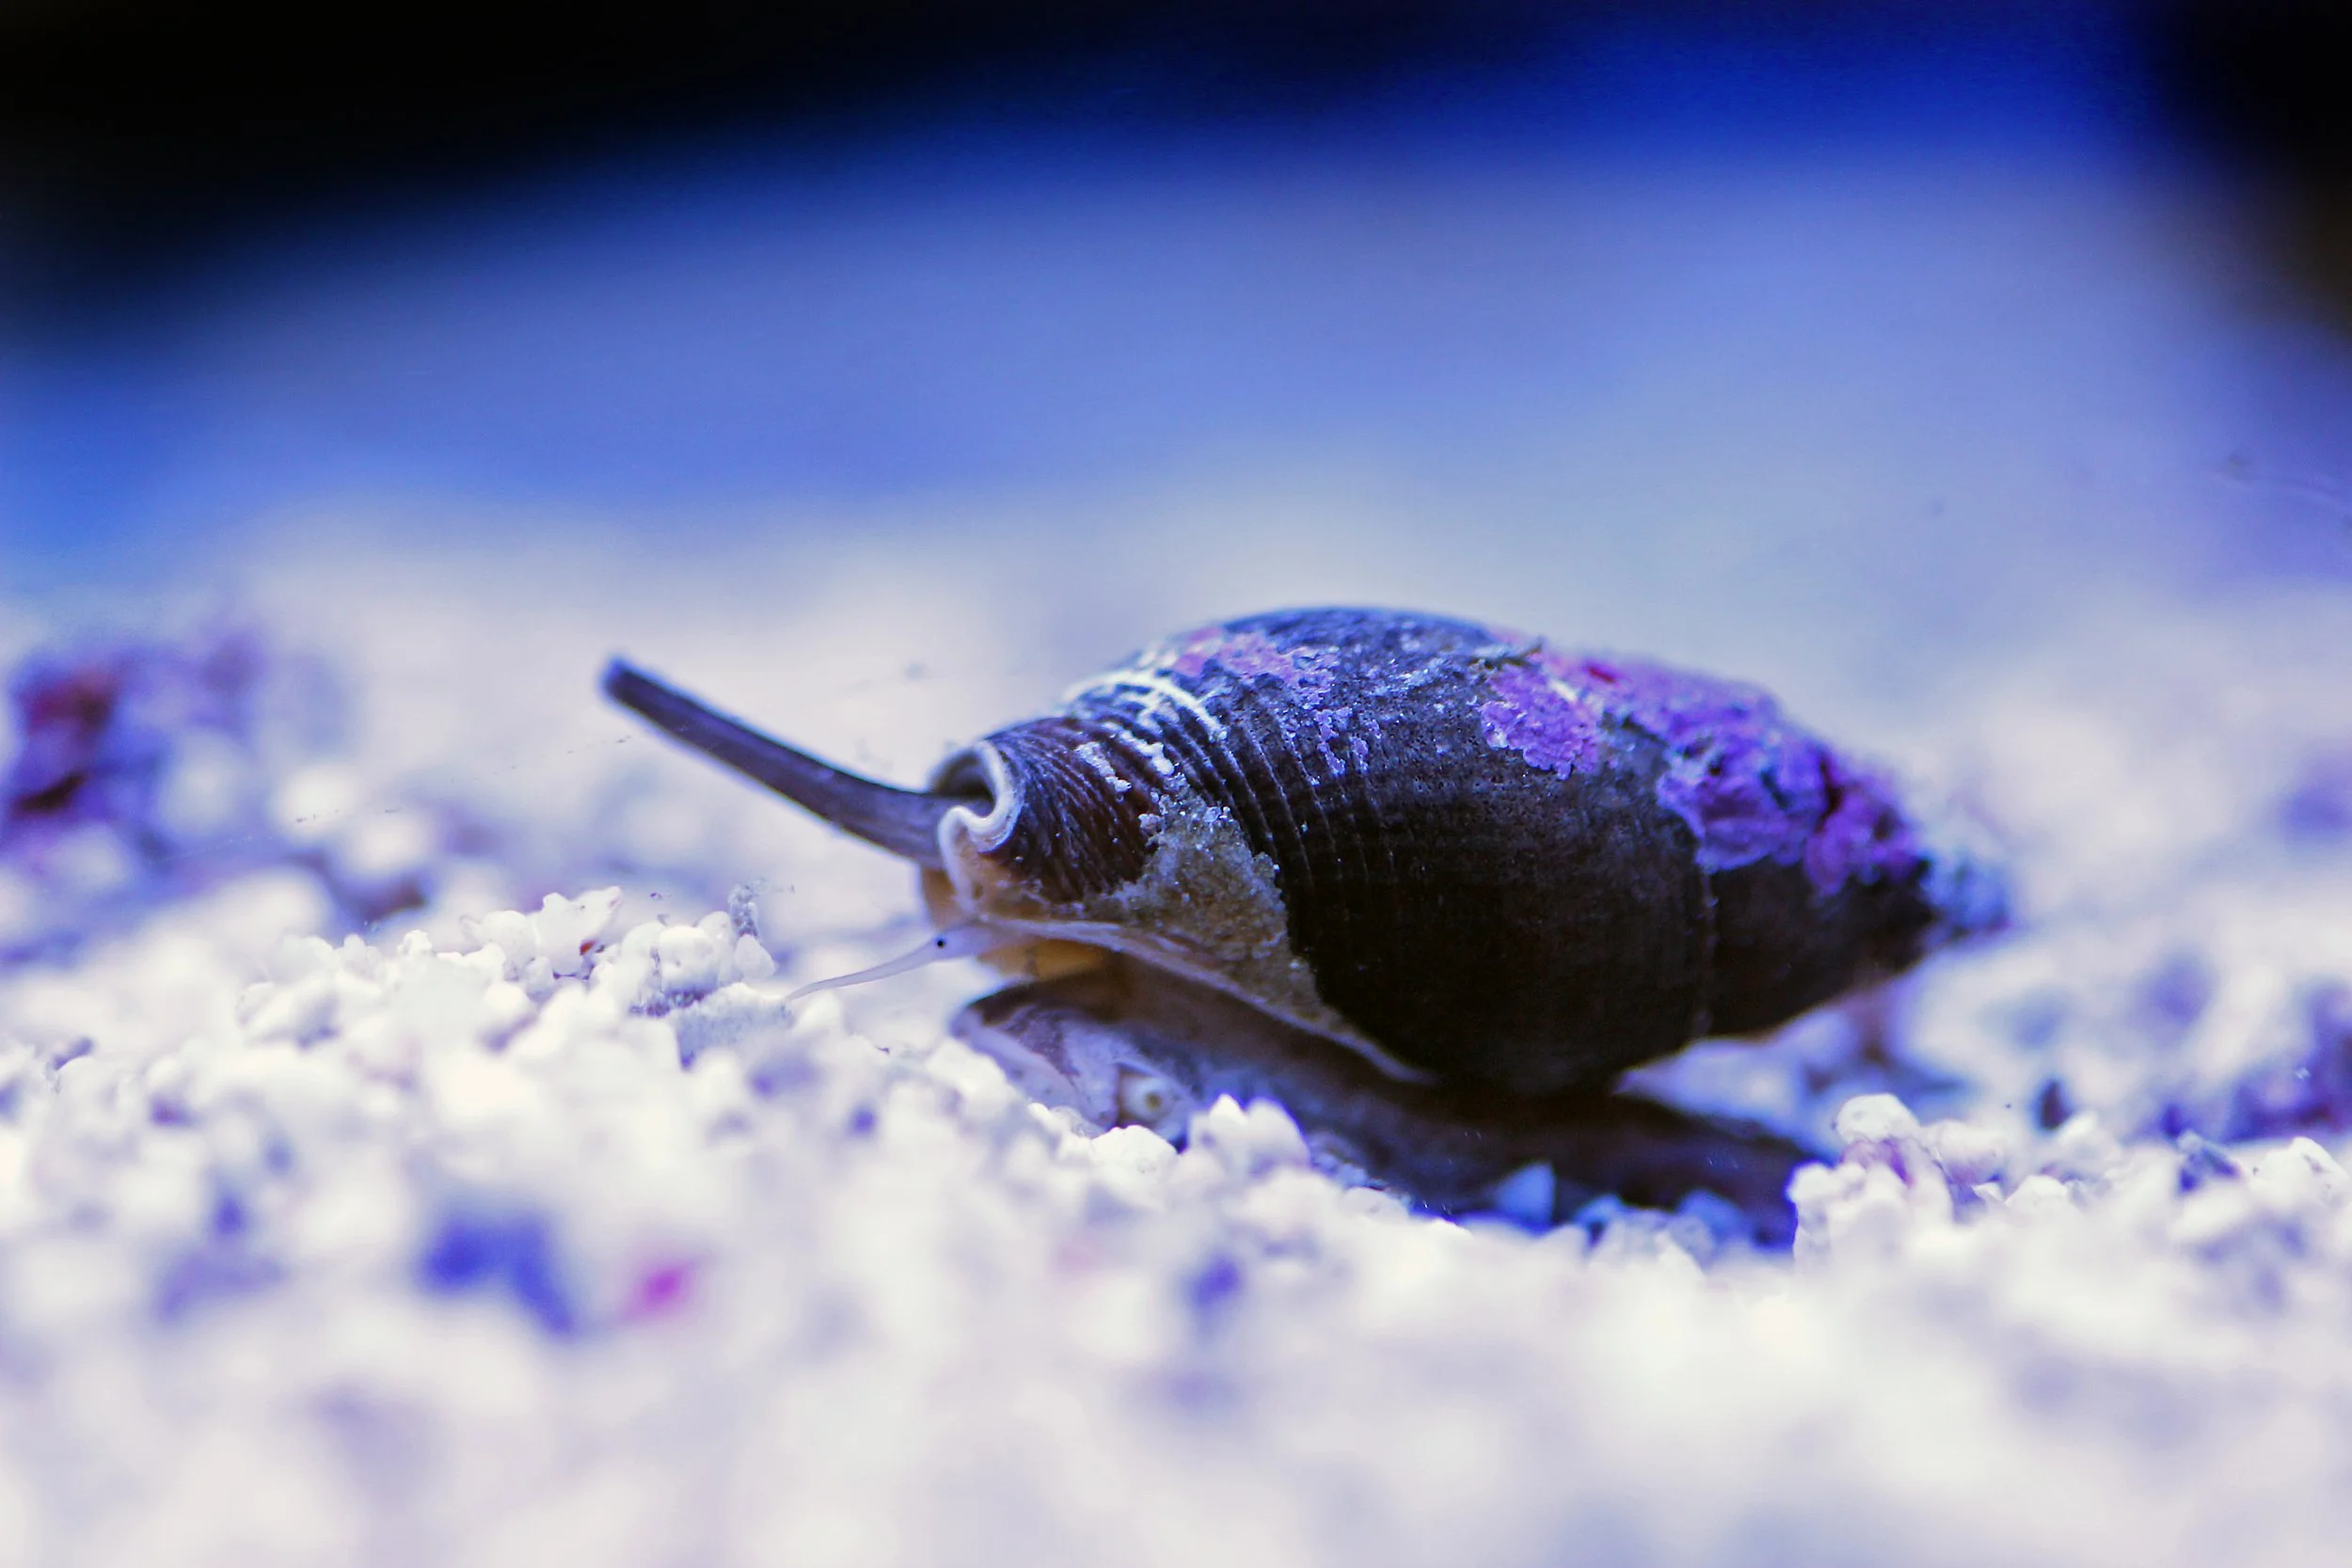
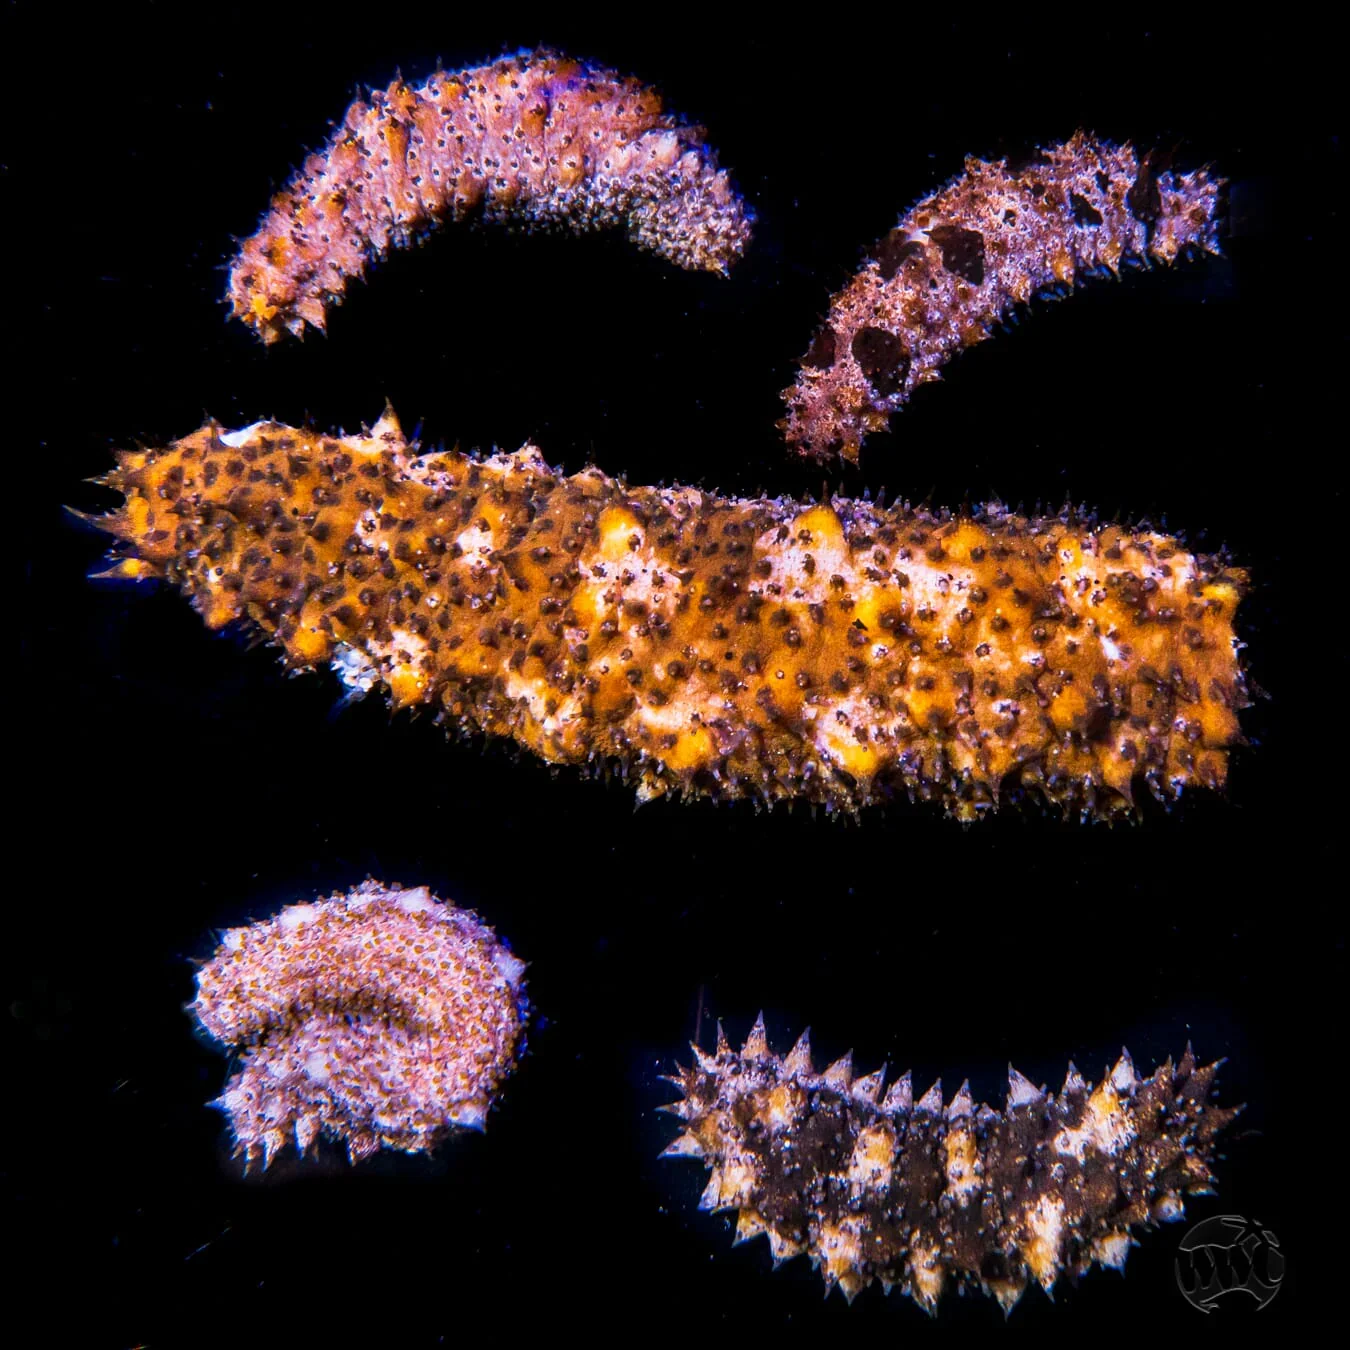
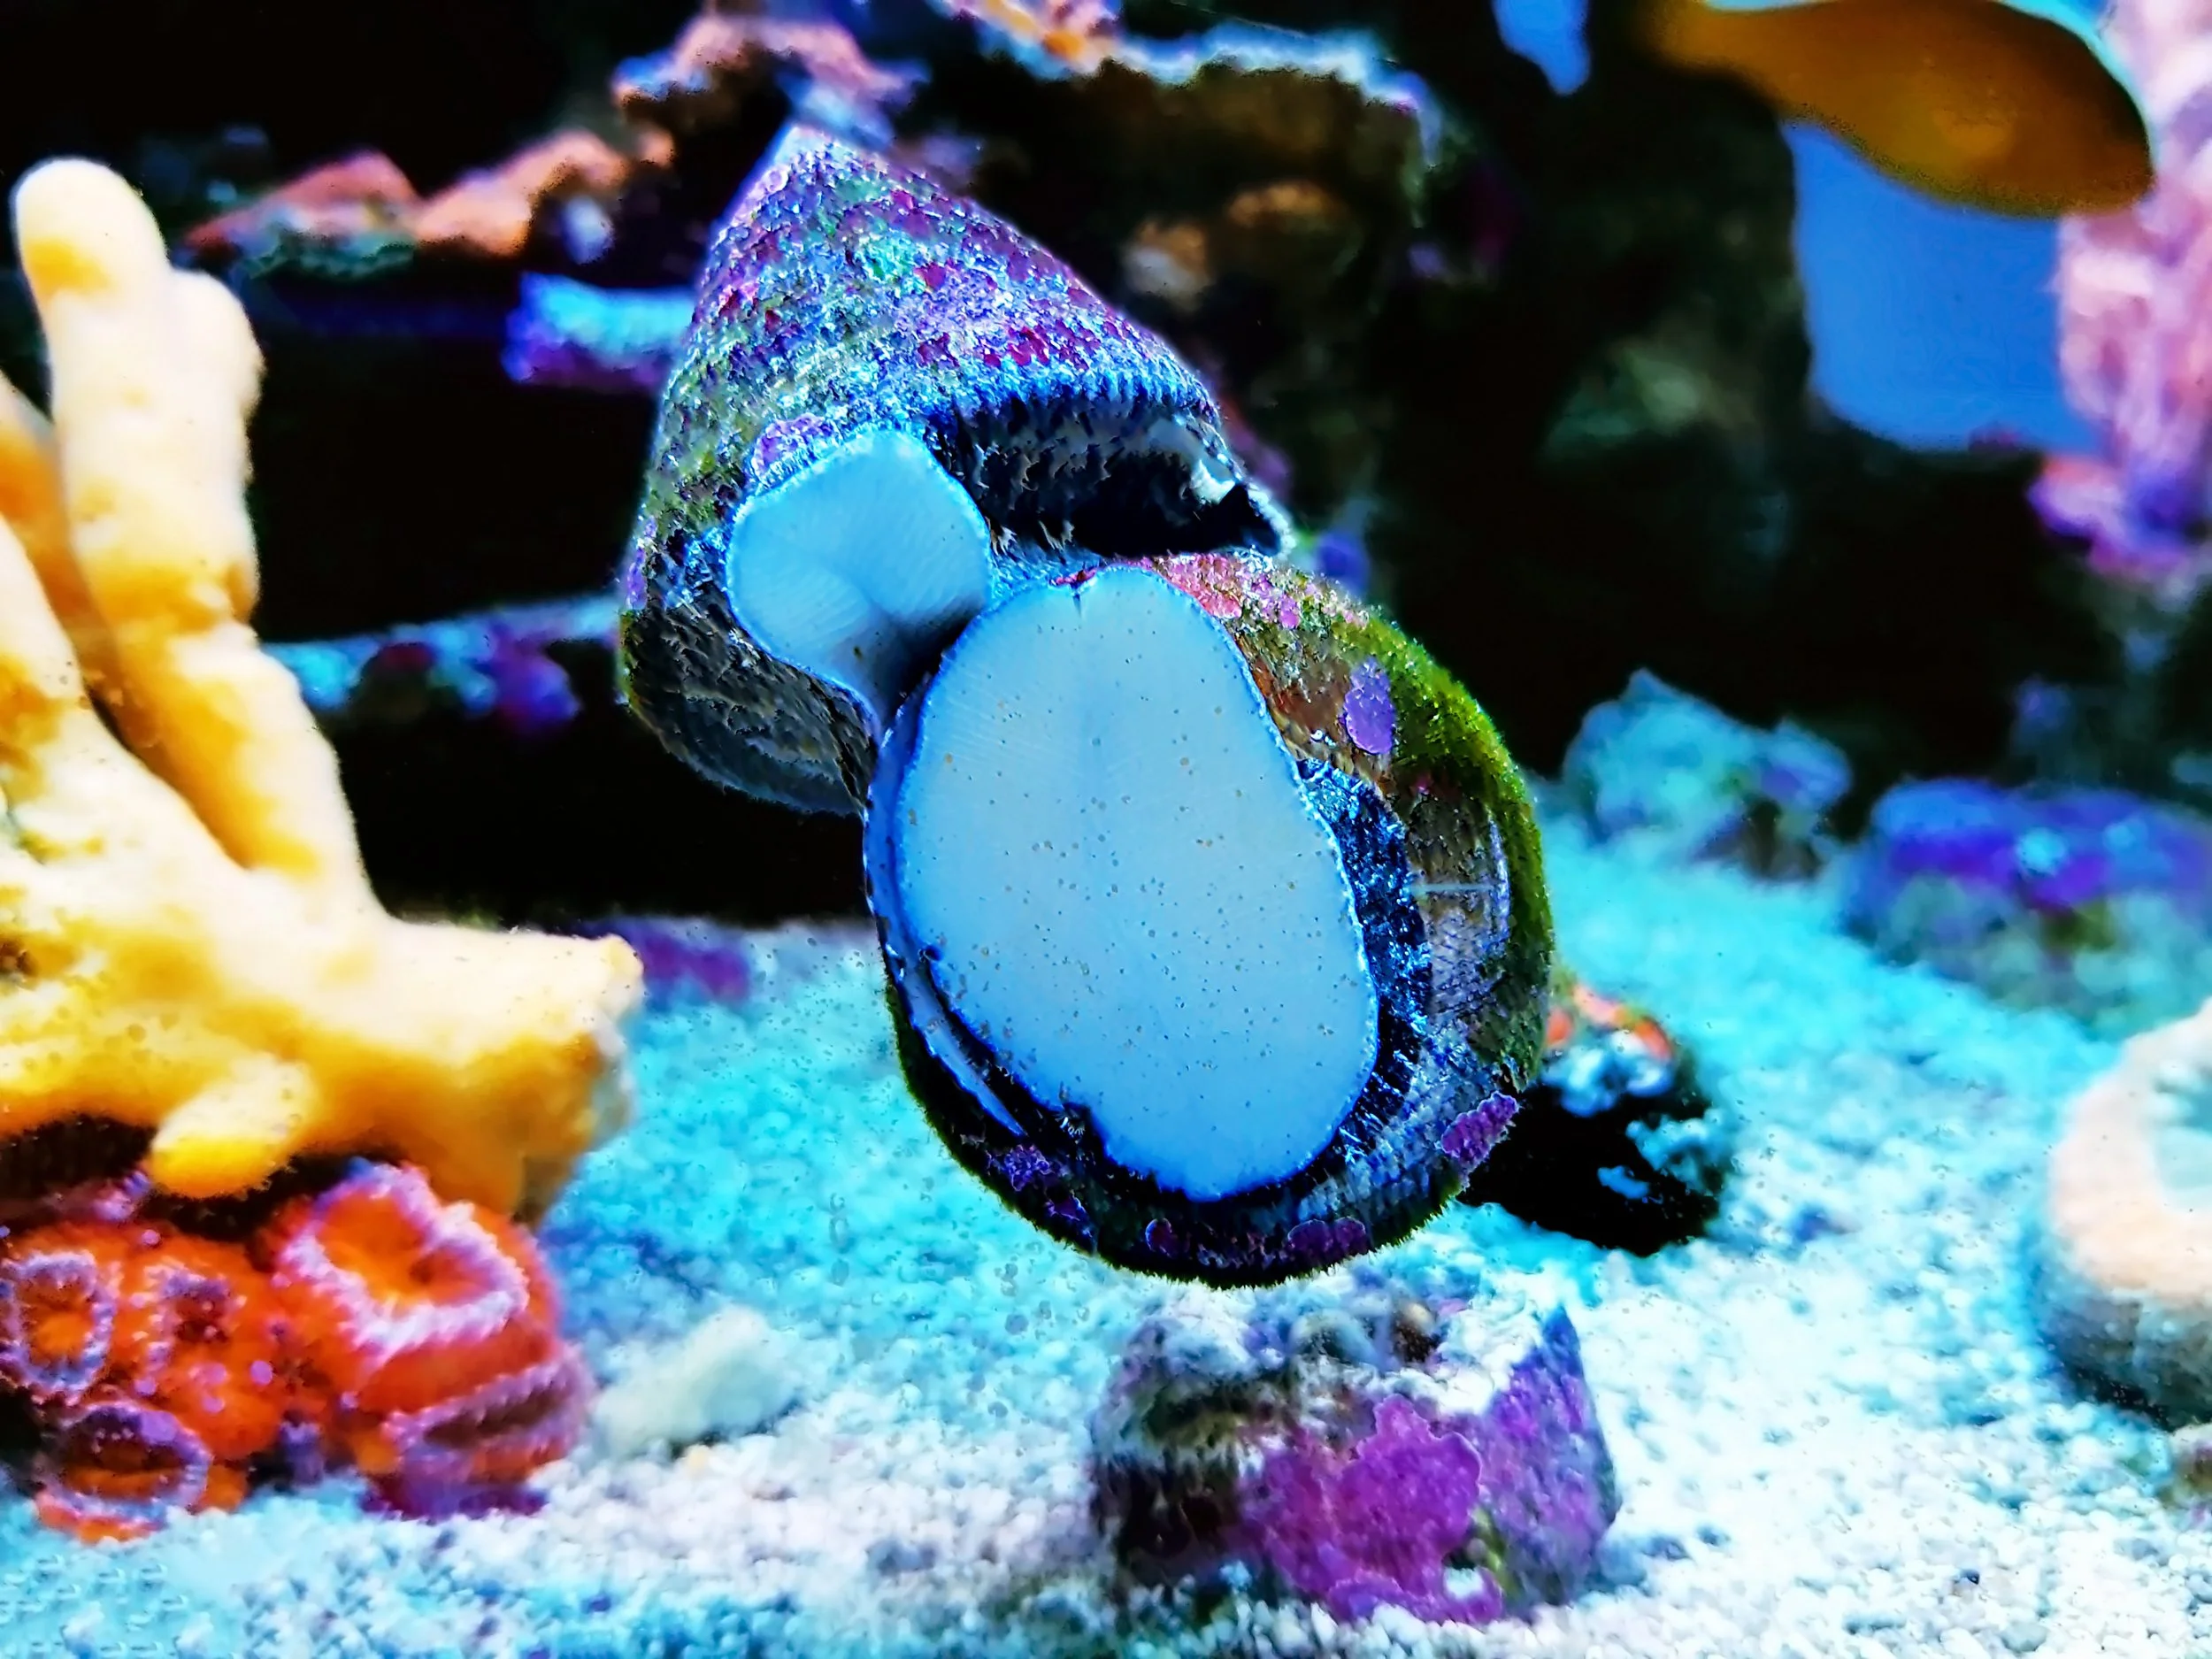
Cleanup crew (snails, crabs, sea stars, cucumbers) sourced locally when possible
Step‑by‑step 90/10 biome cycle (first eight weeks)
The sequence matters. Follow these steps to give the biome the best chance to establish itself while keeping photosynthetic pests from running wild.
Preparation (24–72 hours before sand arrives)
Finalize system design and ensure all equipment is installed and running.
Fill and run the tank with all pumps and heaters on for 1 to 3 days with no lights. This gets the tank operational and prevents photosynthetic slimes from growing ahead of the biome introduction.
Day 1 — Add the sand
If using 100 percent ultra‑live sand, add it directly. Tampa Bay Saltwater is the sorce of ultra live sand we trust but there are other good options out there.
If using an ~80% ocean‑direct base, place that first and then layer 20% ultra live sand on top — do not mix aggressively. We do not want to bury the organisms on the ultra live sand.
Let the tank sit with no light for one week to let the biome migrate throughout the tank.
Day 7 — Dim lights and start water changes
Turn lights on for a short, dim period: about 4 hours per day at roughly 0.5 watt per gallon, ~25-50 PAR, or visually about half of your goal intensity. We want very low par that starts the process but doesn't feed the slimes.
Begin weekly 10 percent water changes. Removing 10 percent will not strip the tank of its biome but will prevent nutrient build up that fuels ugly outbreaks.

The Kill A Watt is an inexpensive way to estimate total light entering the tank.
With today’s high-powered LED lighting, the biggest benefit of a watt meter is preventing the lights from being set too high. Excess intensity can stress or kill corals and fuel photosynthetic slimes and algae. If you guessed at your light settings and are having issues, a simple $35 watt meter can be an easy solution
Day 14 — First fish and pods
Test ammonia . If 0, add one hardy fish (clownfish or similar). If not zero, wait another week and retest.
Now that you are feeding the tank and lights are on. Order live copepods; do not add pods before some signs photosynthetic growth exists or pods may starve.
Increase light to eight hours per day at the same low 0.5 watt per gallon low intensity.


Day 21 — Add utilitarian fish
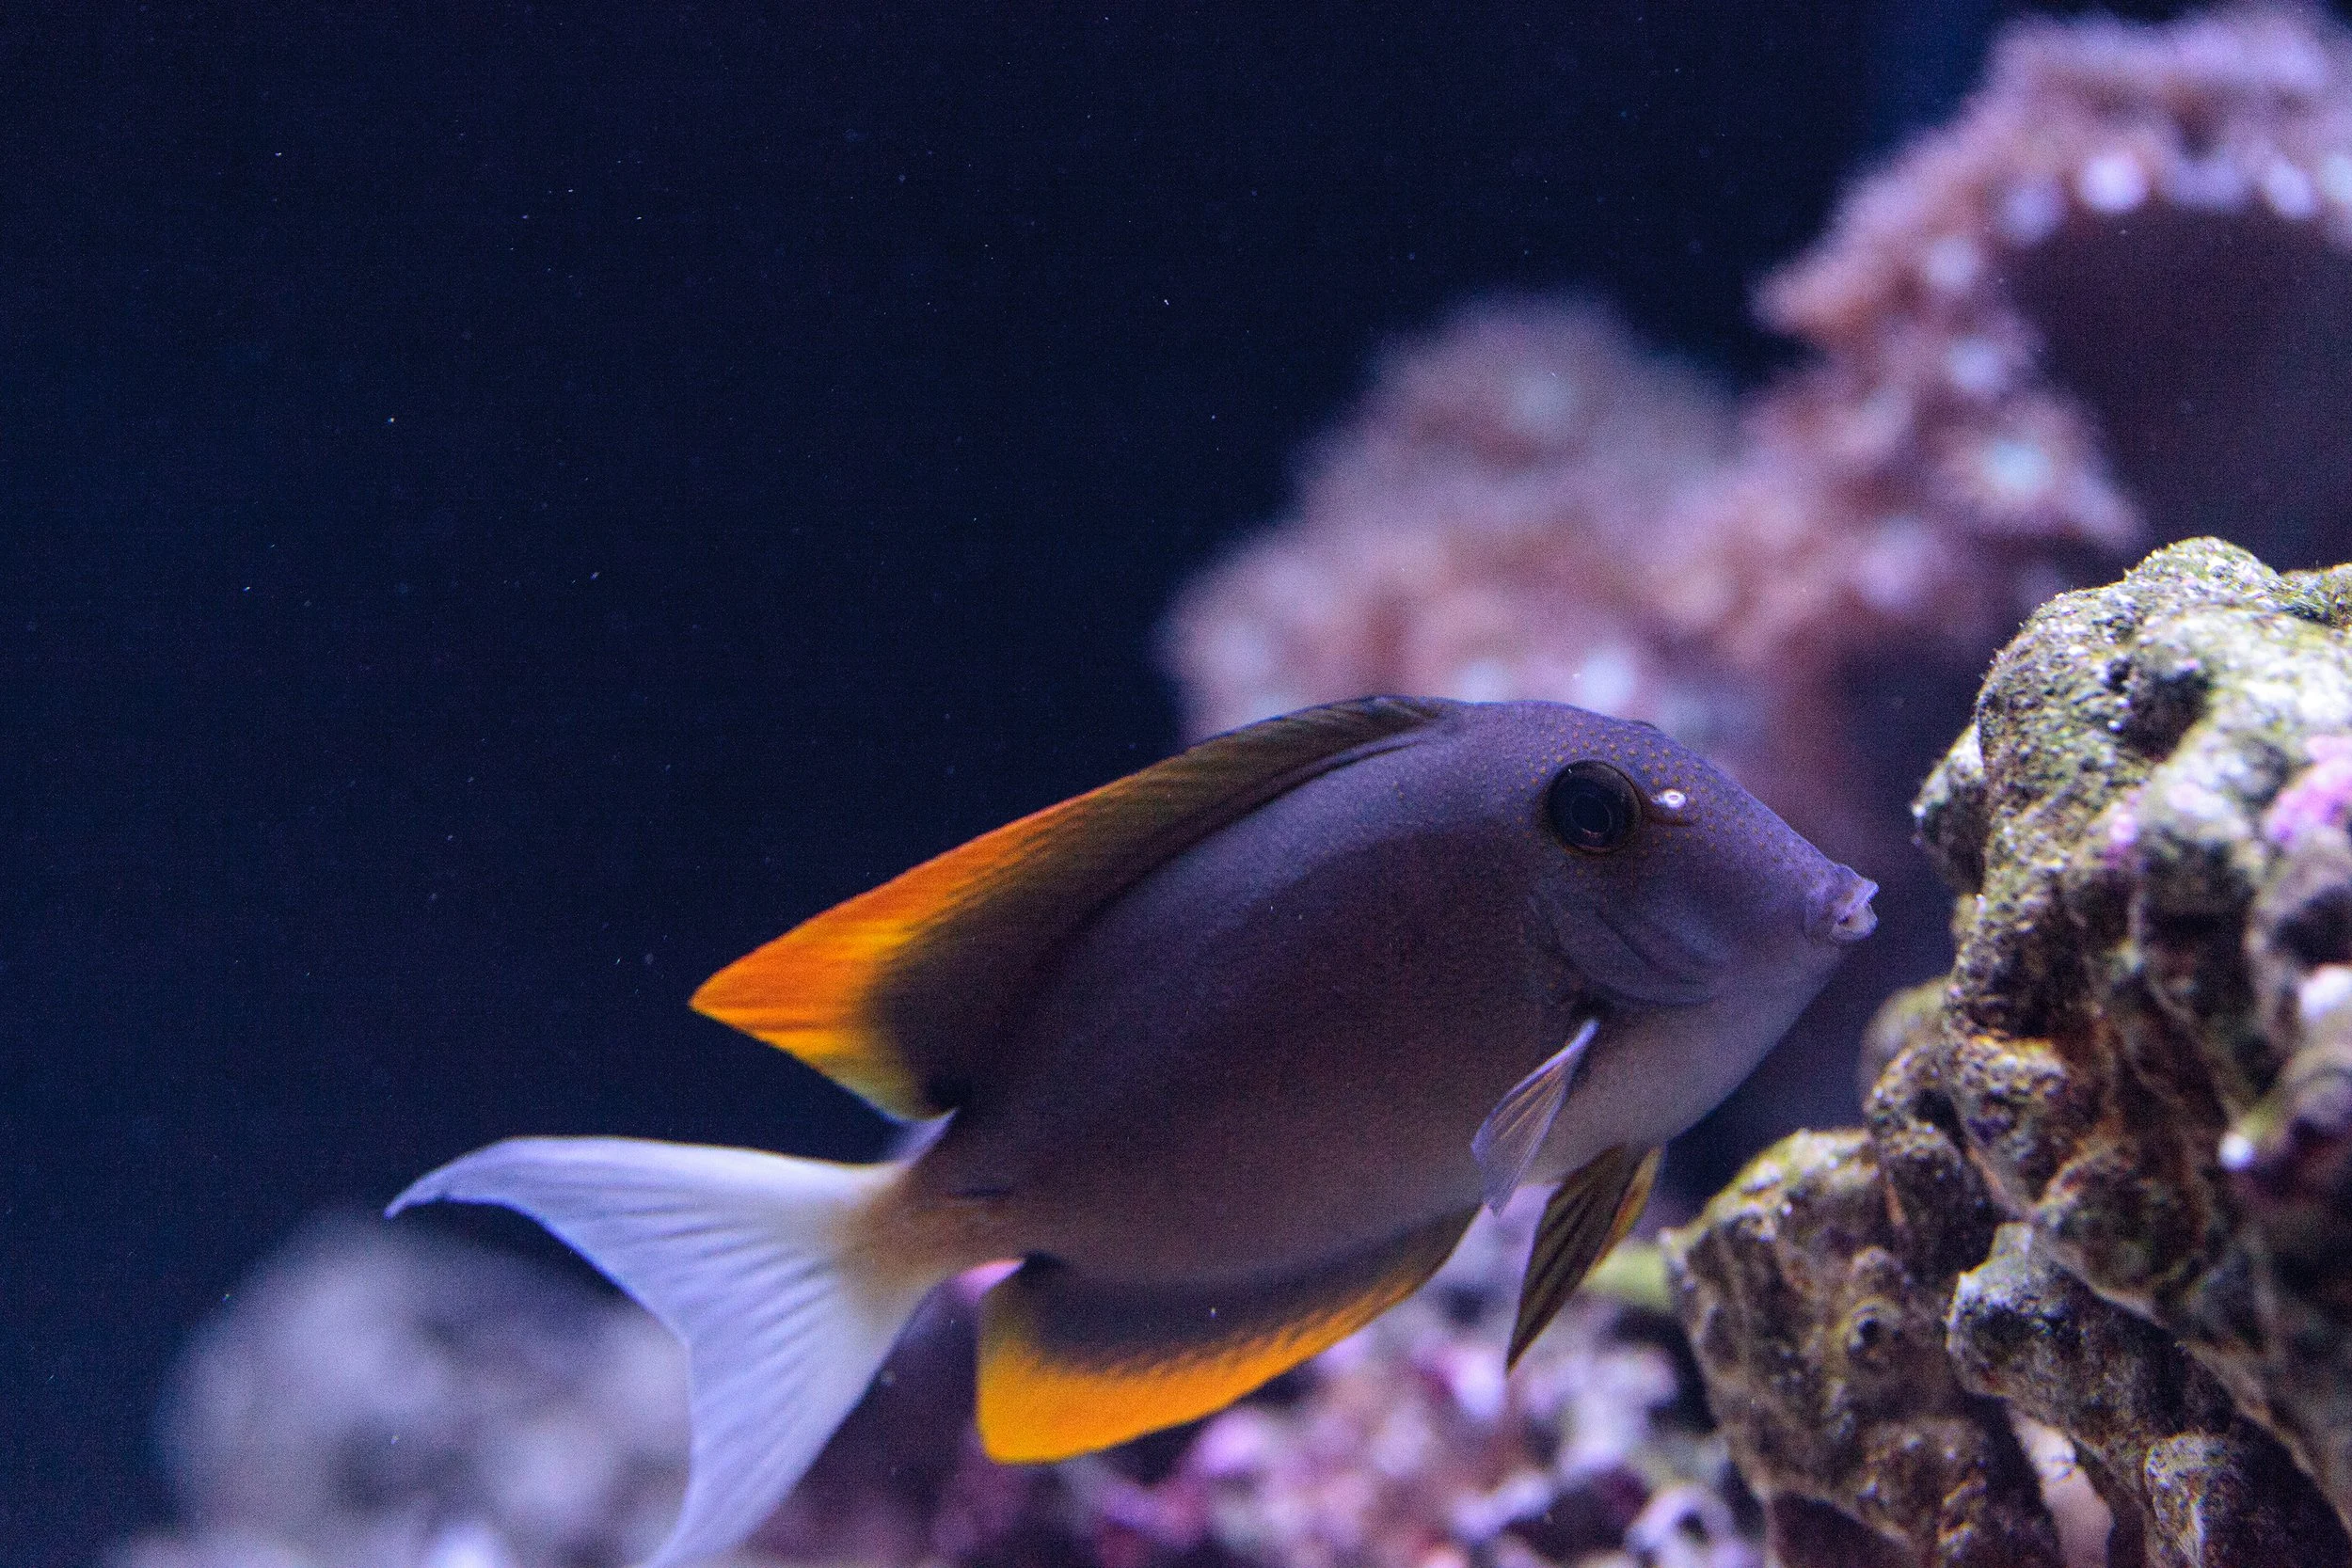
Add a second fish focused on algae control if tank size allows (tangs, bristletooth species, etc.).
Settle on a stable lighting target of approximately 1 watt per gallon or a PAR range near 50 to 150 for LPS tanks. Lower end of that range will produce fewer slimes and algae.
Day 28 — Cleanup crew and another utilitarian
Add your cleanup crew (snails, crabs, cucumbers, stars) when you begin seeing small amounts of film or algae so they have something to eat and won’t starve.
Buy cleanup crew locally when possible; mortality is often lower and you can inspect animals before purchase.
Keep observing the tank rather than intervening at the first sign of slime.


Weeks 5–7 — Add one utilitarian fish per week and observe
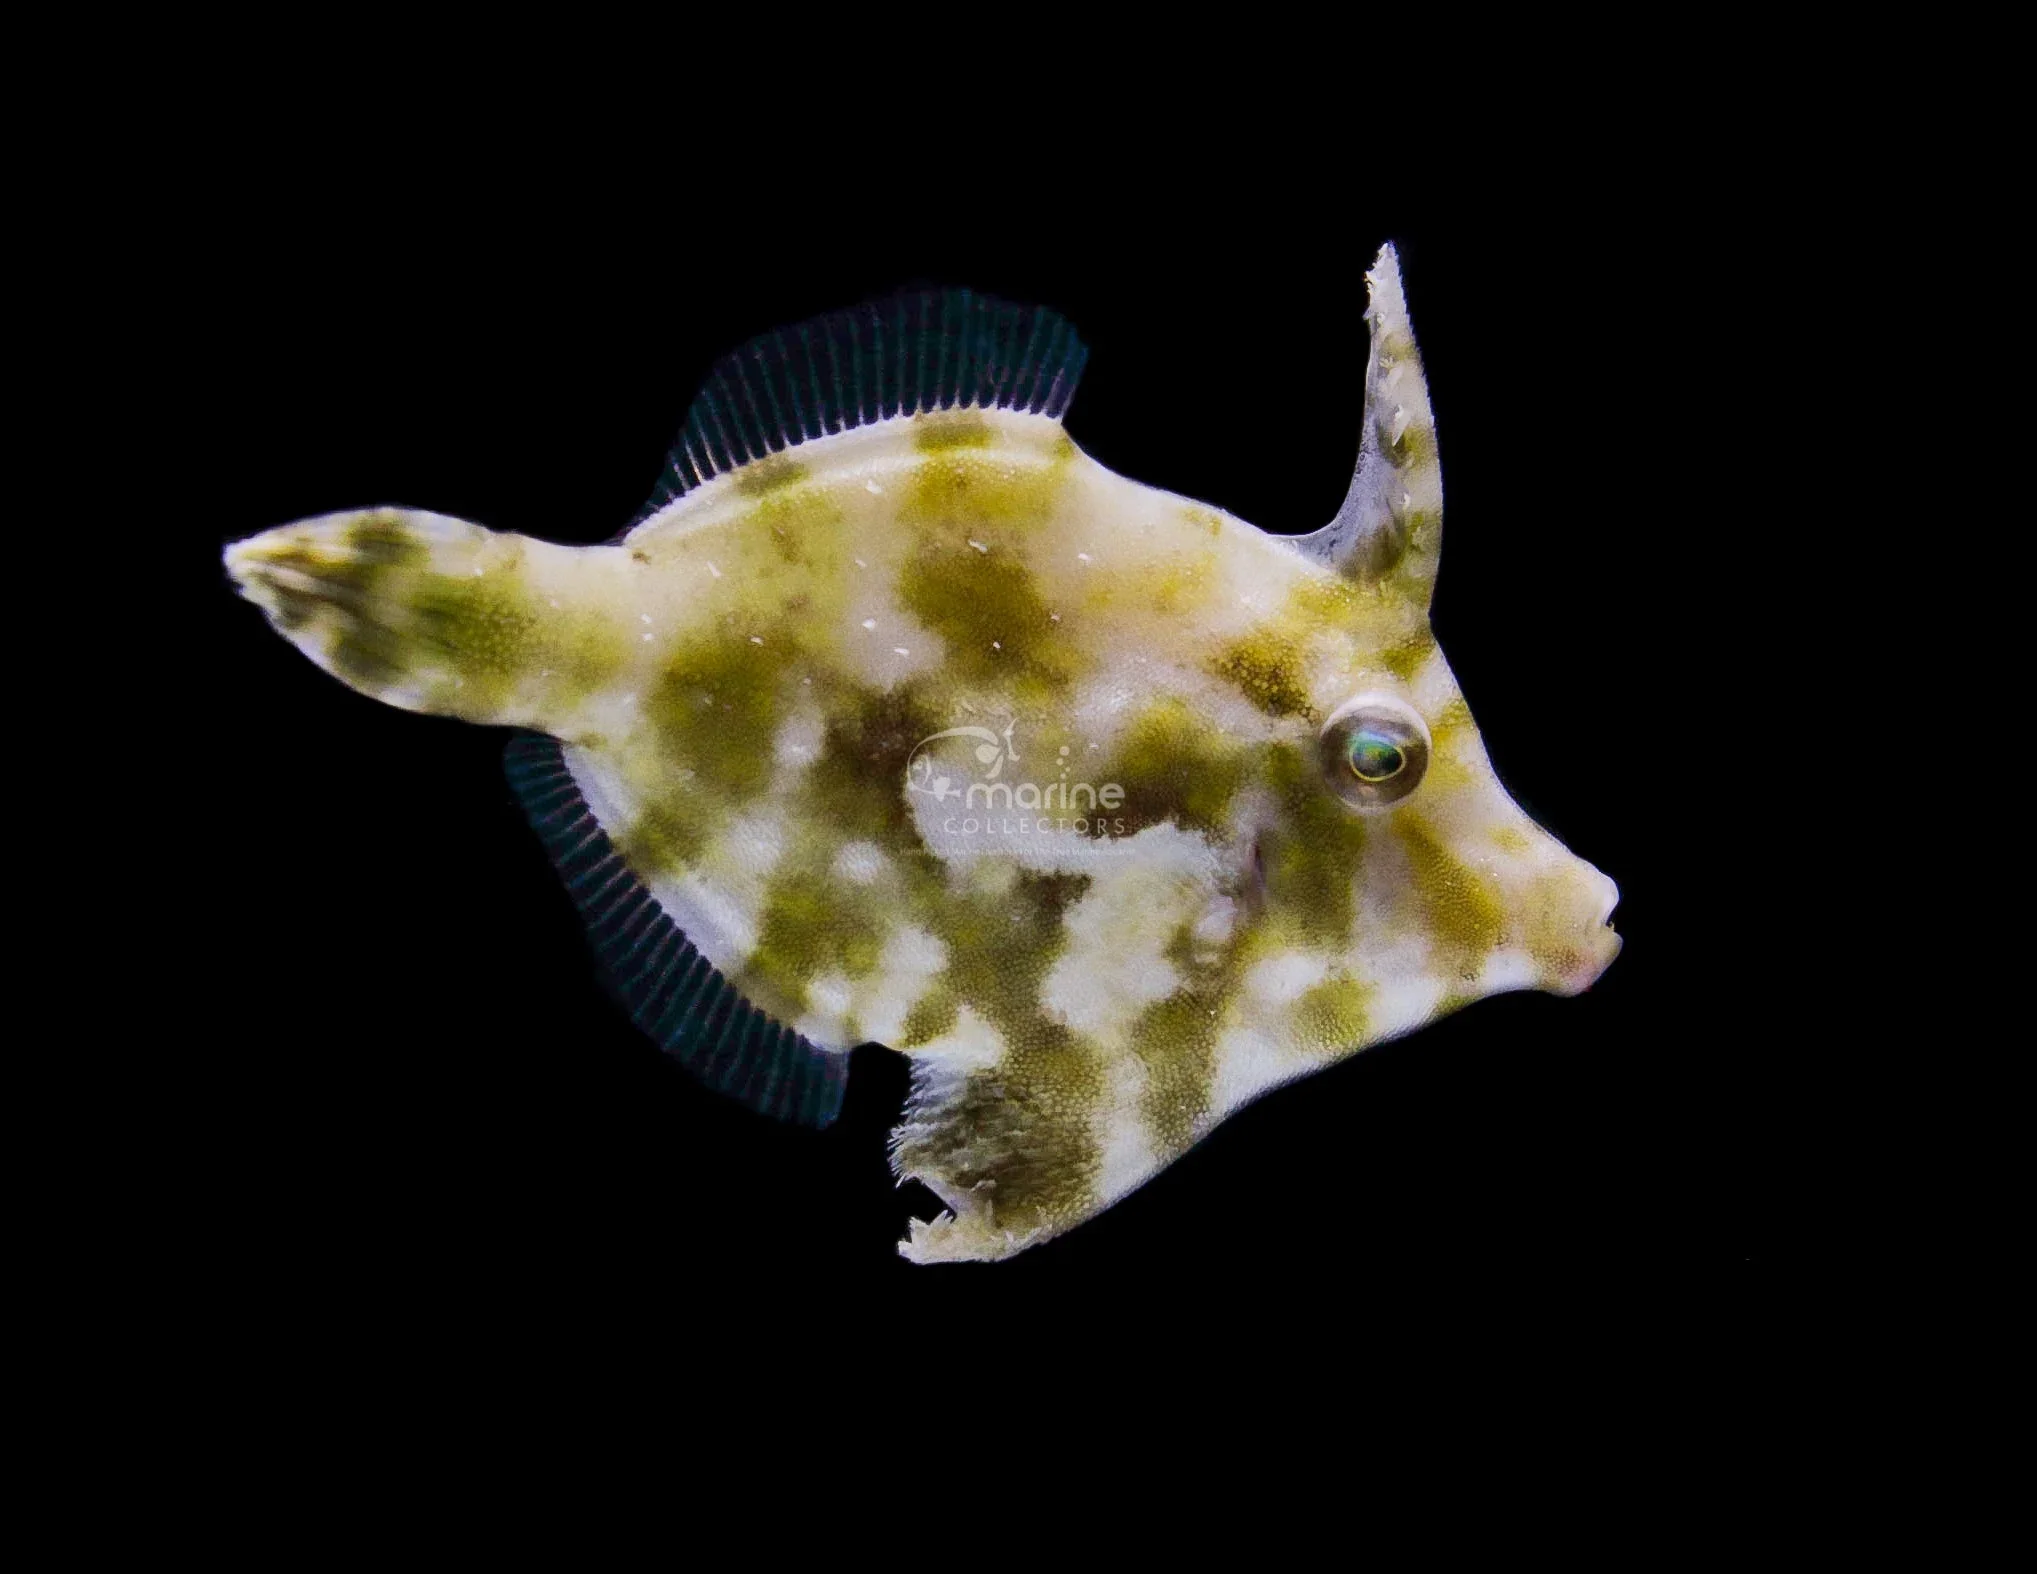
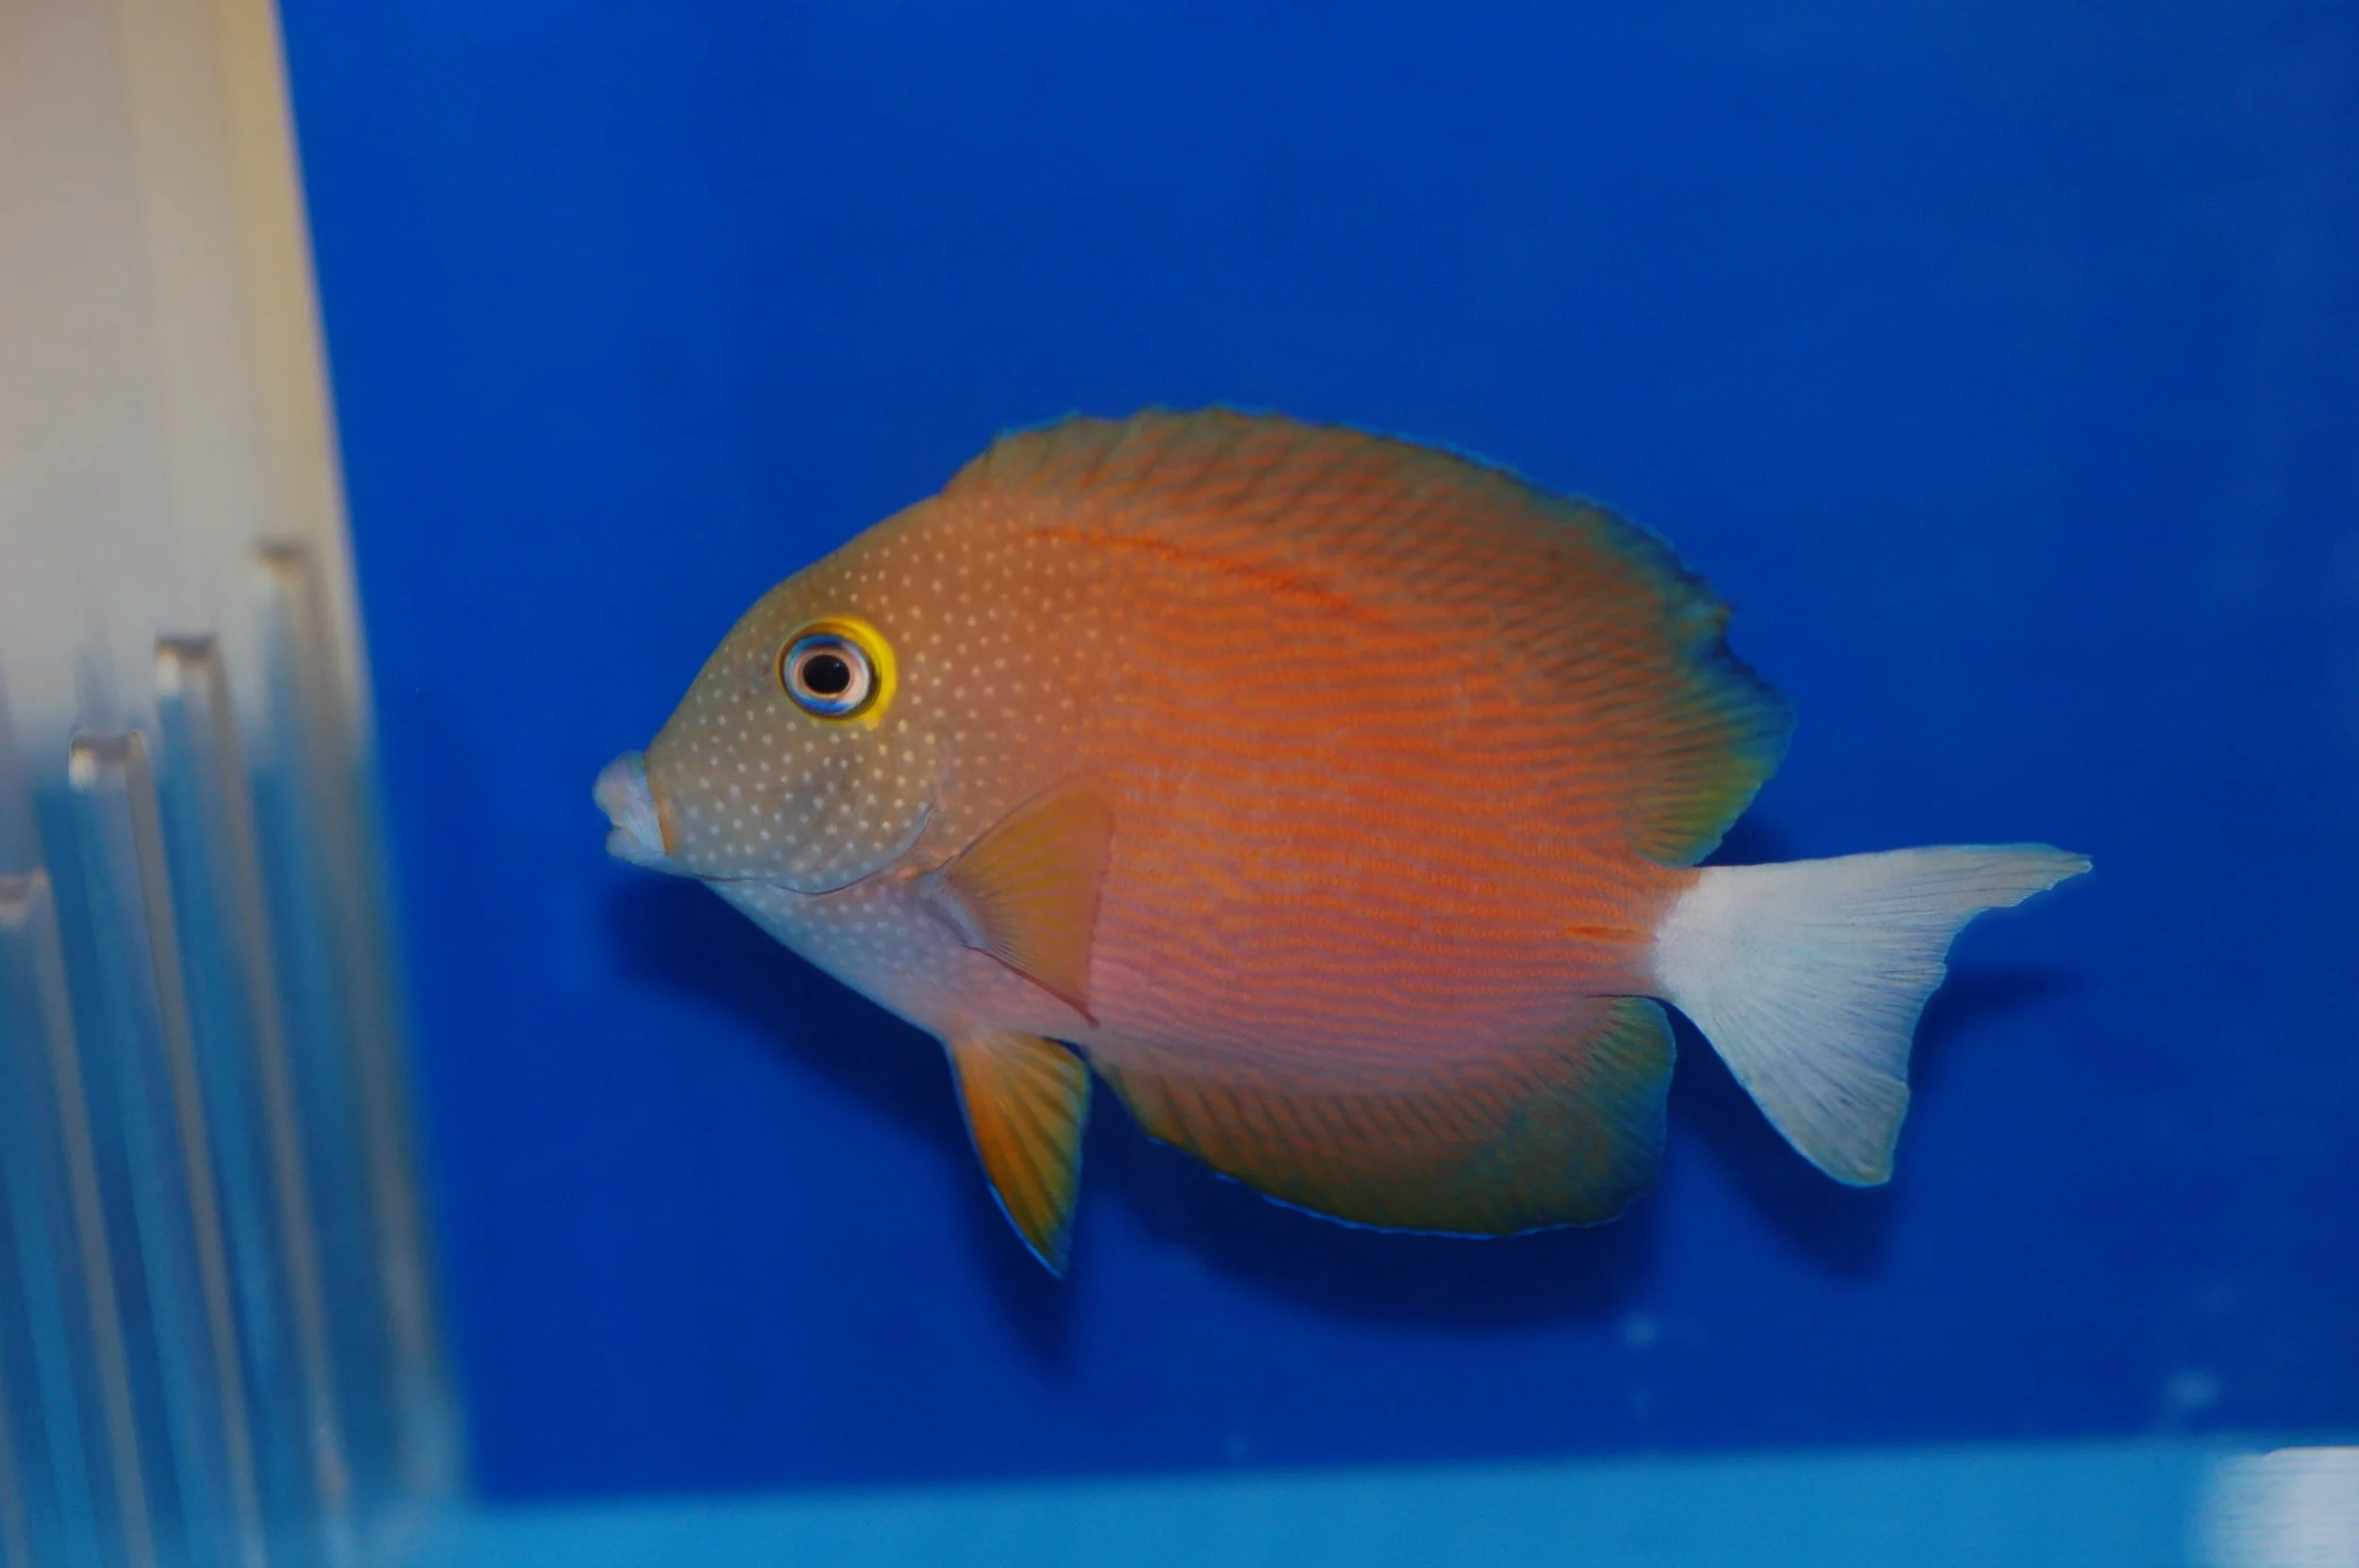
Examples of utilitarians by week: purple/yellow tang early, bristletooth or smaller tangs, filefish that eat aiptasia, peppermint shrimp, and coral parasite hunters like certain wrasses.
Make sure your tank is large enough for the desired fish. For most of these fish tank length is more important than total gallons. A four foot wide tank is adequate for most. Three foot wide tank for juveniles. A few are ok in smaller tanks.
Hold off on adding corals until the tank is stable and slimes are under control.


Week 8 — Typical outcomes and next steps
About half of tanks will show effortless success with basically no ugly stage — ready for coral addition.
Roughly 40 percent will see light slimes or dusting for a week or two that resolves naturally as predators establish. Try not to interfere with this process and let it play out.
About 9 percent may develop heavier slime growth; the simple cure is a one‑week lights out to starve photosynthetics, then resume lights.
One percent or so may need a stricter blackout (two weeks) and, if necessary, restarting the biome cycle from the beginning. We can influence nature but we can not control it.
Week‑by‑week summary
Day 1: Prep tank and equipment; keep it running without light for 24–72 hours. Add ultra‑live sand; keep lights off for one week.
Day 7: Dim lights 4 hours/day at low intensity; start weekly 10 percent water changes.
Day 14: Test ammonia and add a hardy fish if safe; order and add copepods.
Day 21: Add utilitarian fish weekly; increase light to target 1 watt per gallon (or ~50–150 PAR for LPS).
Day 28: Add cleanup crew once small amounts of film/algae are present.
Week 5+ Observe. Add utilitarian fish and inverts.
Add coral only when slimes are controlled and the tank is stable.
Key principles to remember
Sequence matters. Introducing sand, then light, then pods, then utilitarians in that order gives the biome time to establish and predators time to catch up with photosynthetic growth.
Less early intervention is often better. Resist the urge to chemically treat or heavily manipulate a new tank at the first sign of minor slimes.
Water changes are non‑negotiable. Weekly 10 percent changes from week one prevent nutrient spikes that fuel algae and slimes.
Local sources often yield healthier cleanup crew. Lower mortality and the ability to inspect animals before purchase tip the balance in favor of your local fish store.
What to do when things go wrong
The #1 cause of an uncontrollable ugly stage is not listing to the phased in lighting approach. Light is what fuels the ugly slimes and algae. Go back, read, and follow the 90/10 approach.
The #2 cause of an uncontrollable ugly stage is calling any other audible, skipping steps, or doing it another way. We designed this to work for >90% of reefers every time. We do all of these steps for a reason and the order of operation matters.
If slime or cyanobacteria gets out of control, our most effective non‑invasive move is to turn the lights off for a week. Without light the slimes starve out. This is why we do not add coral until the tank is ready, you can’t turn the lights off once coral is in the tank.
A one‑week blackout usually halts photosynthetic growth, lets microfauna consume the dying material, and drops the problem into manageable levels. For very stubborn one‑percent cases, a two‑week blackout with tank sides covered will remove virtually all light and give the biome a chance to reset.
Common audibles and tradeoffs
We can call audibles if we want to deviate from the 90/10 plan. Each option has predictable tradeoffs.
Audible 1: Use live rock or rubble
Live rock introduces a broader community but often carries more algae and coral parasites. Dark curing rock in a bin for months will kill photosynthetics while preserving bacteria and microfauna. Placing rubble in a dark sump area offers many of the benefits without exposing it to light.
Audible 2: Biome in a bottle
Adding bottled bacteria and biome products can feel like a clean, controlled approach, but results vary. Live products are temperature sensitive in transit, species mixes are not guaranteed, and they rarely outperform natural live sand seeding in reliability. If choosing this route, buy from reputable sources and fast‑ship where possible.
Audible 3: Coral‑seeded biome
Adding multiple corals to seed a tank is a common approach for low‑light LPS setups and can work about half the time. Half the time might sound like good odds if you are on the right side of that coin. It is a giant headache of you are not. It is riskier with SPS setups and tends to fail more often. The coral‑seeded method is essentially a "shake and bake" start: high chance of variability and potential need to restart.
Practical fish and crew suggestions
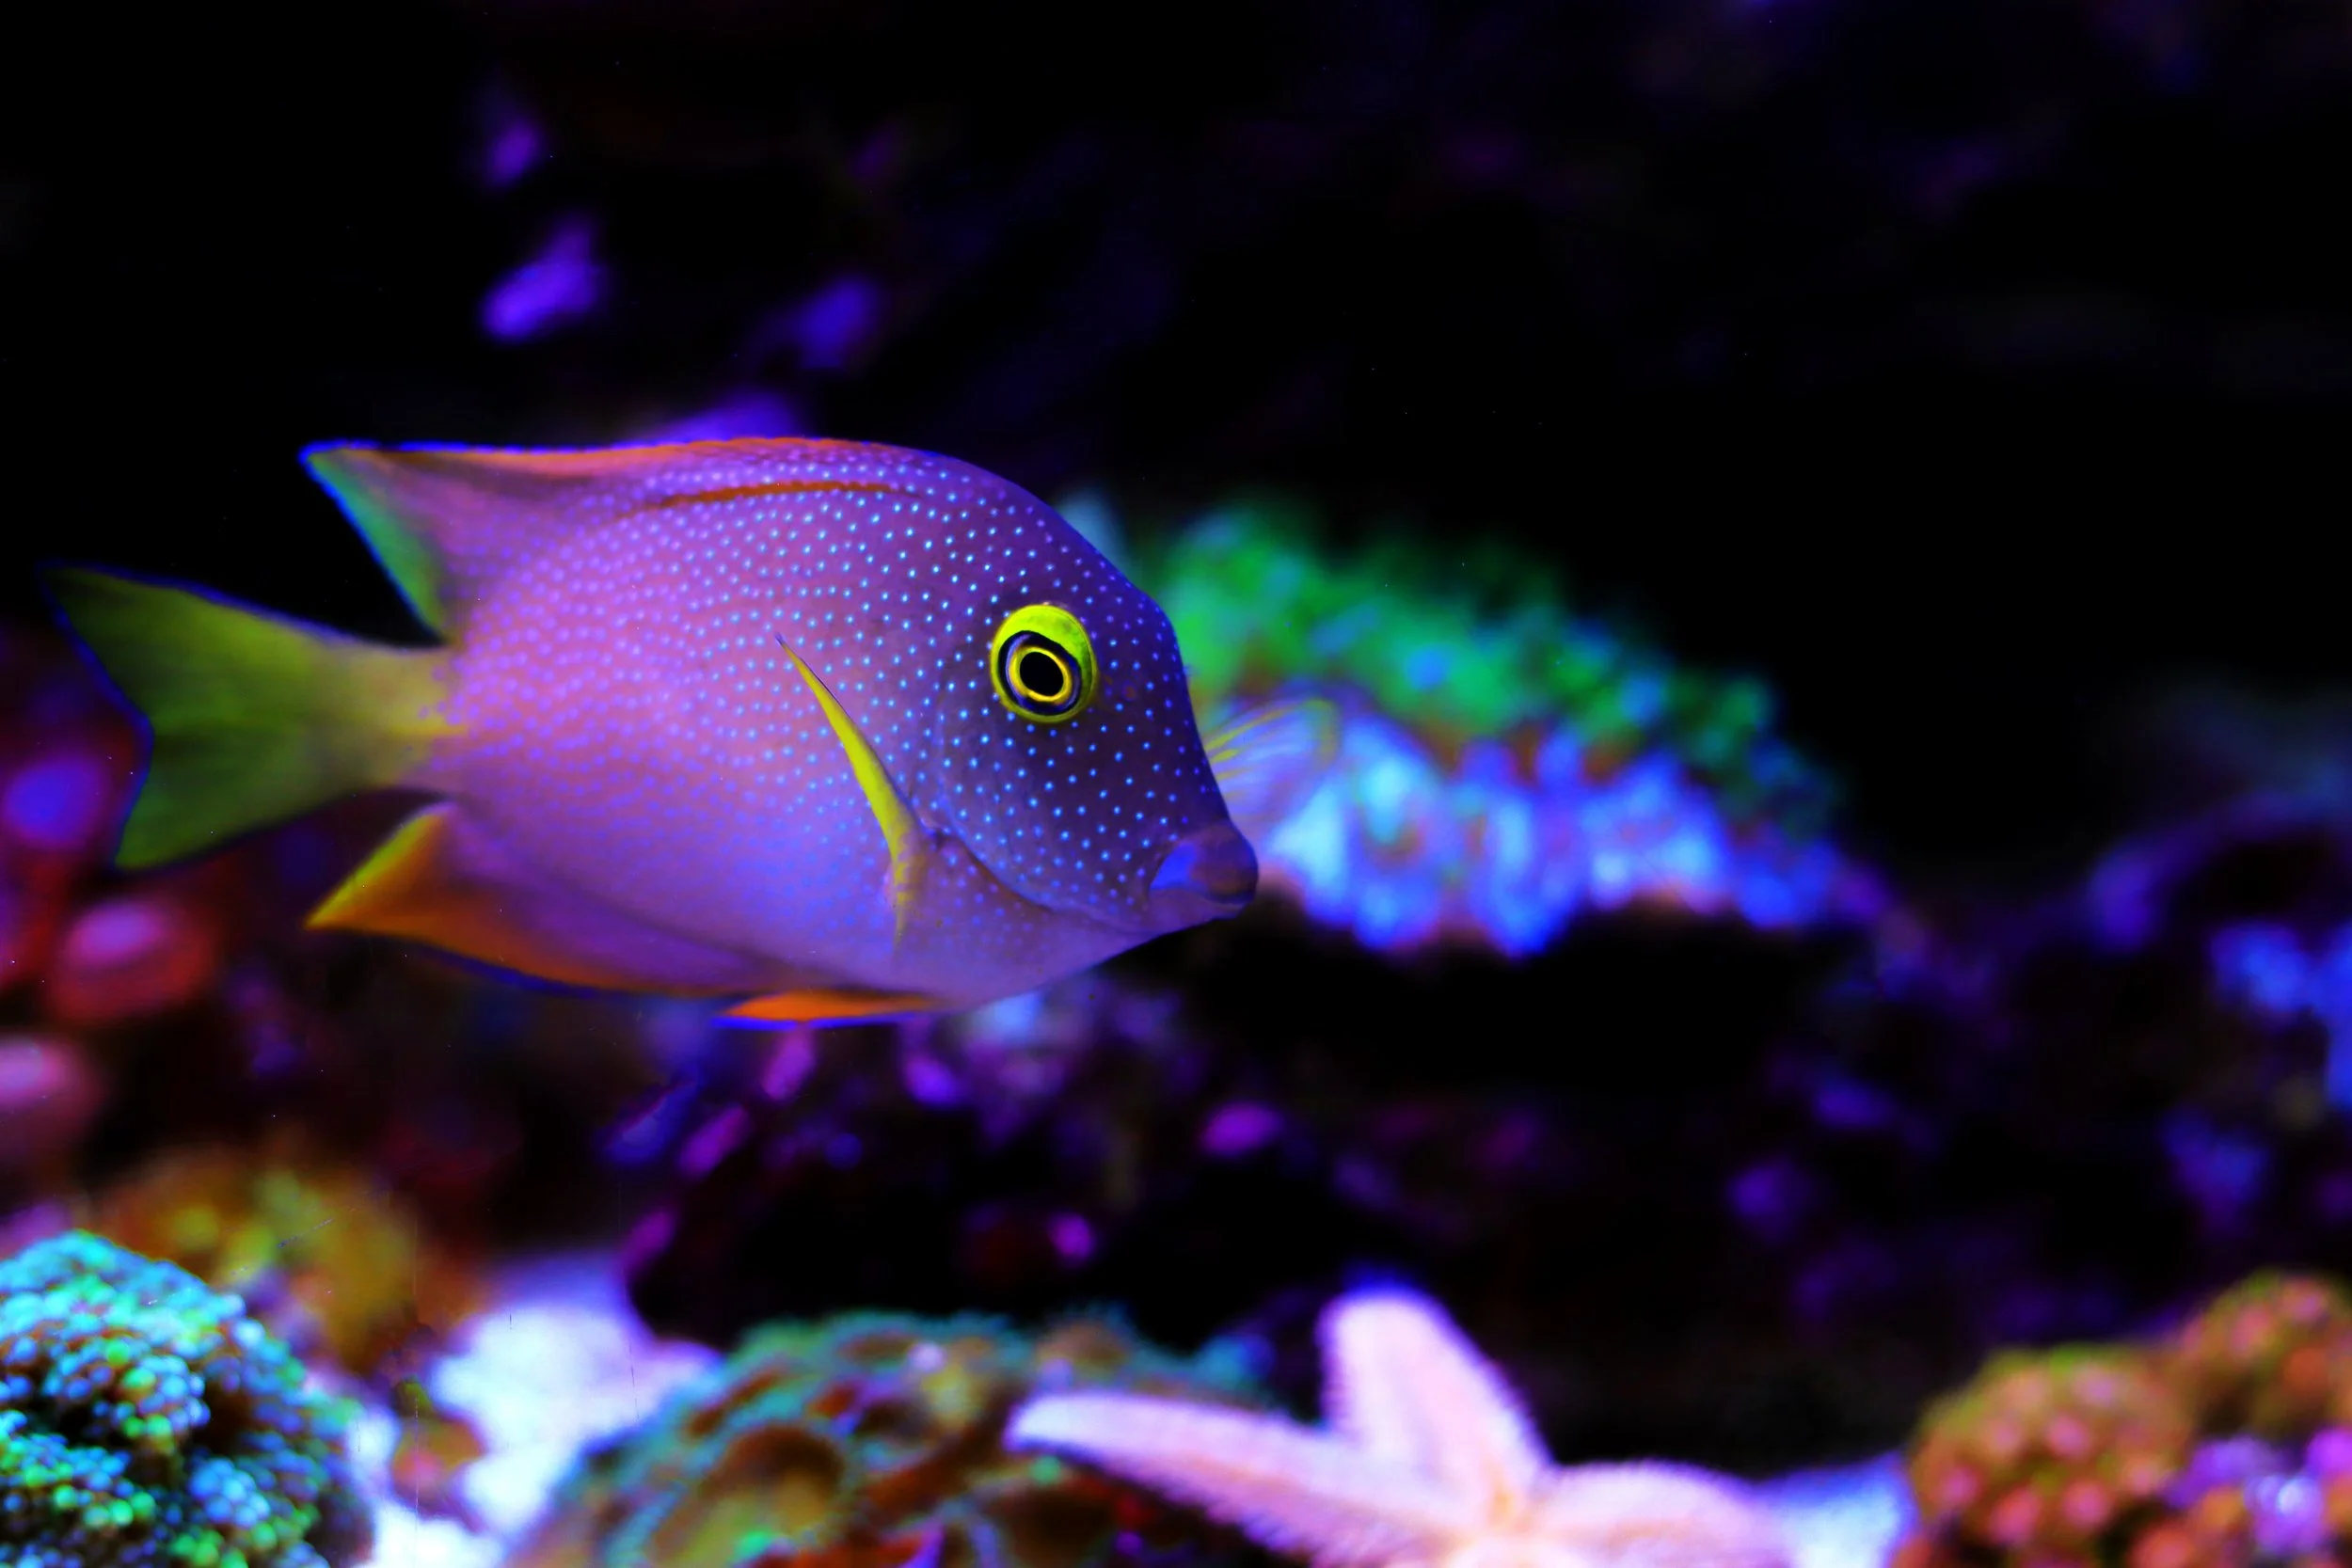
Pick utilitarian animals that match tank size and long‑term goals. Examples that work well during the first few weeks:
Purple or yellow tangs for robust algae control in larger tanks
Smaller bristletooth tangs or tomini tangs for tighter systems
Filefish and peppermint shrimp that eat aiptasia
Wrasses that hunt coral parasites
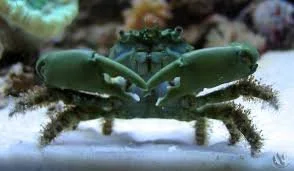
Emerald crabs that eat bubble algae
Fox face rabbitfish that eats a wide array of algae.
Frequently asked questions
Why use ultra‑live sand instead of live rock?
Ultra‑live sand delivers most of the beneficial bacteria and microfauna with far fewer photosynthetic algae and coral parasites than live rock. It's more affordable and less likely to introduce nuisance hitchhikers that can derail a new setup.
How much live sand do I need?
Aim for roughly one pound of sand per gallon to achieve a full substrate depth. For budget mixes, use ocean‑direct sand for 80 percent of the bed and put 20 percent ultra‑live sand on top so it can seed the rest over time.
When should I add copepods and why?
Order copepods early, but add them when there is a small amount of photosynthetic growth or film in the tank so they have food. Introducing them too early into a sterile tank risks mortality from lack of food.
What do we do if cyanobacteria or other slimes take over?
First response is to turn the lights off for one week. This starves photosynthetic organisms, allows microfauna to consume dying material, and usually returns the tank to balance. For stubborn cases, perform a two‑week blackout and review the sequence to identify skipped steps.
Can we start with bottled bacteria instead of live sand?
Bottled products can work but often underperform compared to live sand. They are sensitive to transport conditions, species mixes are inconsistent, and they rarely provide the same microfauna diversity. Live sand remains the most predictable, low‑effort method.
When is it safe to add corals?
Add corals after the tank has shown stability for several weeks with low or transient slimes, established pods and cleanup crew, and predictable water parameters. If slimes were heavy and required blackouts, wait until the tank consistently returns to a clean state.
Some reefers may tell you they did it successfully sooner. That type of council is accurate for them but also results on an overwhelming amount of expensive coral moralities for those who are less skilled or unlucky.
Closing thoughts
The 90/10 model is not about perfection. It's about a high-probability path that uses natural biology, sensible sequencing, and minimal intervention to get a healthy display tank. If we follow the sequence, measure light roughly, add pods and cleanup crew at the right times, and avoid premature coral additions, we dramatically reduce new‑tank headaches and set ourselves up for long‑term success.
"90 percent of the success with just 10 percent of the effort" — a simple recipe, practical results.
What’s Next?
Acknowledgments
Thank you to the Serious Reefs community. Your membership funds the creation of articles and videos like this one.
Support Serious Reefs
Patreon is the best option If you…
Want to discuss with the SR community and ask questions.
Want immediate notifications of every release.
Listen with phone screen off. Patreon app works with phone closed
Want 25% off via annual discounts.
YouTube members is the best option If you…
Watch SR videos on a TV via youtube App
Want to watch videos natively here on seriousreefs.com - (You must use chrome browser and be logged into google account with youtube membership)
Are a YouTube power user.
Tell a friend. Best option if want more (and faster).
If you like what we’re doing, give SR a quick shout-out on your favorite forum, YouTube, Facebook, TikTok, or Instagram. Let your local fish store know SR is helping you explore the hobby and keep it fun. Thanks for the support!
Disclaimer
Full Disclaimer HERE. This is the gist of it.
Content is based on personal experience, not professional advice. Do your research and reef responsibly. Serious Reefs should not be your sole sorce of information on any topic.
By watching, you agree that Serious Reefs and its creators aren’t liable for how you use this info. Please don’t utilize our information if you are not ok with this.
Serious Reefs has no sponsors, doesn’t accept product or payment for reviews. We do use affiliate links in articles that earn a small commission to support our work. Shop wherever you like, we won’t be offended.
It’s time to take everything we’ve learned in the 90/10 series and apply it to a real tank build, beginning with the system design and selecting the right gear for the tank.
The design phase is never cheap, but along the way we’re going to challenge the idea that reefing has become more expensive by comparing the cost of this build to Ryan’s first tank from 2004, more than twenty years ago. Spoiler alert: modern approaches to reefing can actually make it cheaper, even without factoring in inflation.