How to Build a “Stacked NSA” Aquascape for a Softy Tank
A 90/10 Aquascape
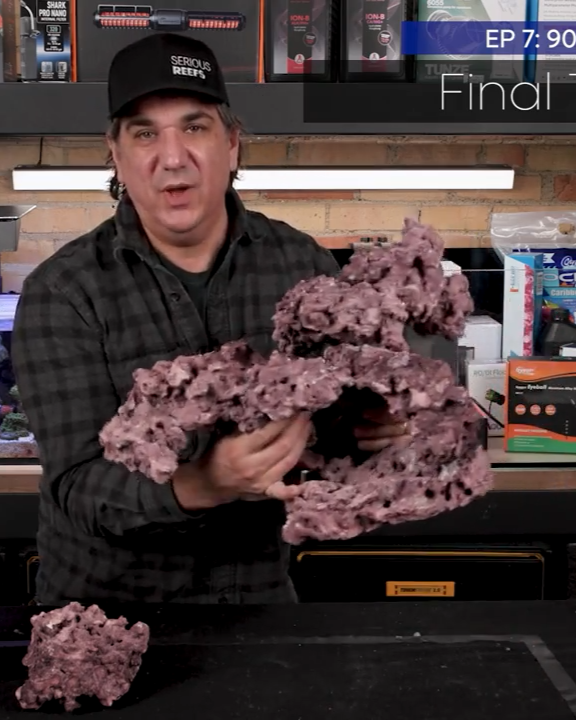
Stacking rock is the definition of 10 percent effort: quick, approachable, and effective. The goal with a 90/10 aquascape is to spend minimal time on the dry build while still ending up with a structure that looks great, functions for animals, and stays mobile. This guide walks you step by step through a stacked Negative Space Aquacape (NSA) built for a softy reef tank. Only a few hours required.
The article below is free for everyone. Serious Reefs YouTube Members can watch this video natively above. Native viewing requires the chrome browser..


Step 1: Clarify goals before you start
Decide what you want the aquascape to do, not just how you want it to look. My priorities were:
Matching an entry level skill set while exceeding expected results.
Attractiveness both at setup and a year in when coral covers the rock.
Habitat for fish and corals—lots of holes, caves, and ledges.
Flow and filtration considerations so water moves through the rock properly.
Stability and mobility so the structure can be removed or moved intact later.
Low visible algae by choosing rock color and layout that hides slimes early on.
The more habitat you give them, the more the fish will spend out in the water.

Step 2: Gather tools and materials
Items used in this stacked NSA:
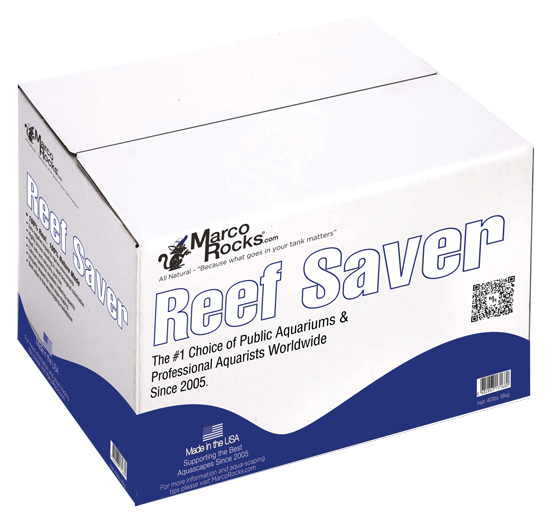
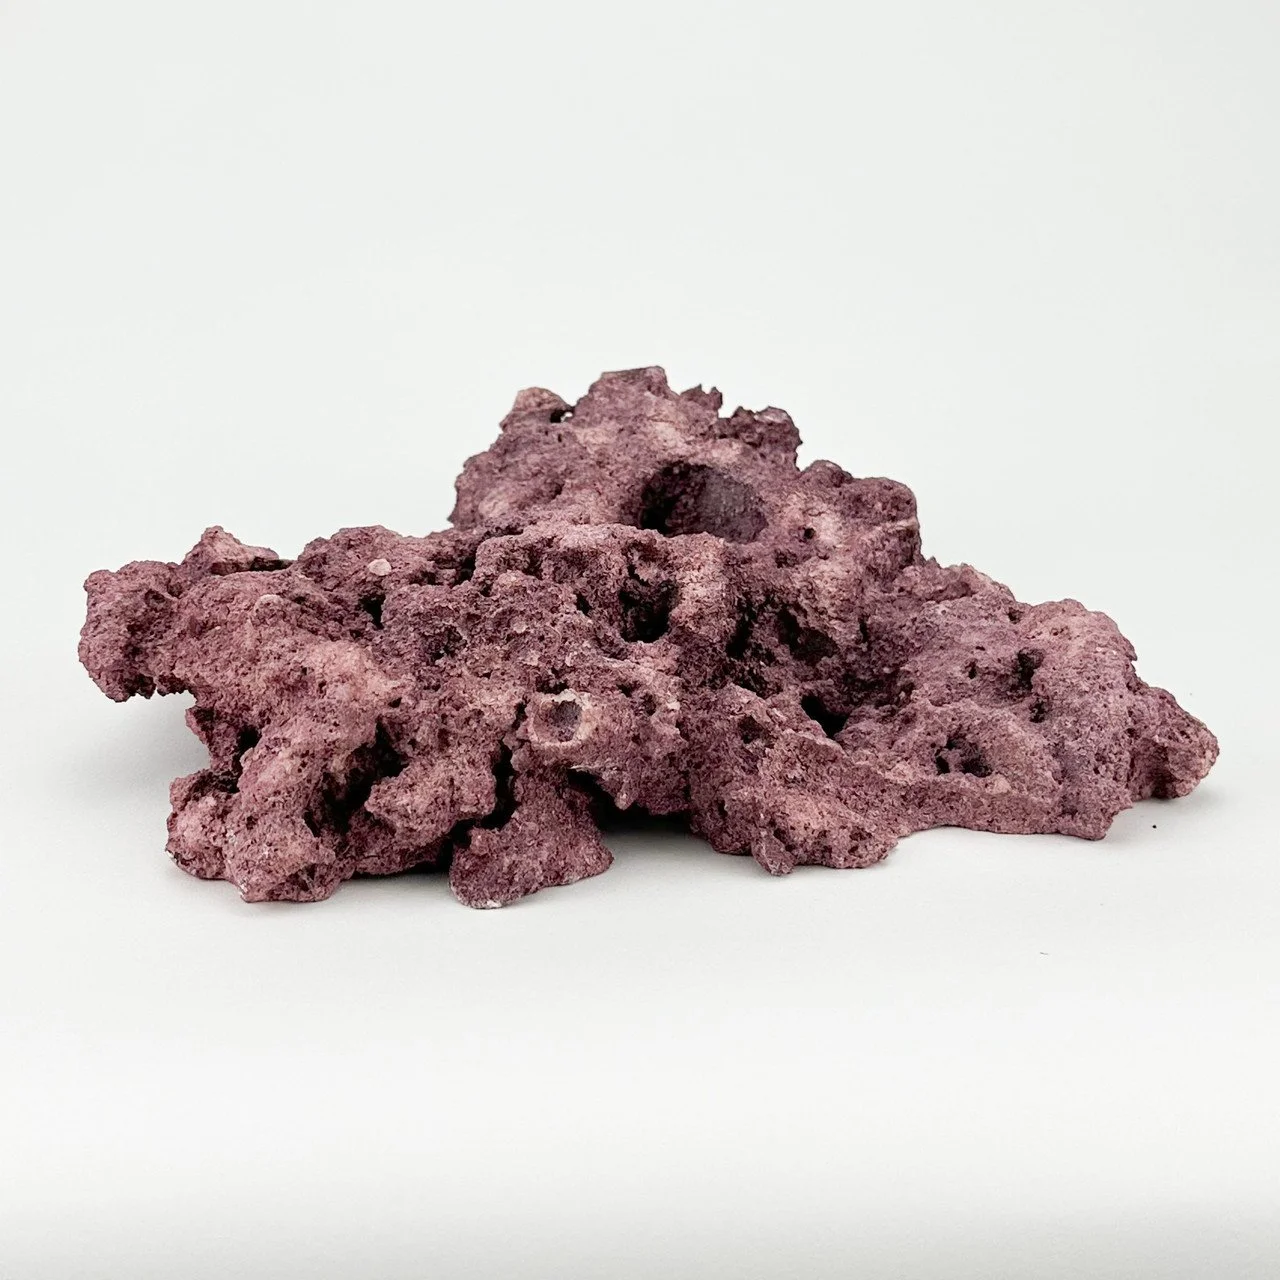
Marco Mr. Coraline rock (purple coralline hides slimes and looks better in the early months)
Flat milled foundation pieces for weight-bearing supports
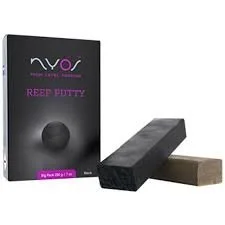
Black Nyos reef-safe epoxy (used for final structural reinforcement)
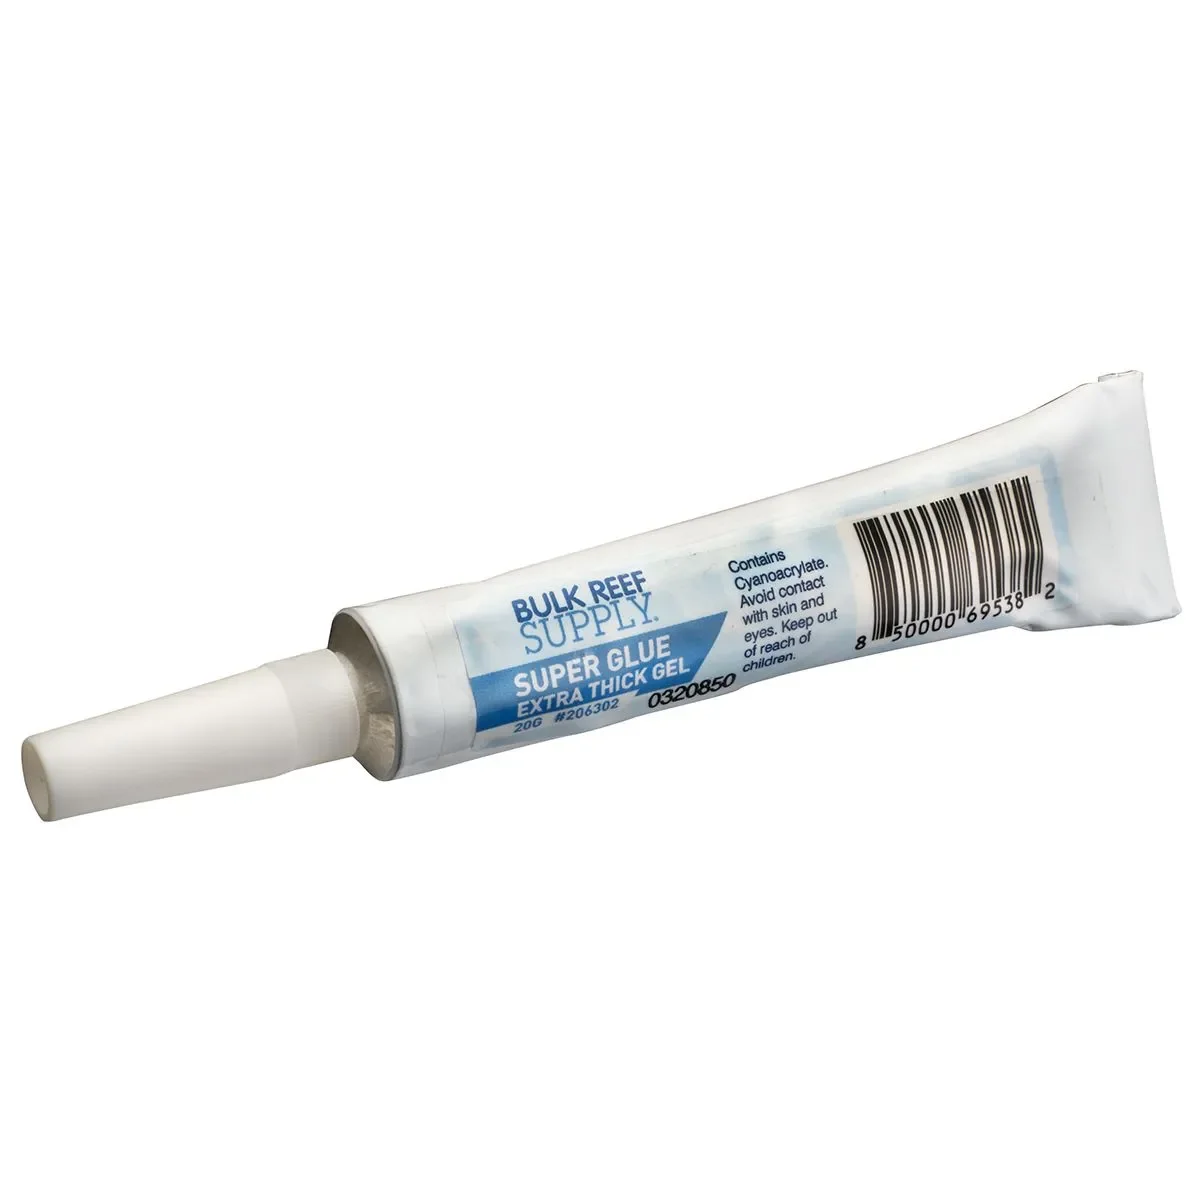
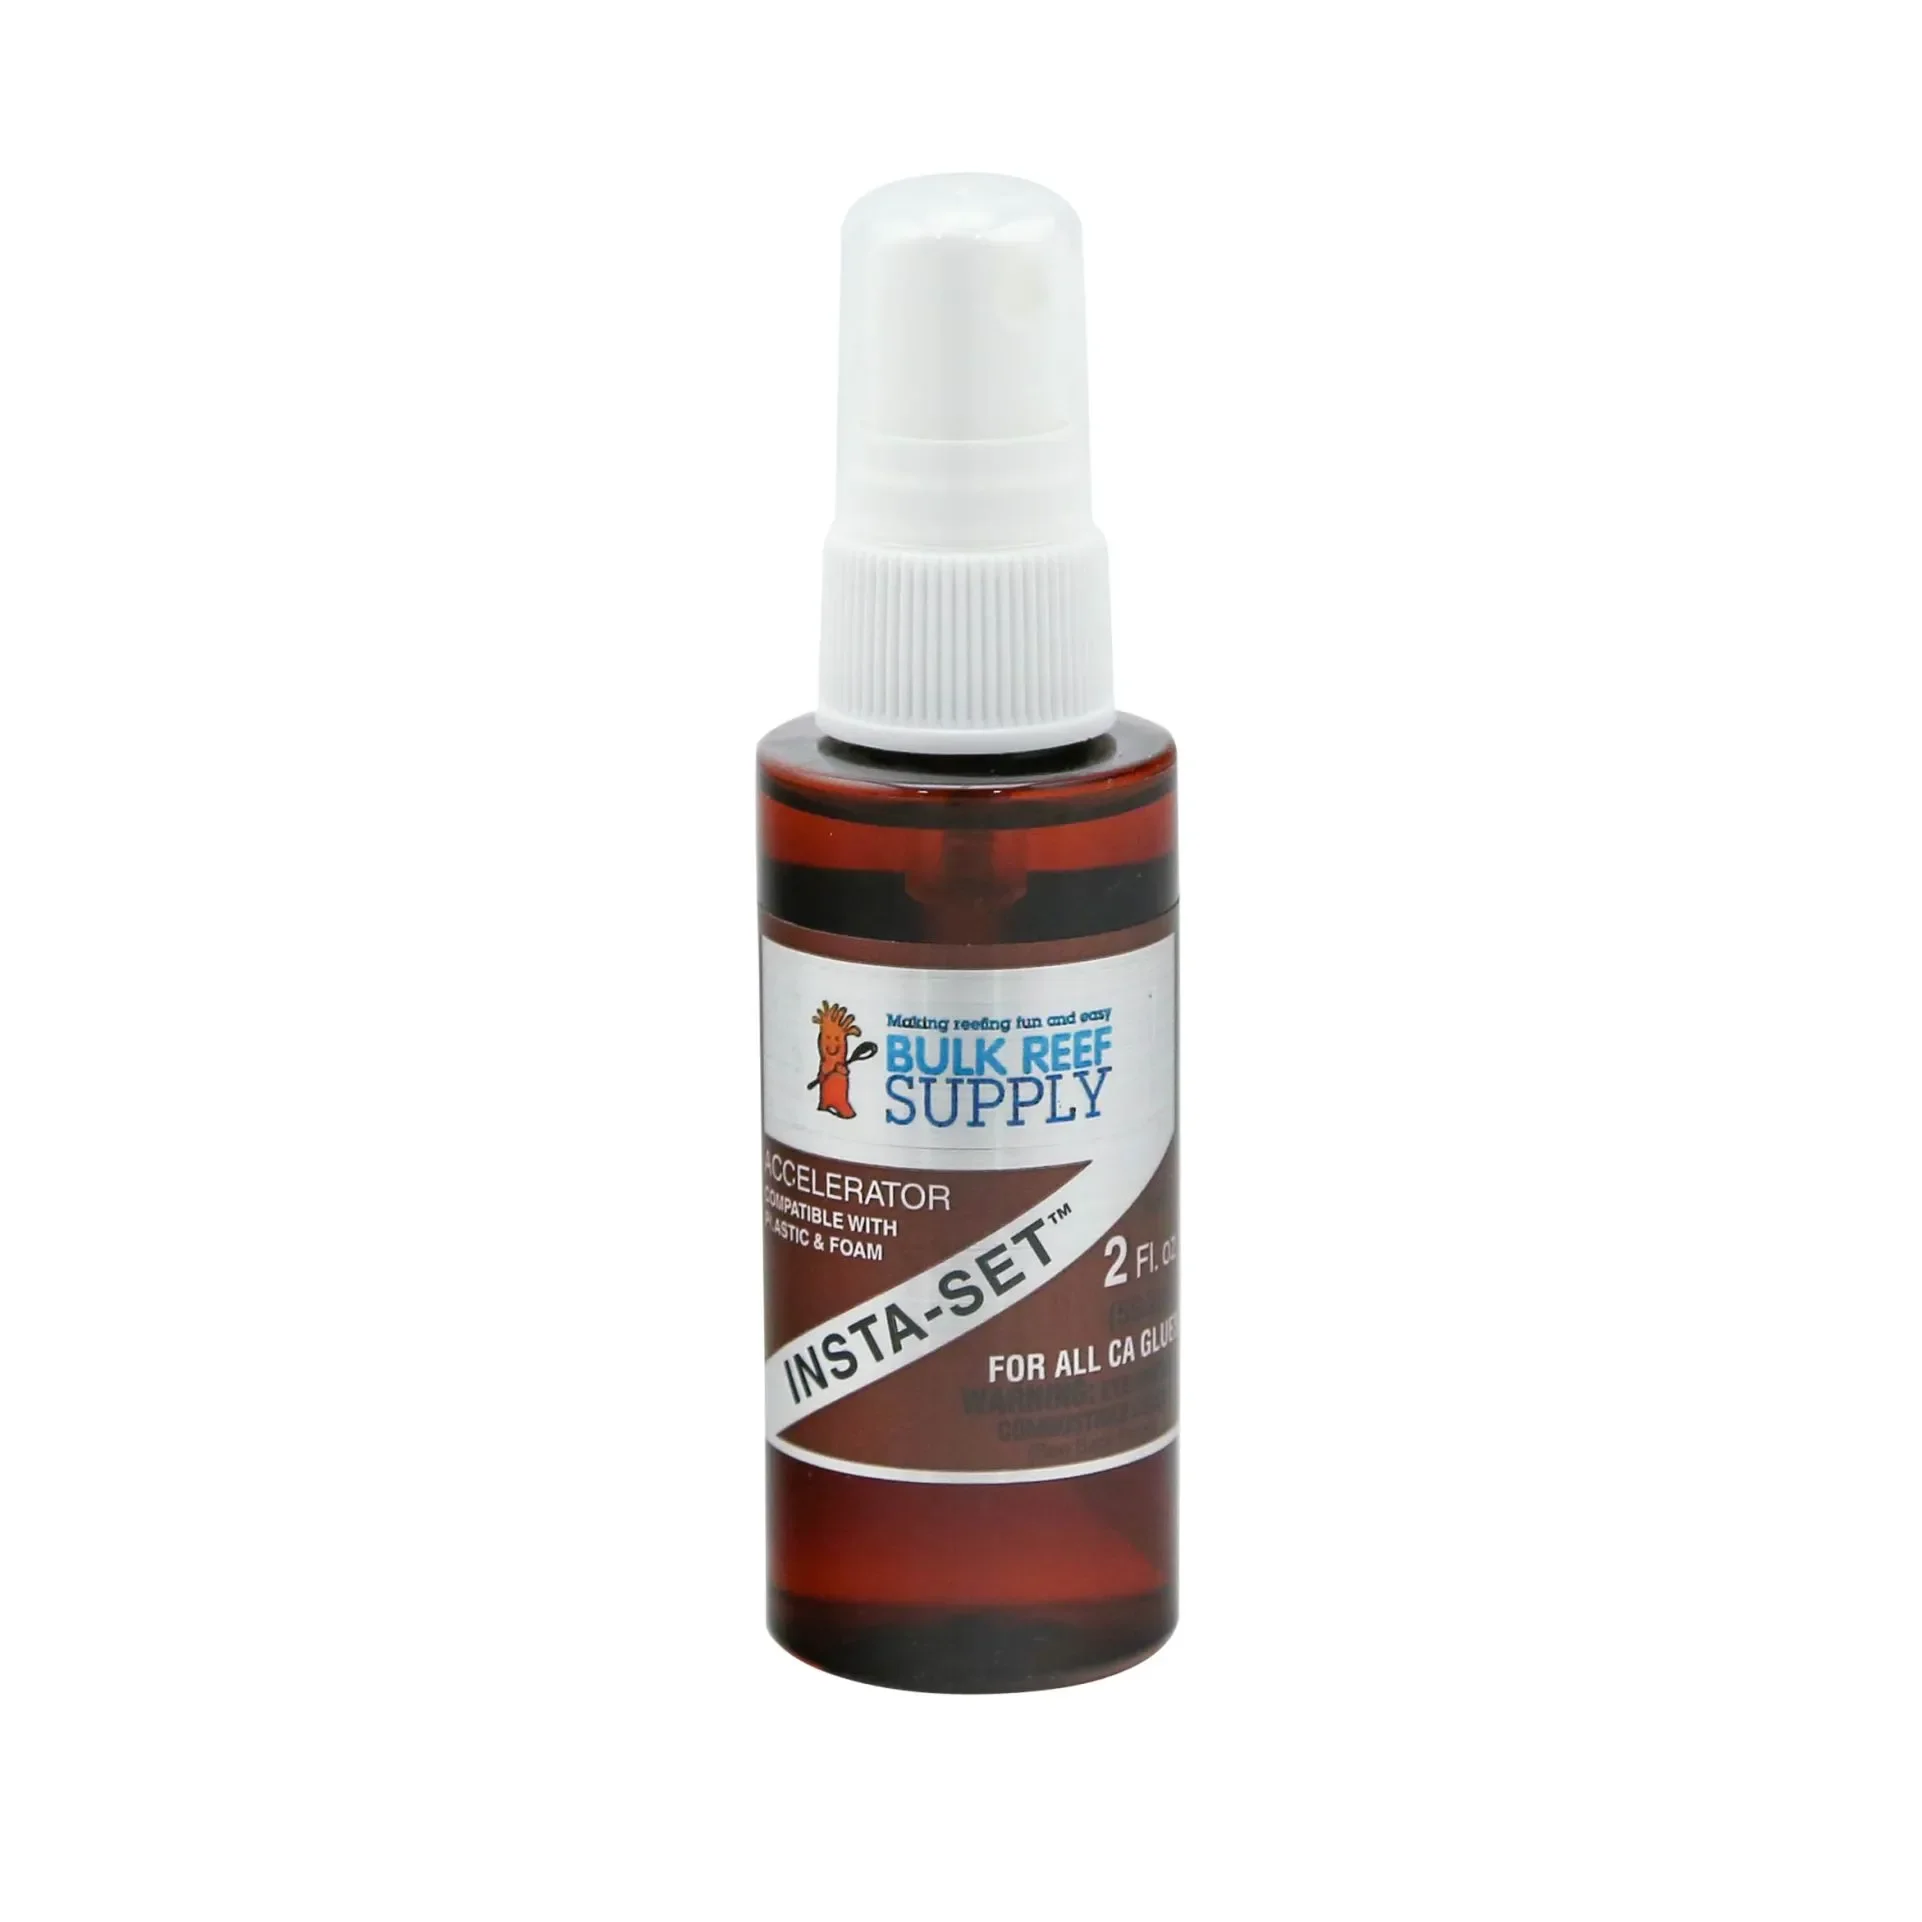
Cyanoacrylate super glue and an accelerant (Instaset or similar)
Disposable gloves and mixing tools for epoxy
Optional: hammer and chisel if you plan to reshape rock
Practical notes:
opened 60 pounds of Marco rock and used less than half for a 48-inch, 60-gallon tank. The amount you need depends heavily on the shapes you get. If you are willing to break rock into custom pieces, you can use significantly less overall.
Black epoxy hides seams better than mismatched purple epoxy, but it is messier to work with. Expect to use about three boxes for a structure this size; four is the safer bet.
One bottle of accelerant and three 20-gram tubes of super glue should be sufficient for a tank of this size.
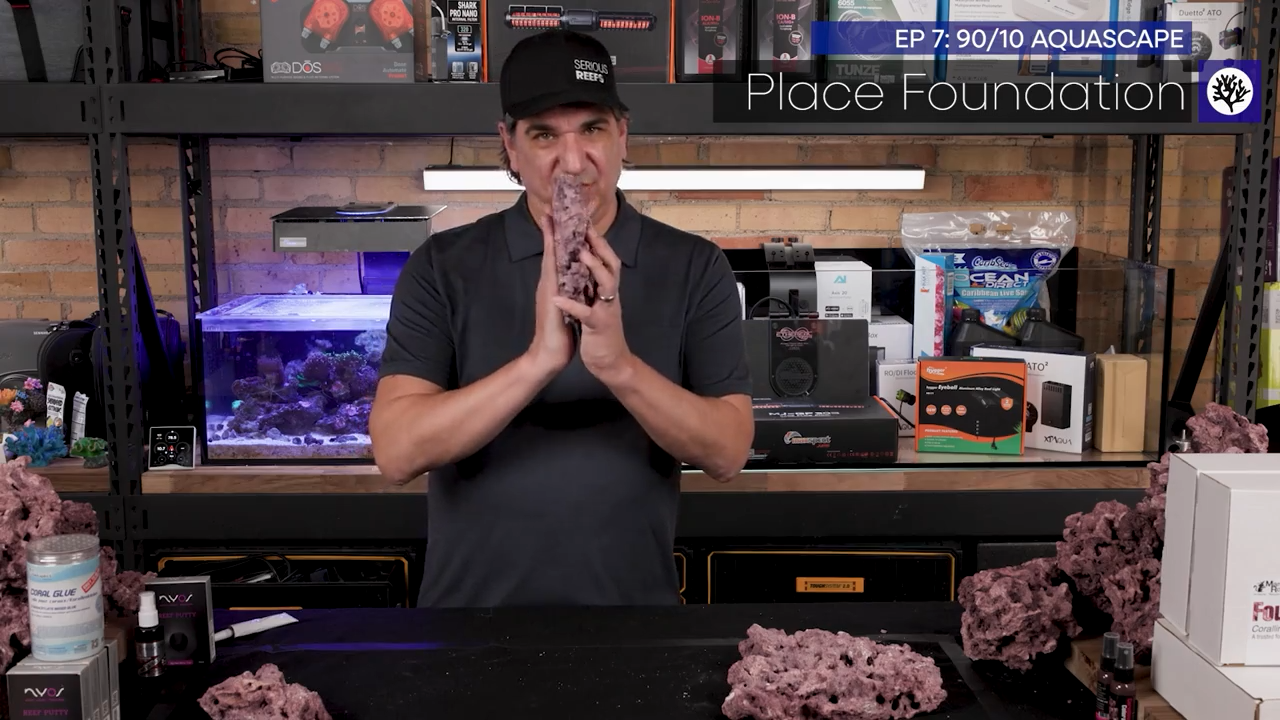
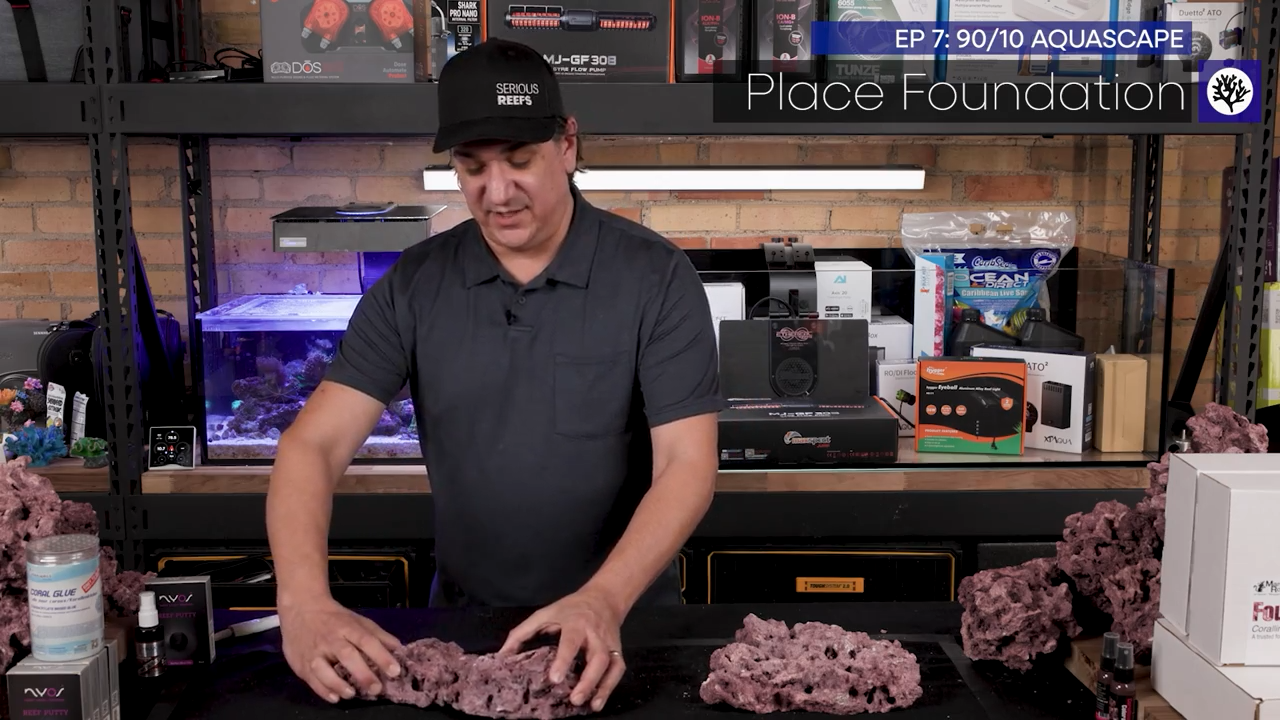
Step 3: Tape your build footprint and place foundation pieces
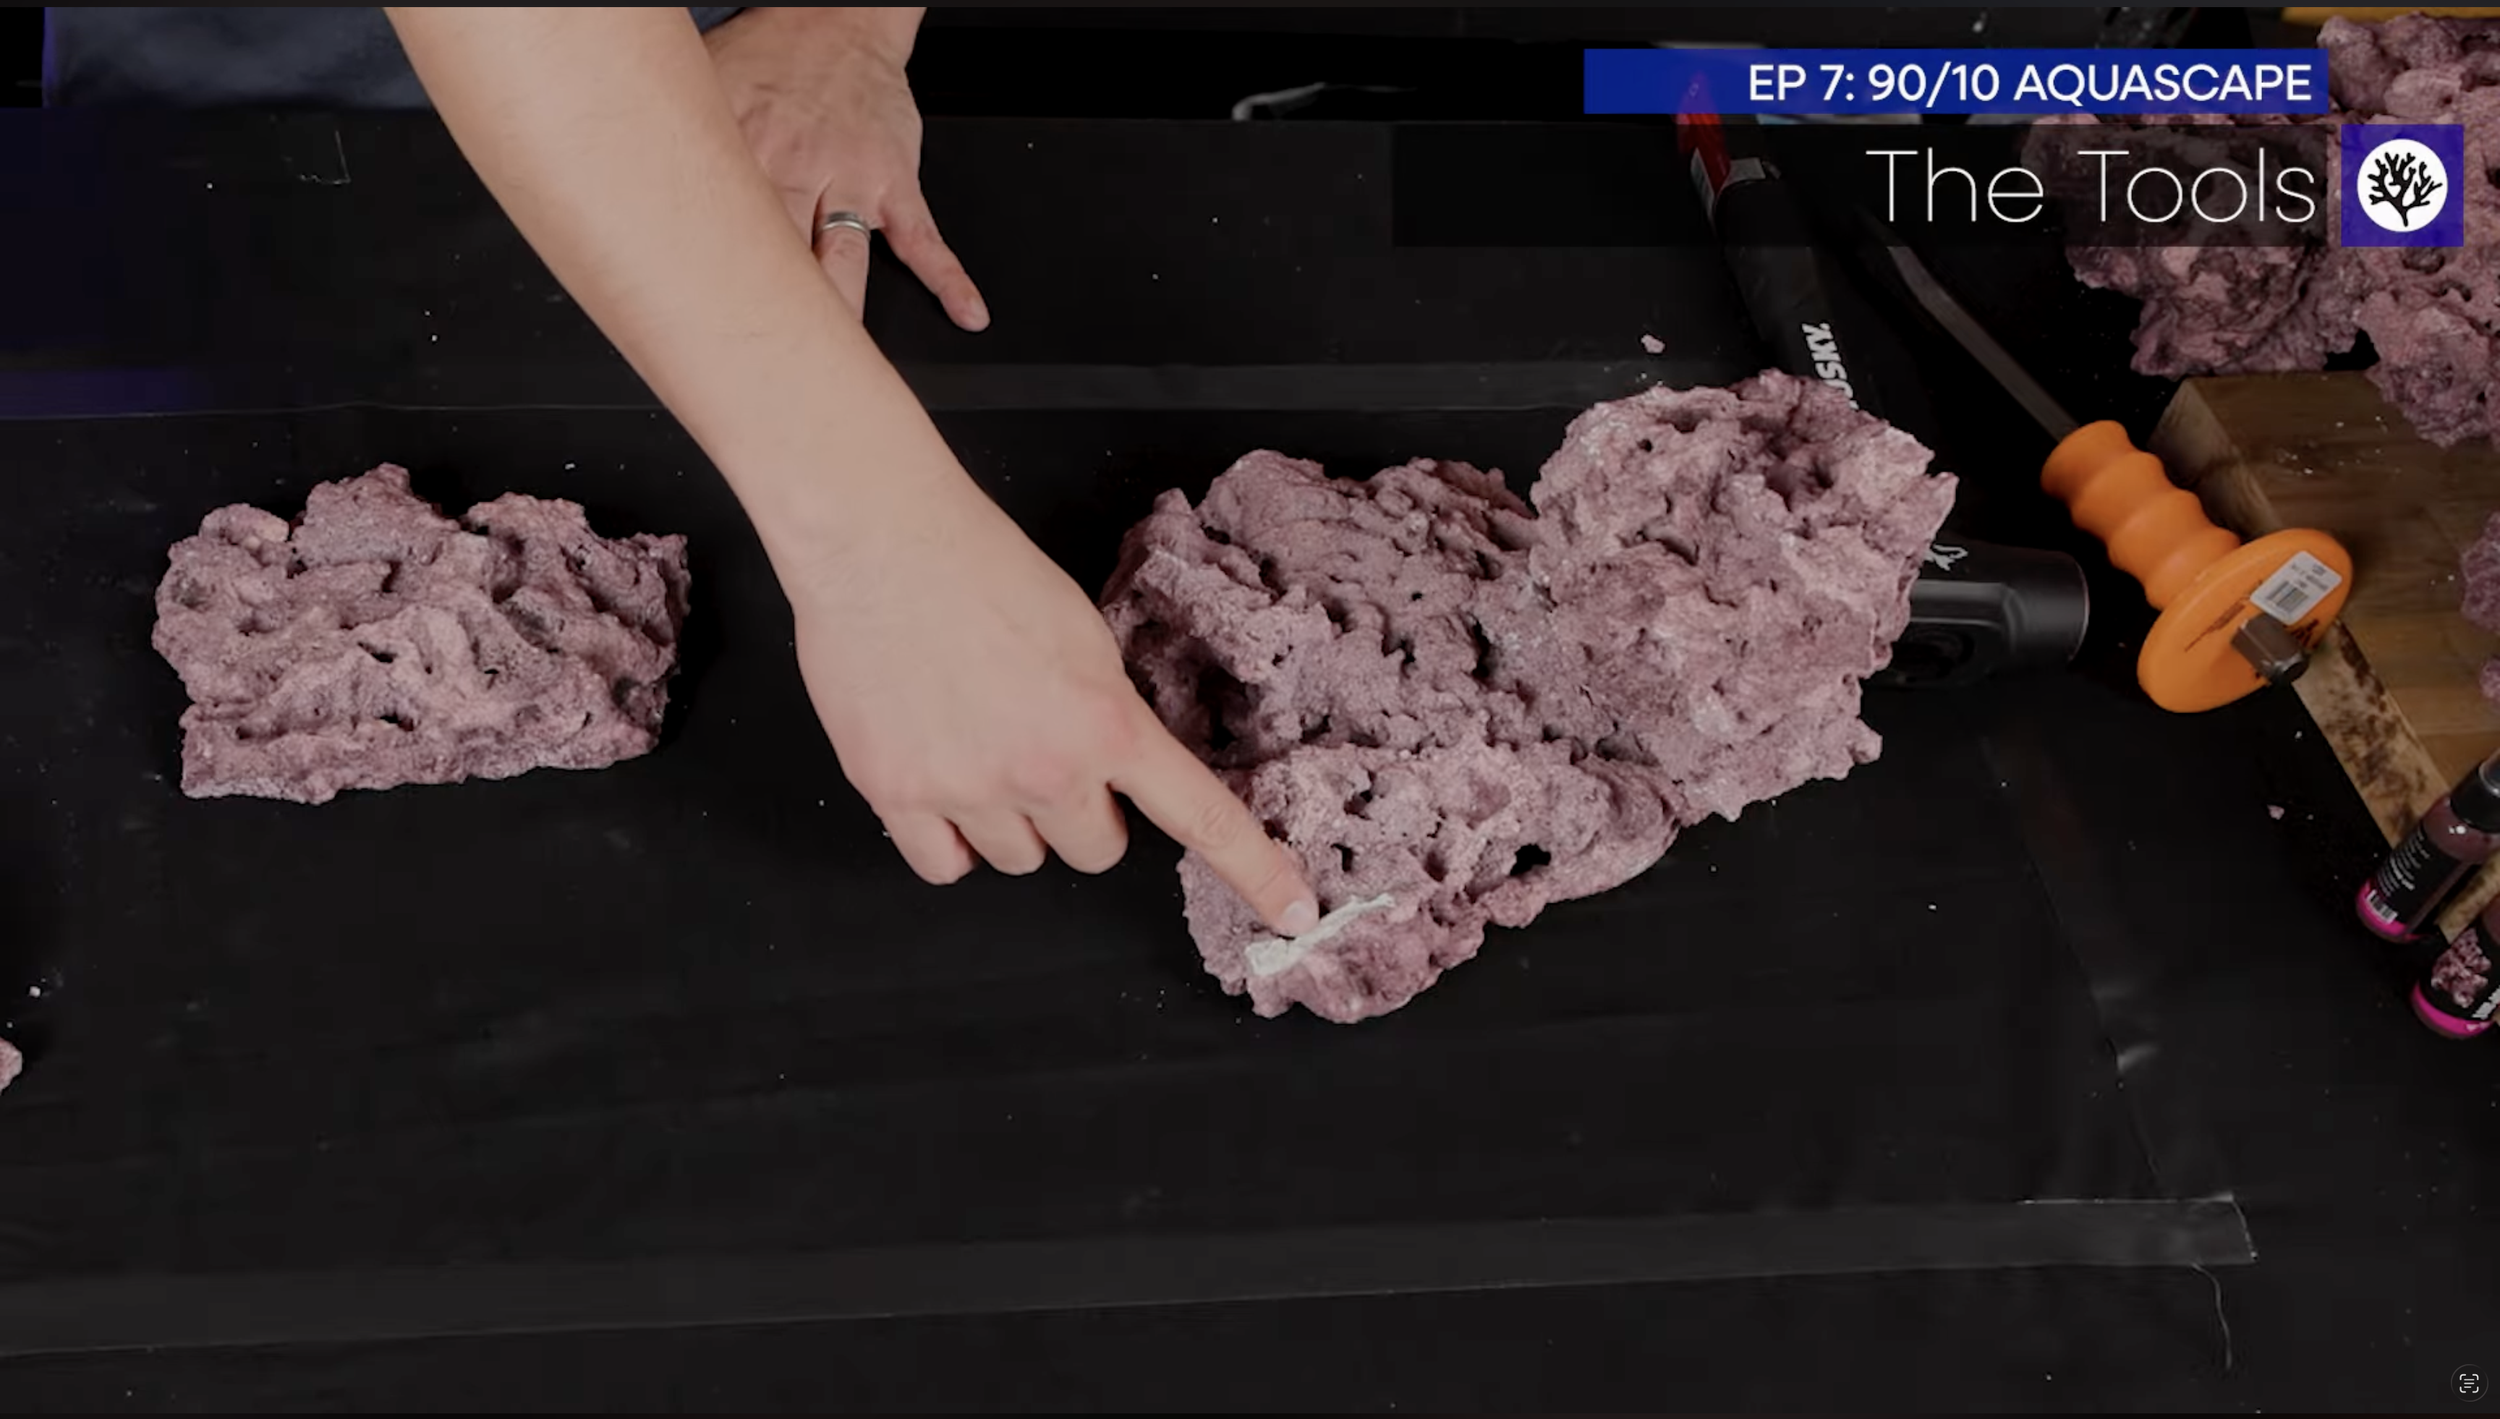
Mark the area you will build your scape within. This will prevent you from having to start over at the end. We do not want the rock to touch the glass or accidentally grow too big. I taped off a rectangle a few inches shorter than the tank in every direction to stay conservative.
Start with milled foundation pieces that sit flat on the tank bottom. These support weight and allow you to create erupting rock formations without the base sinking or wobbling. Use one medium foundation and a couple of small ones to split the visual focus across the tank.
Step 4: Sort rock and plan with the animals in mind
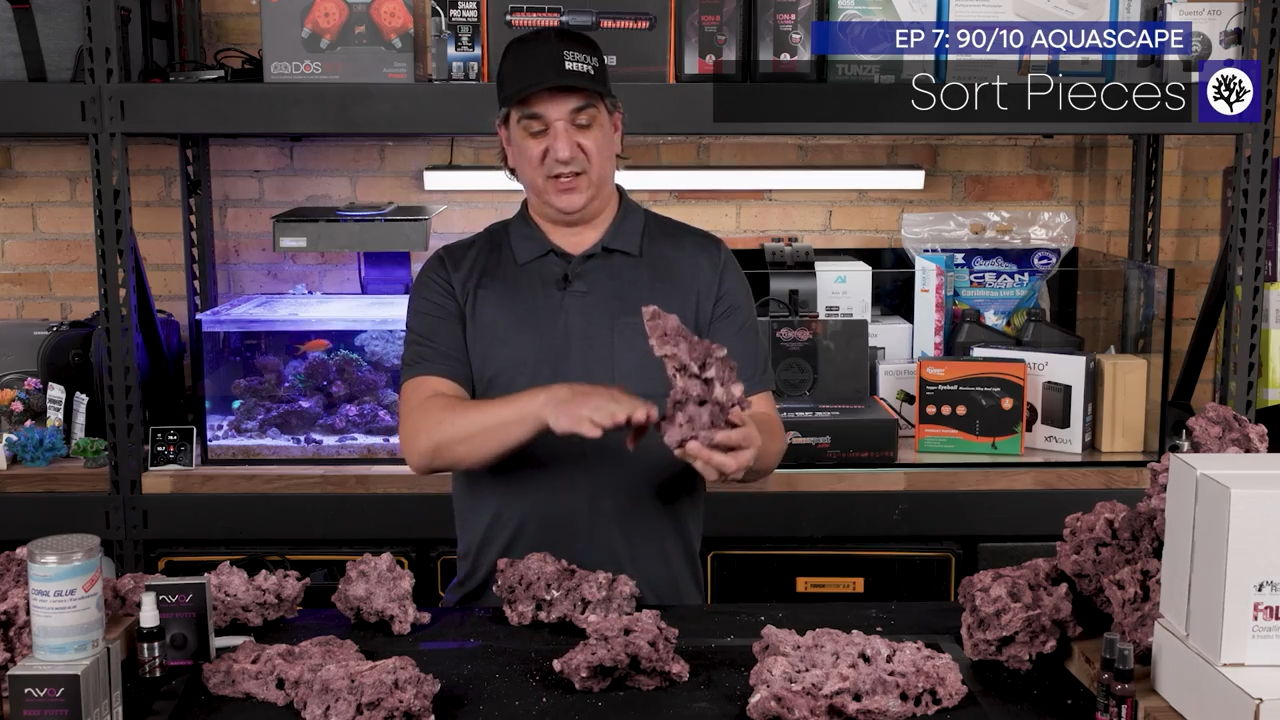
Sort pieces into three groups: flat ledge-friendly pieces, unique-shaped pieces (interesting contours), and round boulders. Use the unique shapes as focal points and ledges as real estate for soft corals.
Think about the animals before you build:
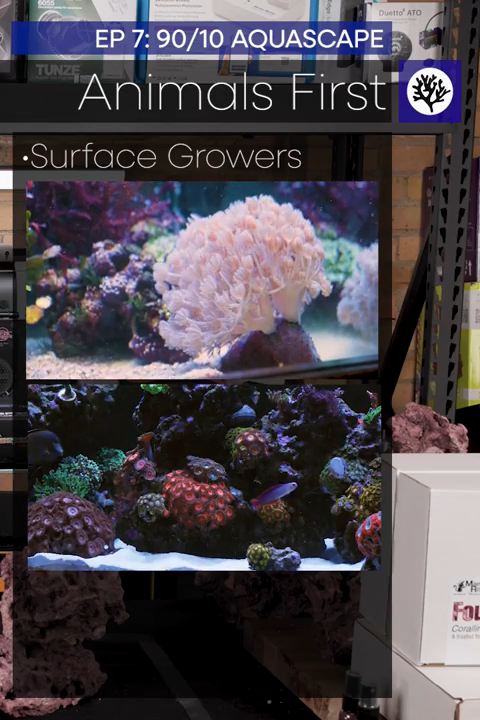
Soft corals like zoanthids, mushrooms, and pulsing Xenia tend to hug rock surfaces. Reserve flatter spots for those.
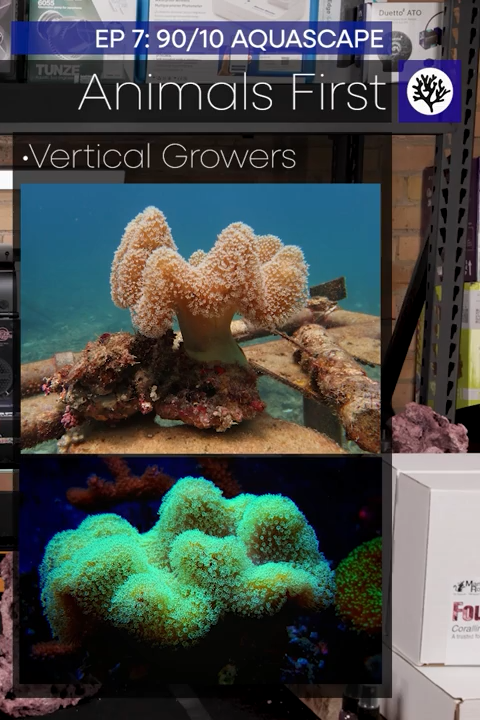
Treeing soft corals such as toadstools, Sinularia, and Kenya trees will grow into negative space. Provide open cavities for them to expand upward.
Fishes need caves and darting holes; more habitat results in more visible, comfortable fish.
Step 5: Start stacking—create negative space
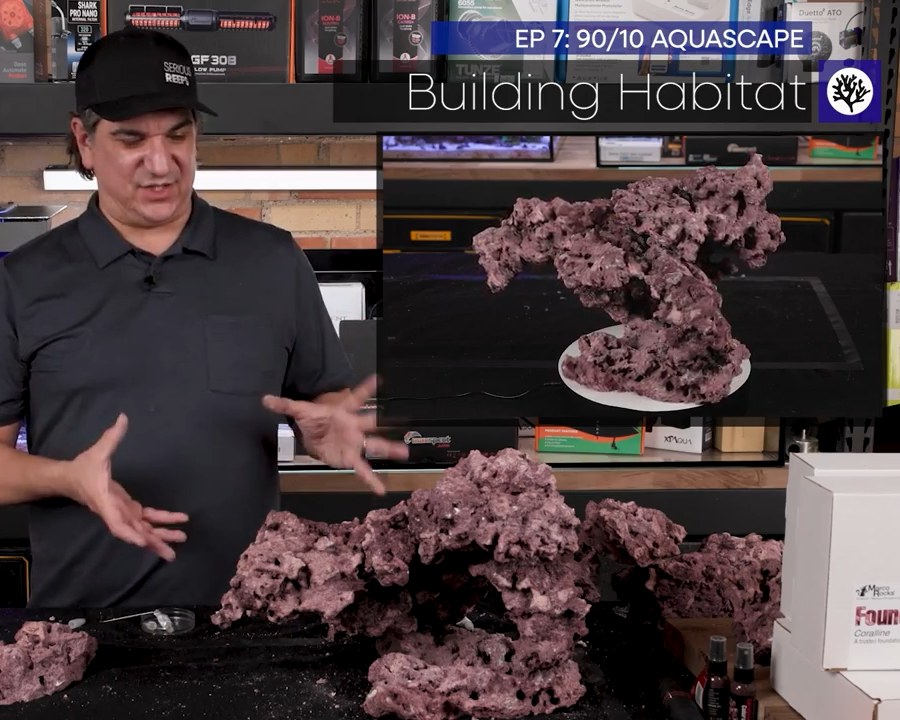
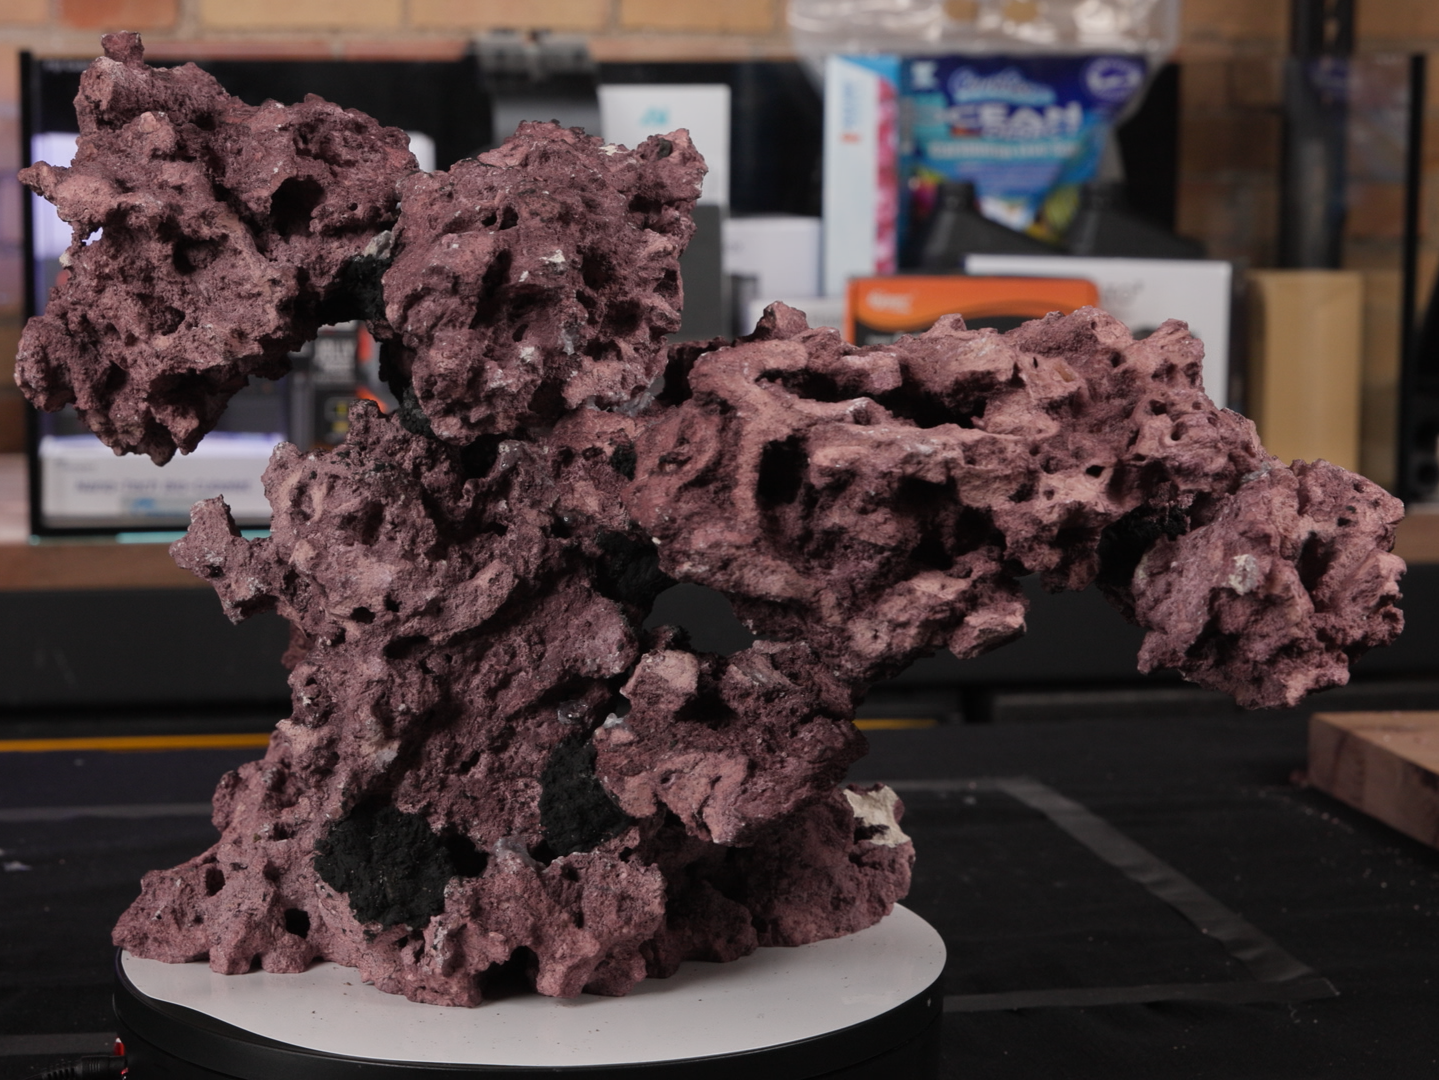
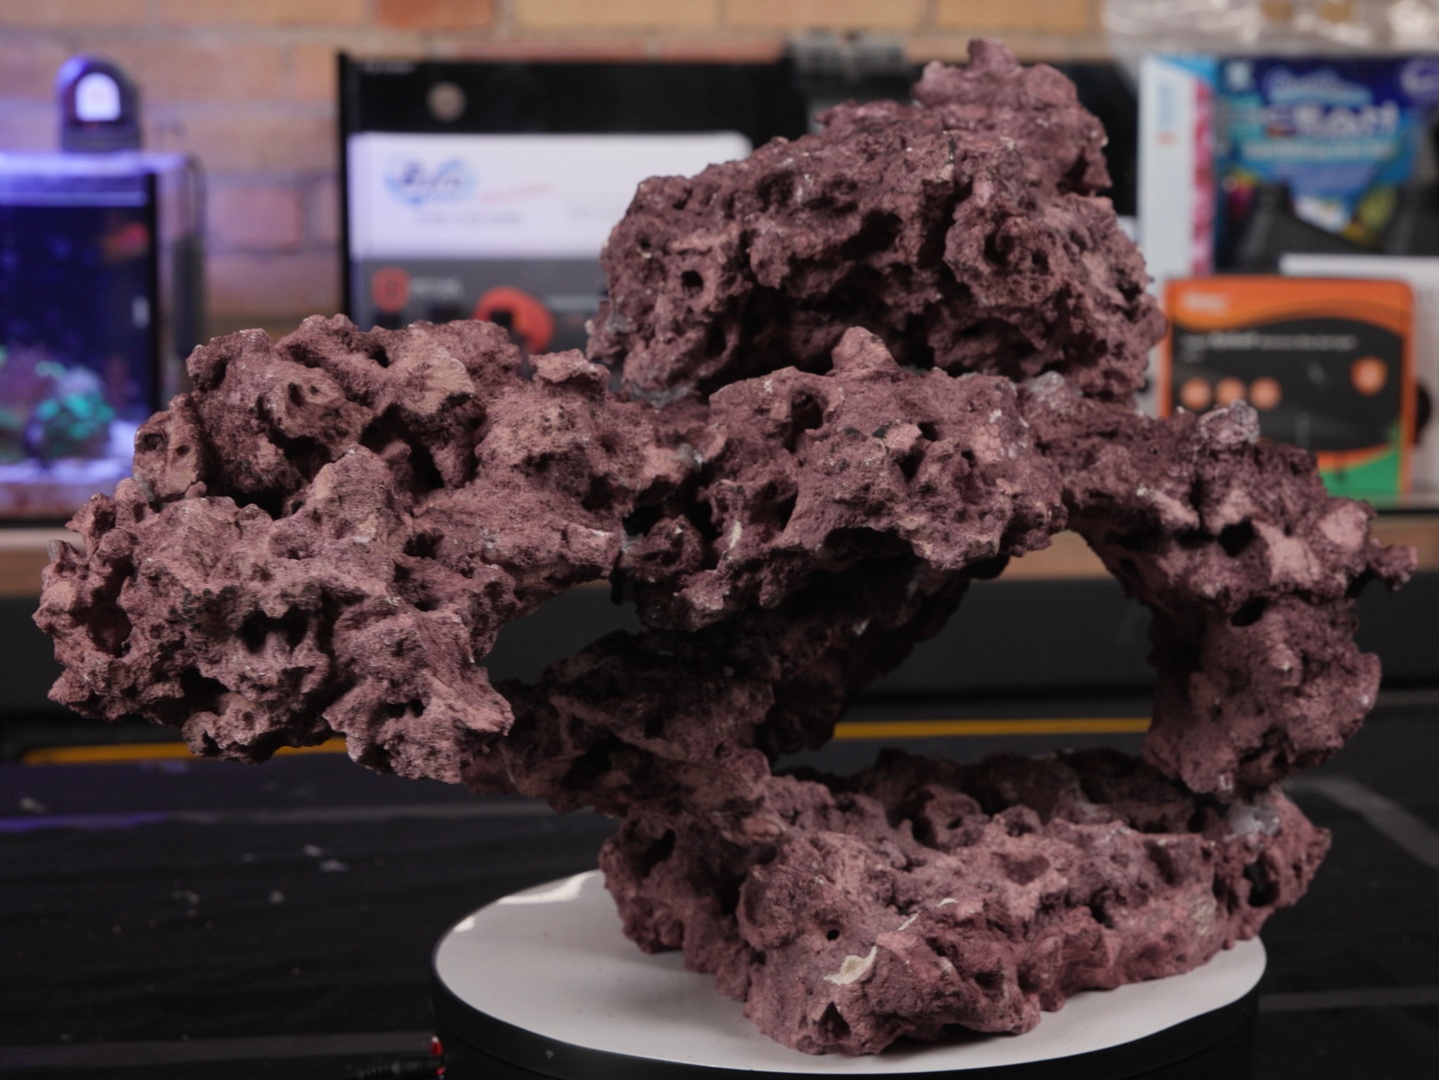
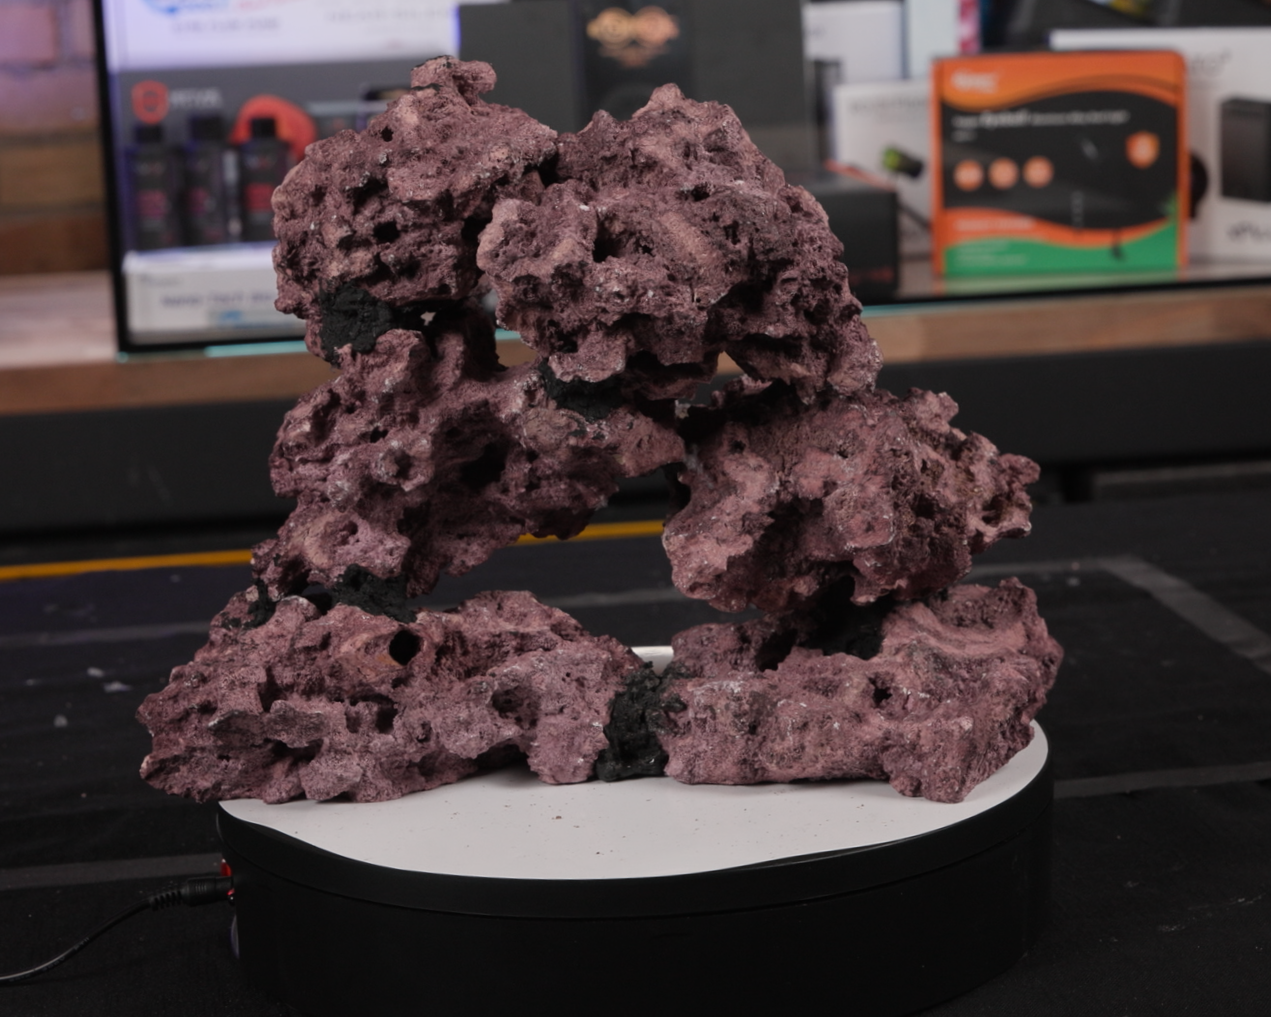
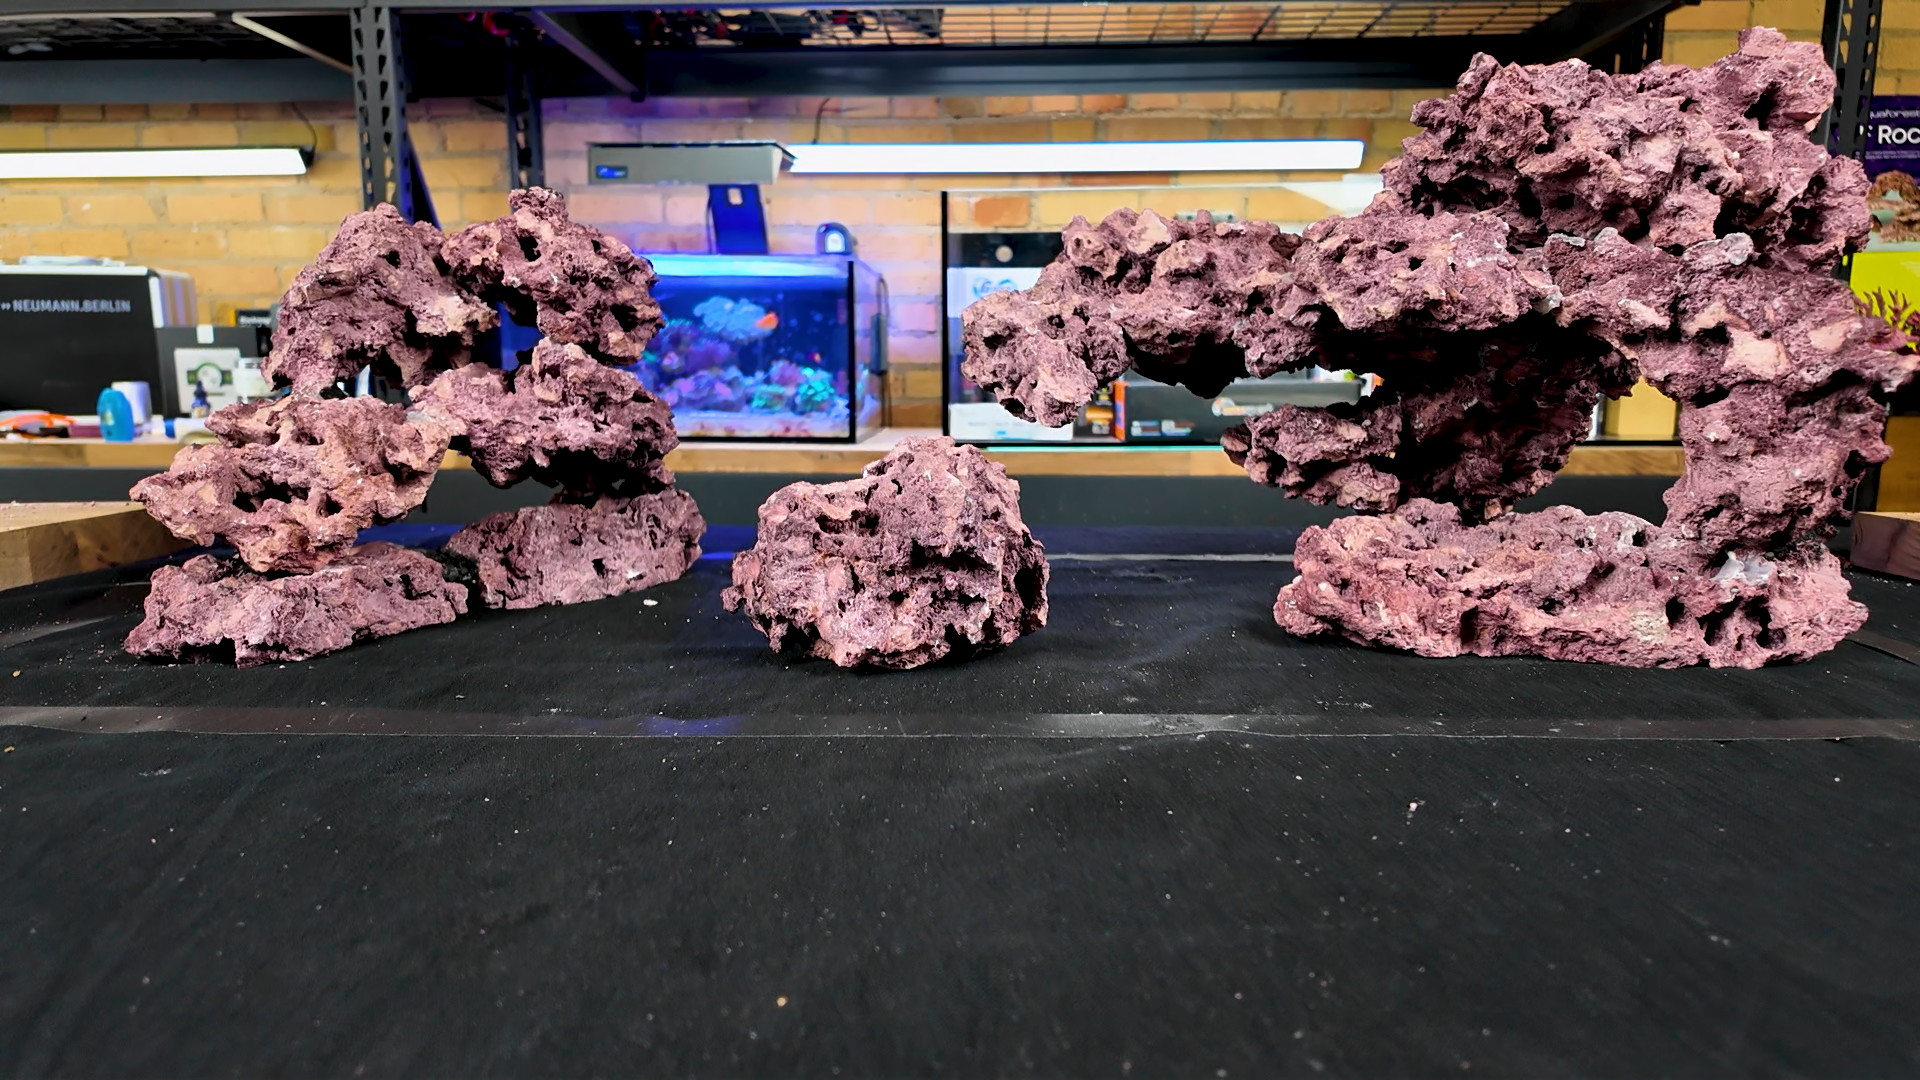
Lay pieces together by hand first until the composition reads well from multiple angles. Aim for depth: ledges, overhangs, and through-channels that read as natural reef points rather than uniform mounds.
Do not epoxy everything immediately. Use super glue and accelerant for quick tack so you can test the composition and make adjustments. Keep one side of the scape taller side than the opposite side to create a path for the eye and a more dynamic visual balance.
Step 6: Adhesive technique—fast glue then final epoxy
Two-stage bonding is the reliable method:
Use super glue gel plus accelerant for rapid adhesion while building. Spray accelerant on one surface, apply super glue to the other, and press. This holds pieces in seconds and lets you iterate quickly. If you don’t like your build it is usually easy to break apart and improve the layout.
Once the whole shape is finalized, reinforce the joints with black epoxy. Roll a small amount of epoxy into a tube, fold it to mix and soften, then press into seams on the back or underside where it will be hidden. Add a bit of rubble into the epoxy for texture so it blends with the rock.
Practical epoxy tips:
Work with gloves; black epoxy is messy and hard to remove.
Apply epoxy primarily on hidden surfaces for aesthetics.
Use more reinforcement points rather than fewer; extra epoxy below and behind joints increases structural integrity.
Step 7: Final touches, mobility, and aesthetics
After epoxy cures, the structure becomes a single, mobile piece. This is one of the biggest advantages—moving a reef intact is far easier than relocating piles of loose rock. A well-bonded stacked NSA can be lifted and transported without falling apart.
If any rock surfaces were damaged while shaping, touch them up with a matching coraline spray to hide white wounds. Use a spinning table and strong directional lighting while inspecting the scape to spot shadow lines and holes you may have missed.
Quick material checklist
60 lb Marco Mr. Coraline rock (you may use half but having more gives you unique pieces)
3 to 4 boxes black reef-safe epoxy
Super glue (small metal-tube style is handy)
Disposable gloves, mixing sticks, and small rubble pieces
FAQ
How much rock did you actually use for a 48 inch softy tank?
For a 48 inch width I opened 60 pounds of Marco rock and used less than half. Quantity depends on available shapes; if you plan to break rock into custom pieces you can use less. A useful rule of thumb is one pound per gallon, but for stacked NSAs you can often get away with substantially less.
Why use black epoxy instead of a purple or tan option?
Black epoxy hides seams better than lighter colors and blends into shadowed areas under rock. It is messier and harder to work with, but it keeps repairs and joints less visible once the scape is placed in the tank. Black is particularly useful in darker areas where coralline algae will likely never grow.
Can I rely only on super glue to hold the structure?
Super glue plus accelerant is great for the initial build because it bonds instantly and allows iteration. However, super glue alone does not provide long-term structural integrity. Reinforce seams with epoxy after the composition is finalized to create a durable, mobile structure.
Should I use a hammer and chisel to shape Marco rock?
You do not have to. The stacked approach uses existing shapes and avoids major rock shaping. If you want more custom contours or fewer pounds of rock, a hammer and chisel allow you to create flatter faces and interlocking pieces—but it takes skill and time.
Where should I put pulsing Xenia and other fast-spreaders?
Isolate fast-spreading soft corals on small, dedicated platform rocks or in sand-erupting outcrops. This keeps them from overgrowing the whole aquascape while still letting them show off in a contained area.
Will a bonded aquascape survive being moved?
Yes. A well-epoxied stacked NSA becomes a single, mobile piece you can remove, transport, and reposition. Reinforcing joints across backs and undersides is the key to travel-ready rockwork.
Final thoughts
A stacked NSA is an efficient way to create an attractive, animal-first aquascape without spending days cutting and reassembling rock. Plan with the animals in mind, use super glue for fast iteration, and rely on epoxy for final strength. With careful composition and a few foundation pieces, you can achieve depth, negative space, and a design that will look even better as corals fill in over time.
What’s Next? Recent Additive Reviews


Acknowledgments
Thank you to the Serious Reefs community. Your membership funds the creation of articles and videos like this one.
Support Serious Reefs

Option 1: Patreon - Sign Up
Lowest cost option
Videos available on Patron App and website
Immediate notification of every release
Larger active community.
App works with phone closed
Sends a larger percentage of membership to Serious Reefs

Option 2: YouTube - Sign Up
Best for YouTube power users
Videos Available on
Youtube.com
Youtube TV App
Youtube Phone App
Seriousreefs.com (requires logged in Chrome browser)
*Note iOS users may need to sign up via desktop browser.
Disclaimer
Full Disclaimer HERE. This is the gist of it.
Content is based on personal experience, not professional advice. Do your research and reef responsibly. Serious Reefs should not be your sole source of information on any topic.
By watching, you agree that Serious Reefs and its creators aren’t liable for how you use this info. Please don’t utilize our information if you are not ok with this.
Serious Reefs has no sponsors, doesn’t accept product or payment for reviews. We do use affiliate links in articles that earn a small commission to support our work. Shop wherever you like, we won’t be offended.